Old Bench Revamp!
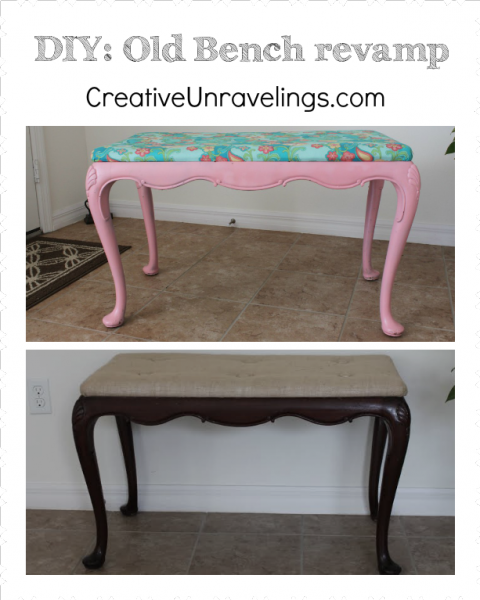
So I have been looking for a piece for our foyer and while shopping around I stumbled upon this bench. Now my thought when I saw this was how hideous, it looks like something that belongs in Miami subs (for those of you that are not familiar with MS, just think really tacky Floridan.
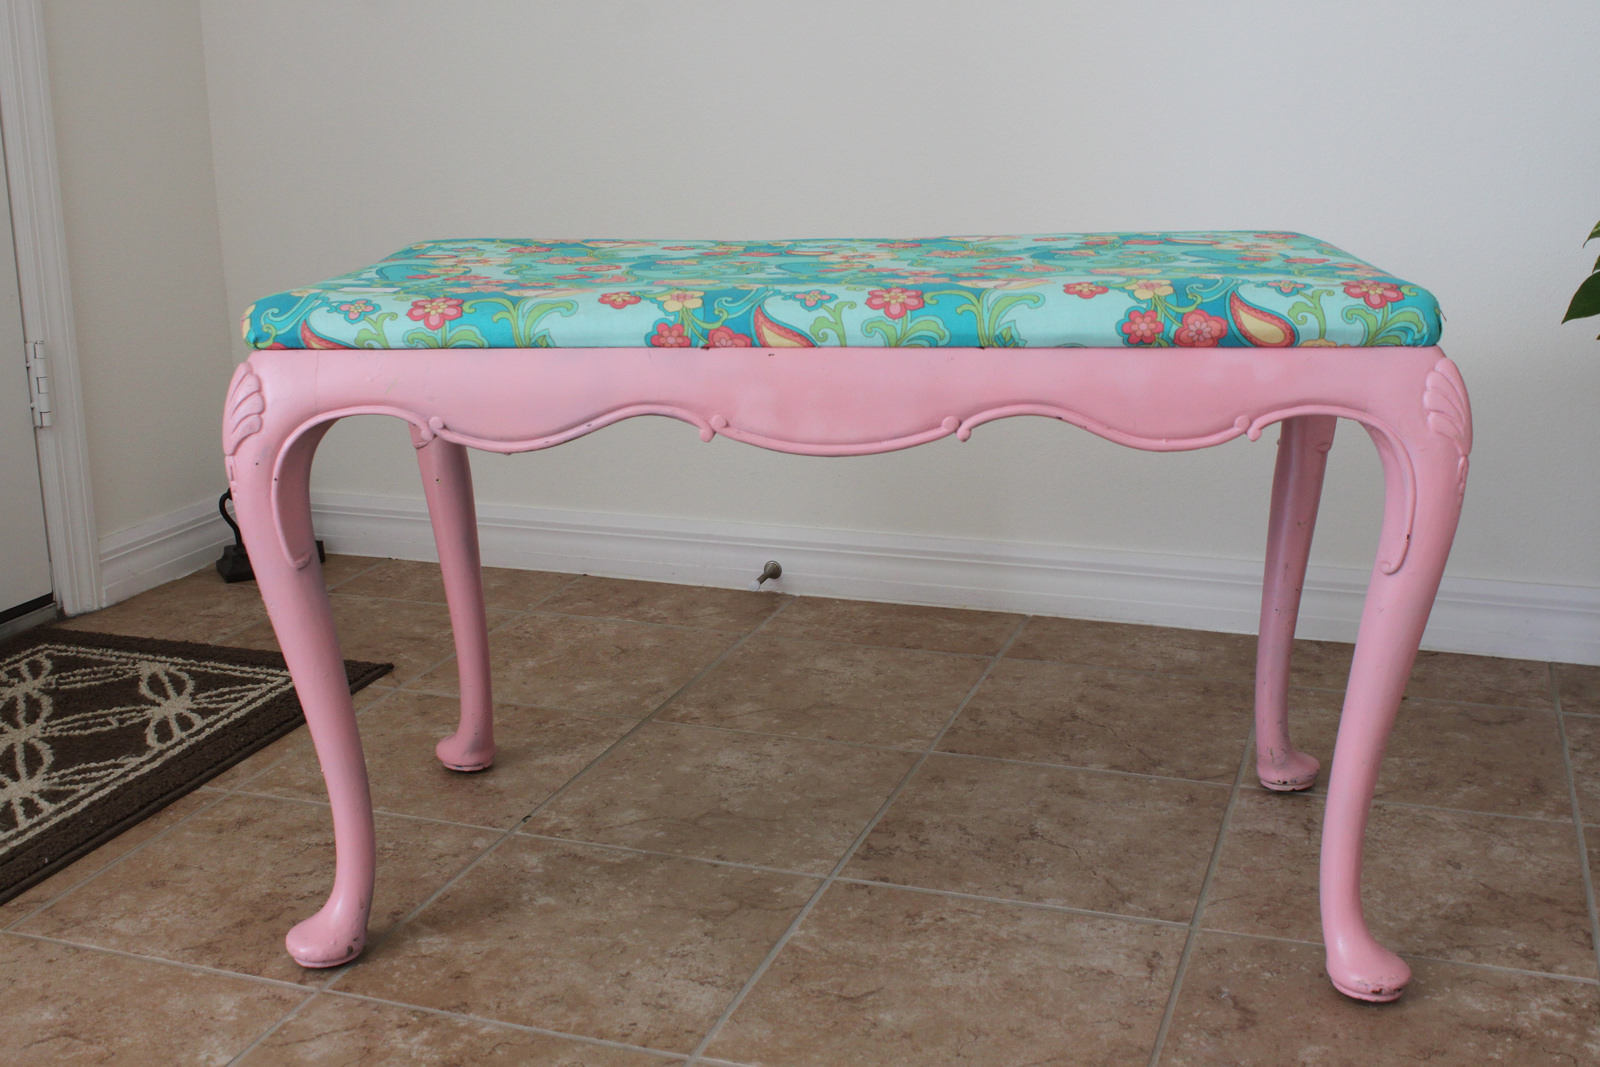 After looking beyond all the pink paint and flower material, I thought this is the piece I am looking for!
I wanted to bring it back to its original, it took about 2 weeks to complete and I have surprised myself once again! I absolutely love the new look!
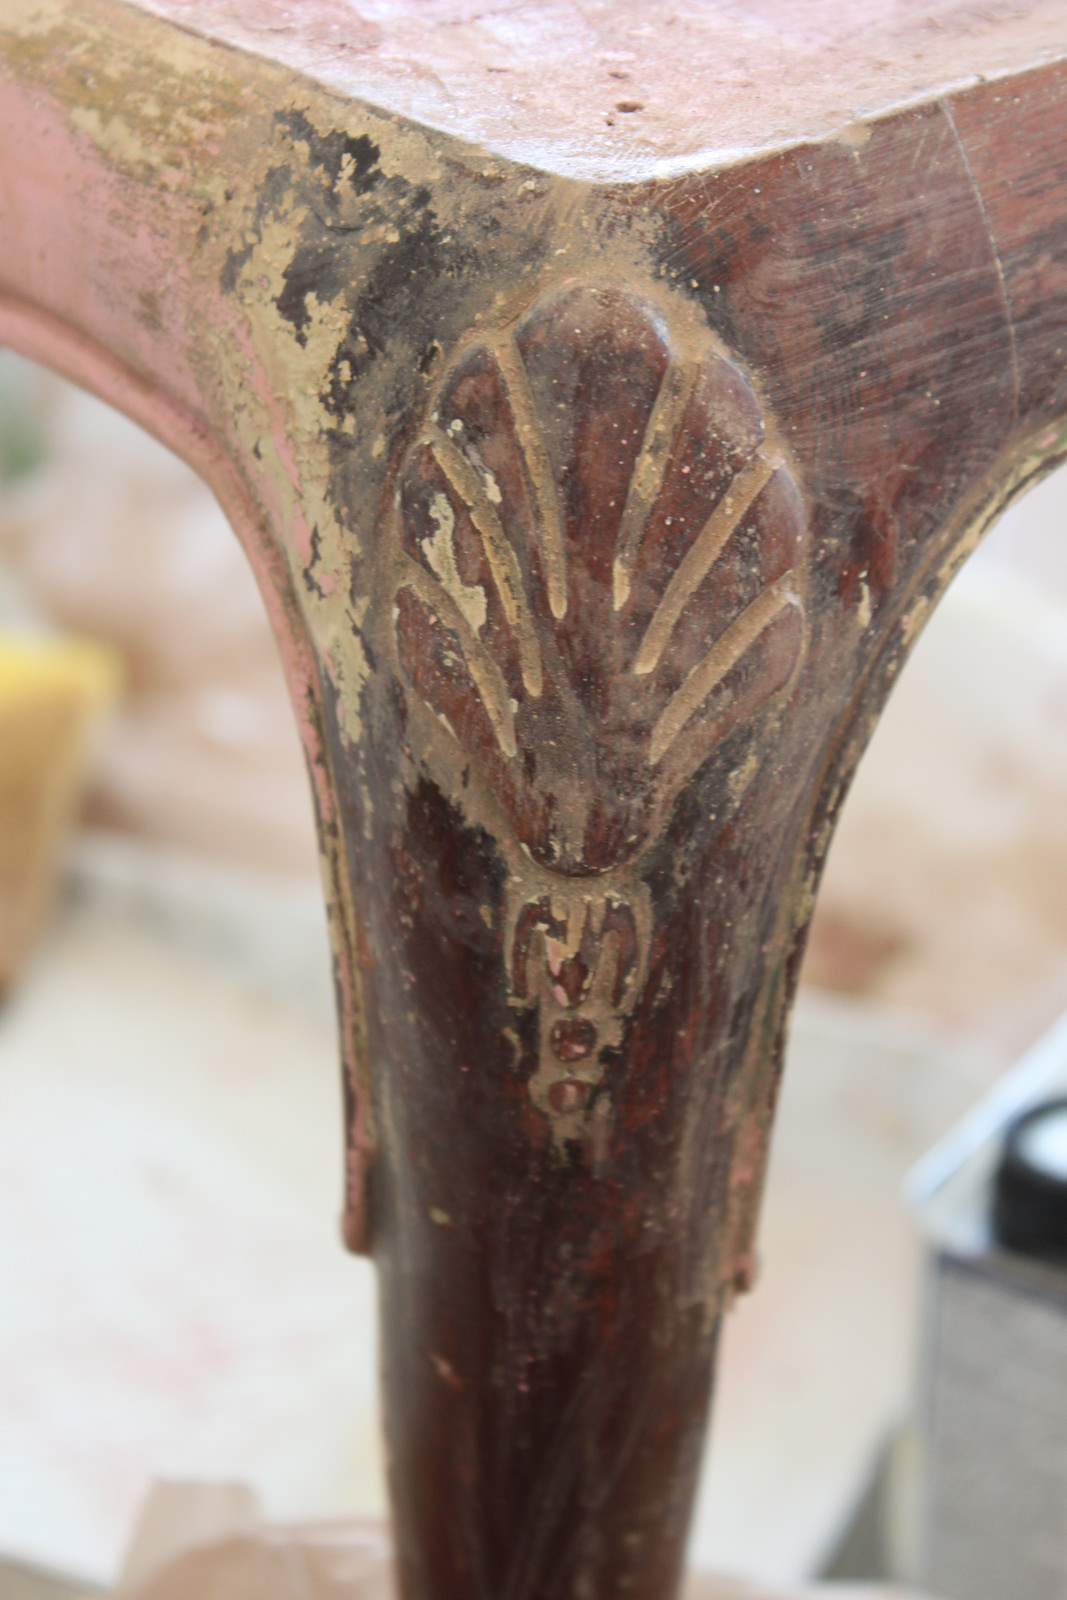
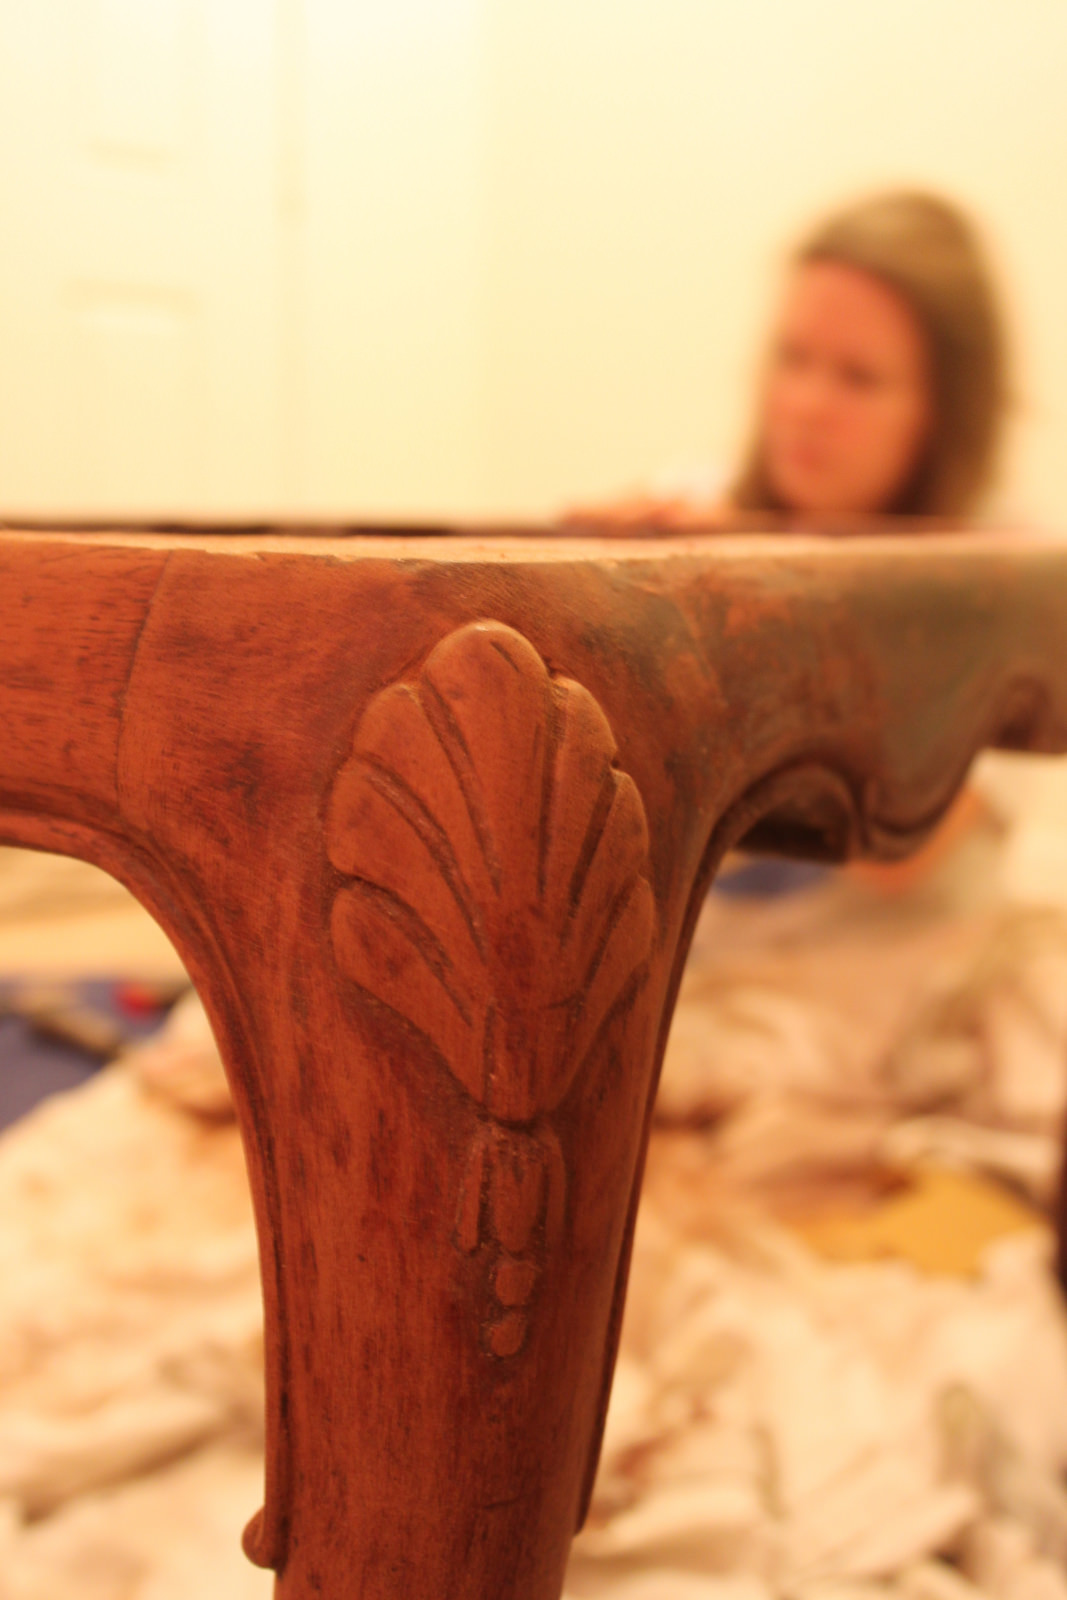
First I had to strip the paint, this was probably the biggest mess, it was pink then white, then cream and then parts of it were green. 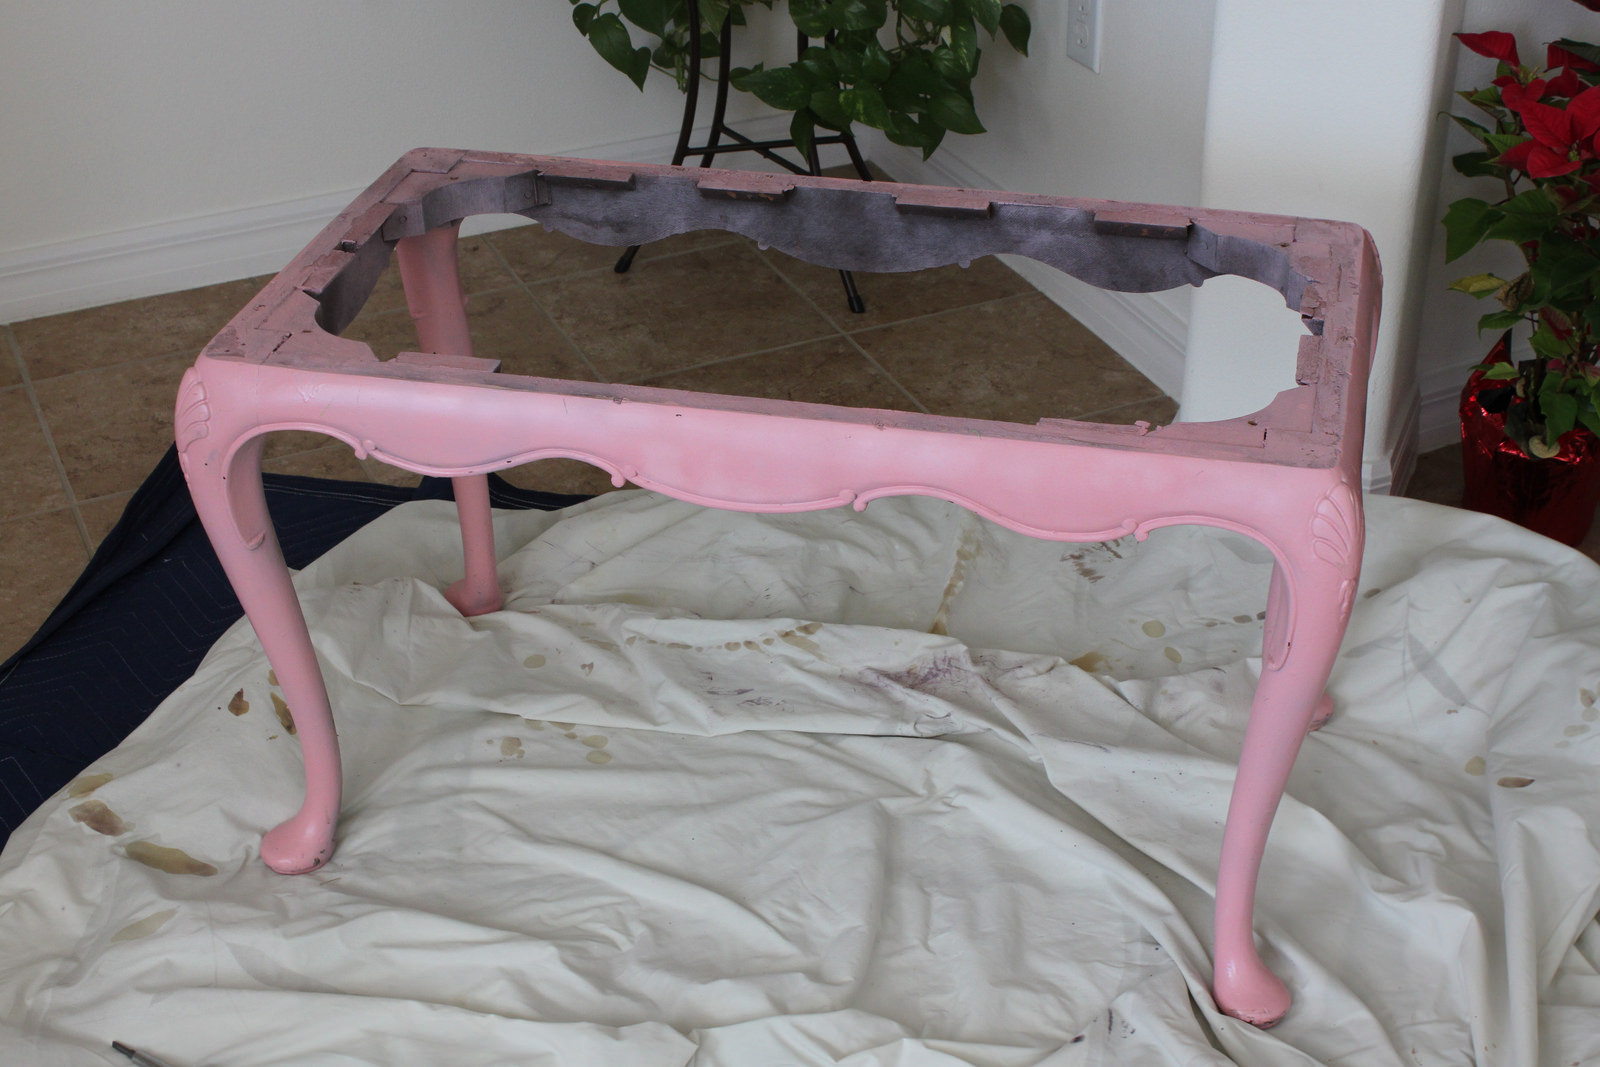
 It was really difficult getting in between the grooves of the design, thankfully the paint stripper made the job a little bit easier.
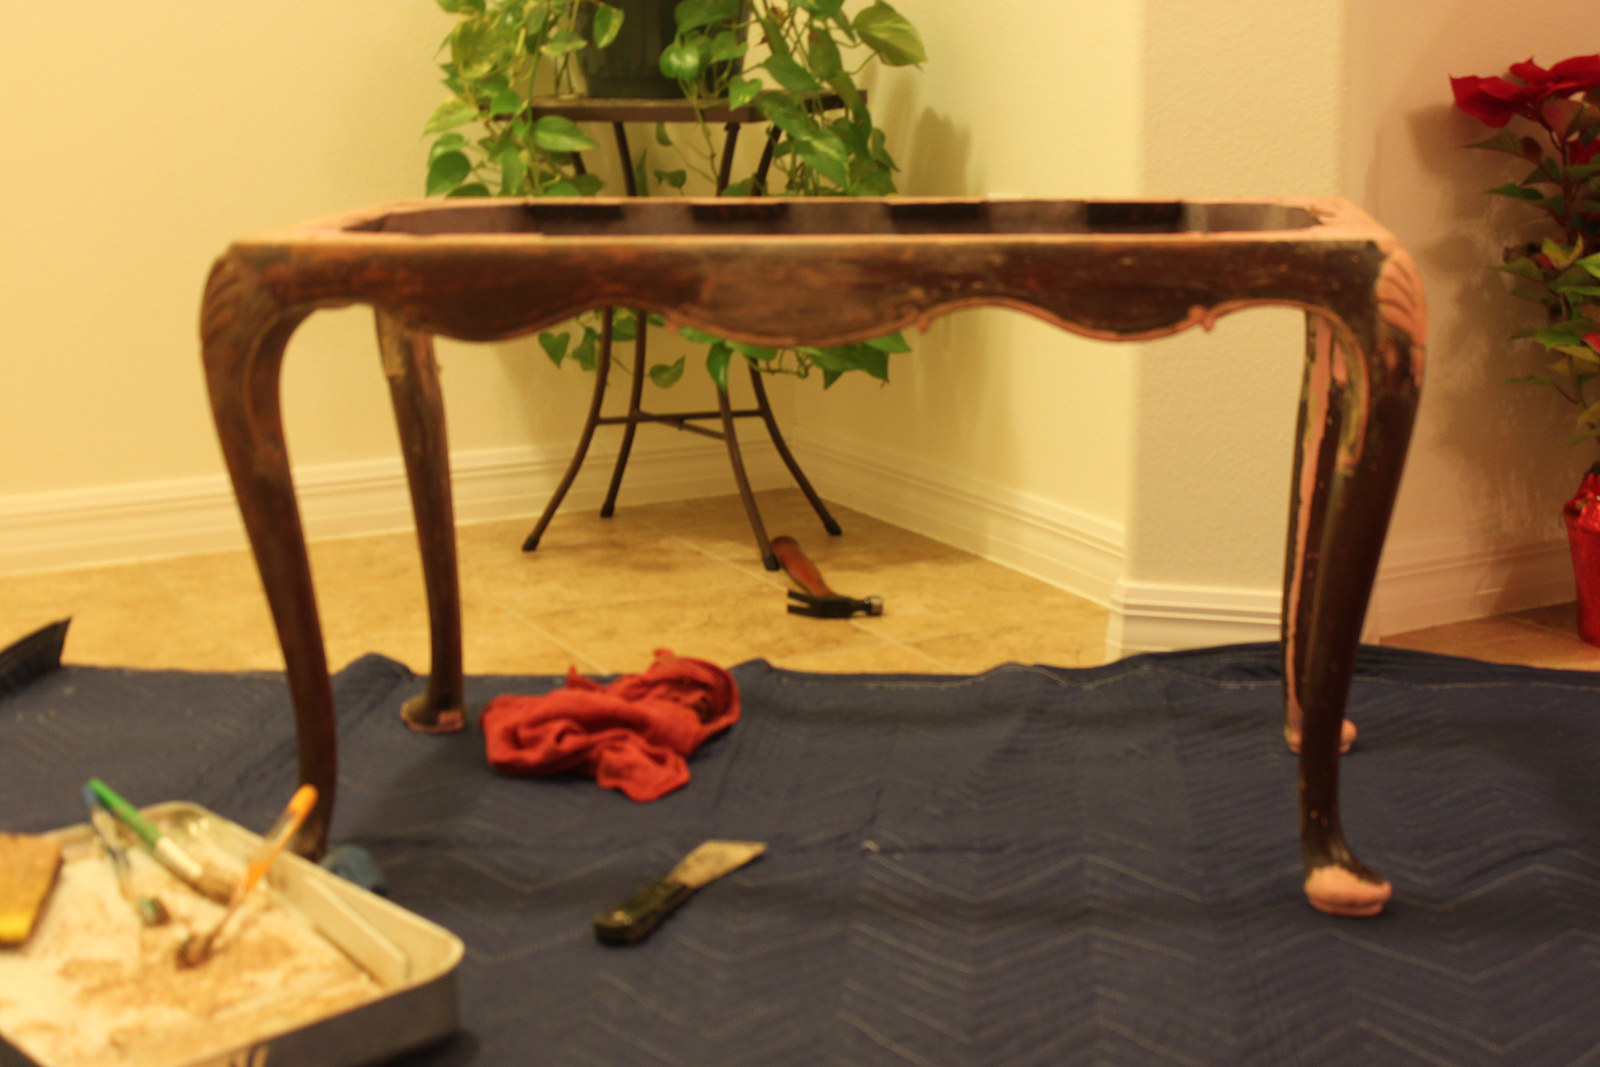
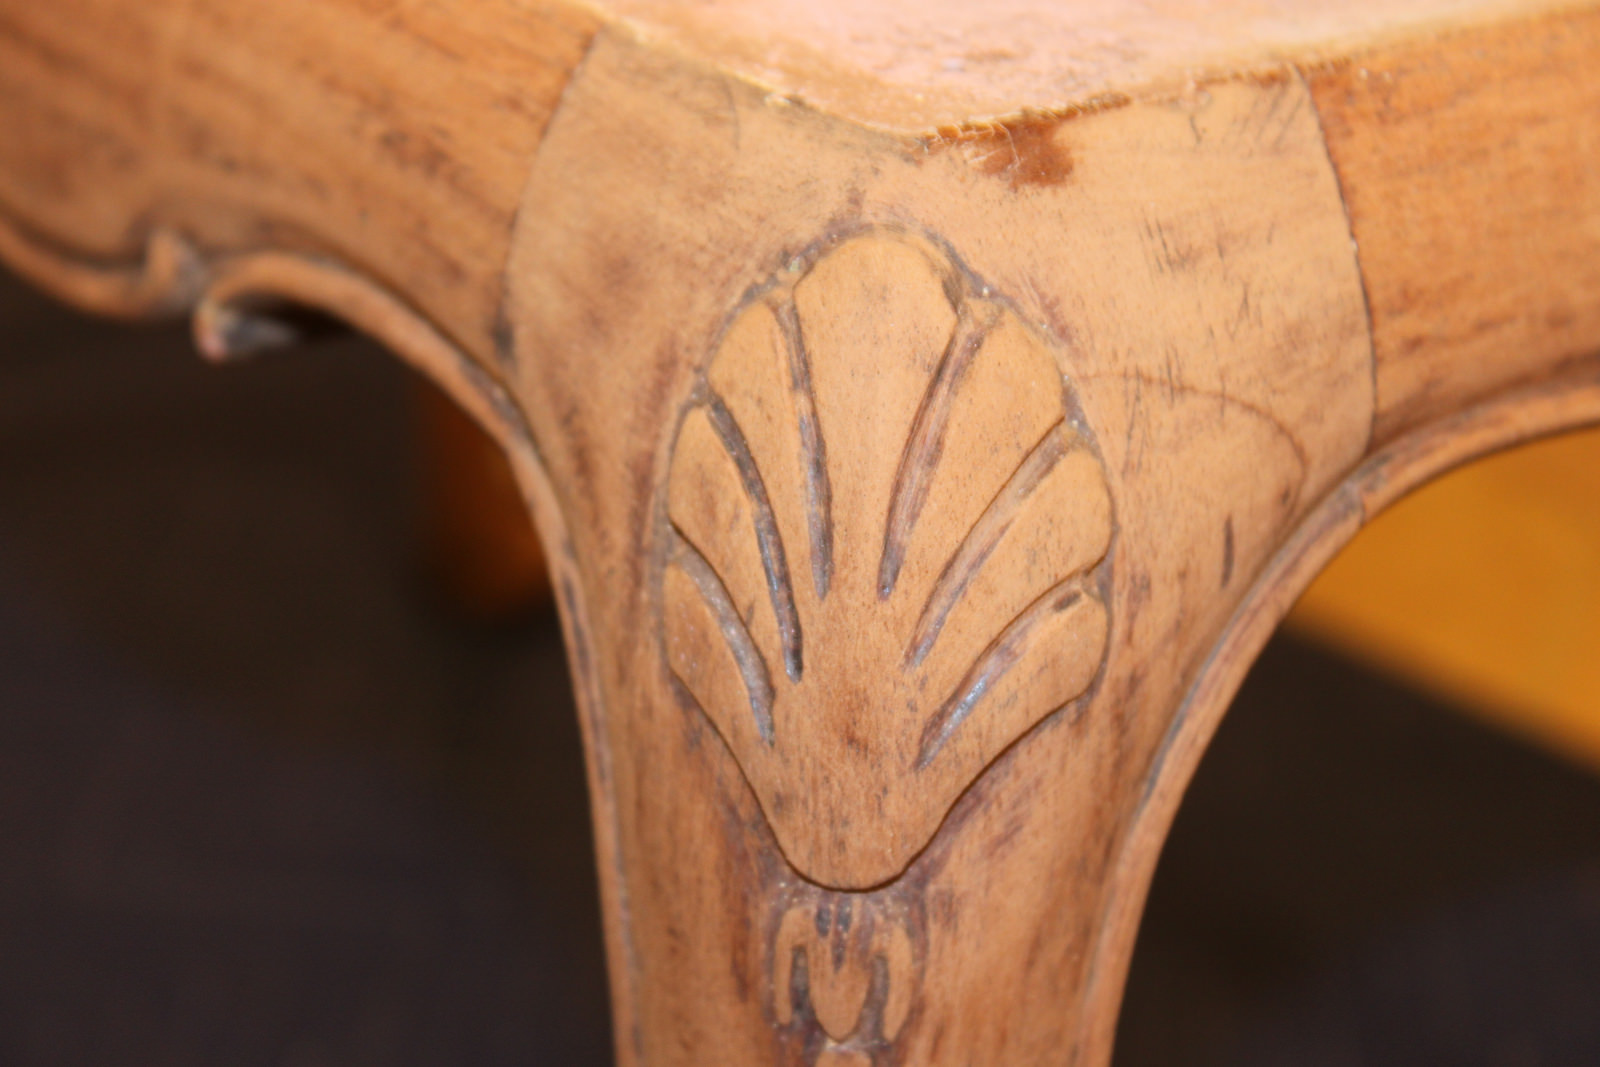
 Once I removed all the paint from the bench, I followed the 4-step sanding process.
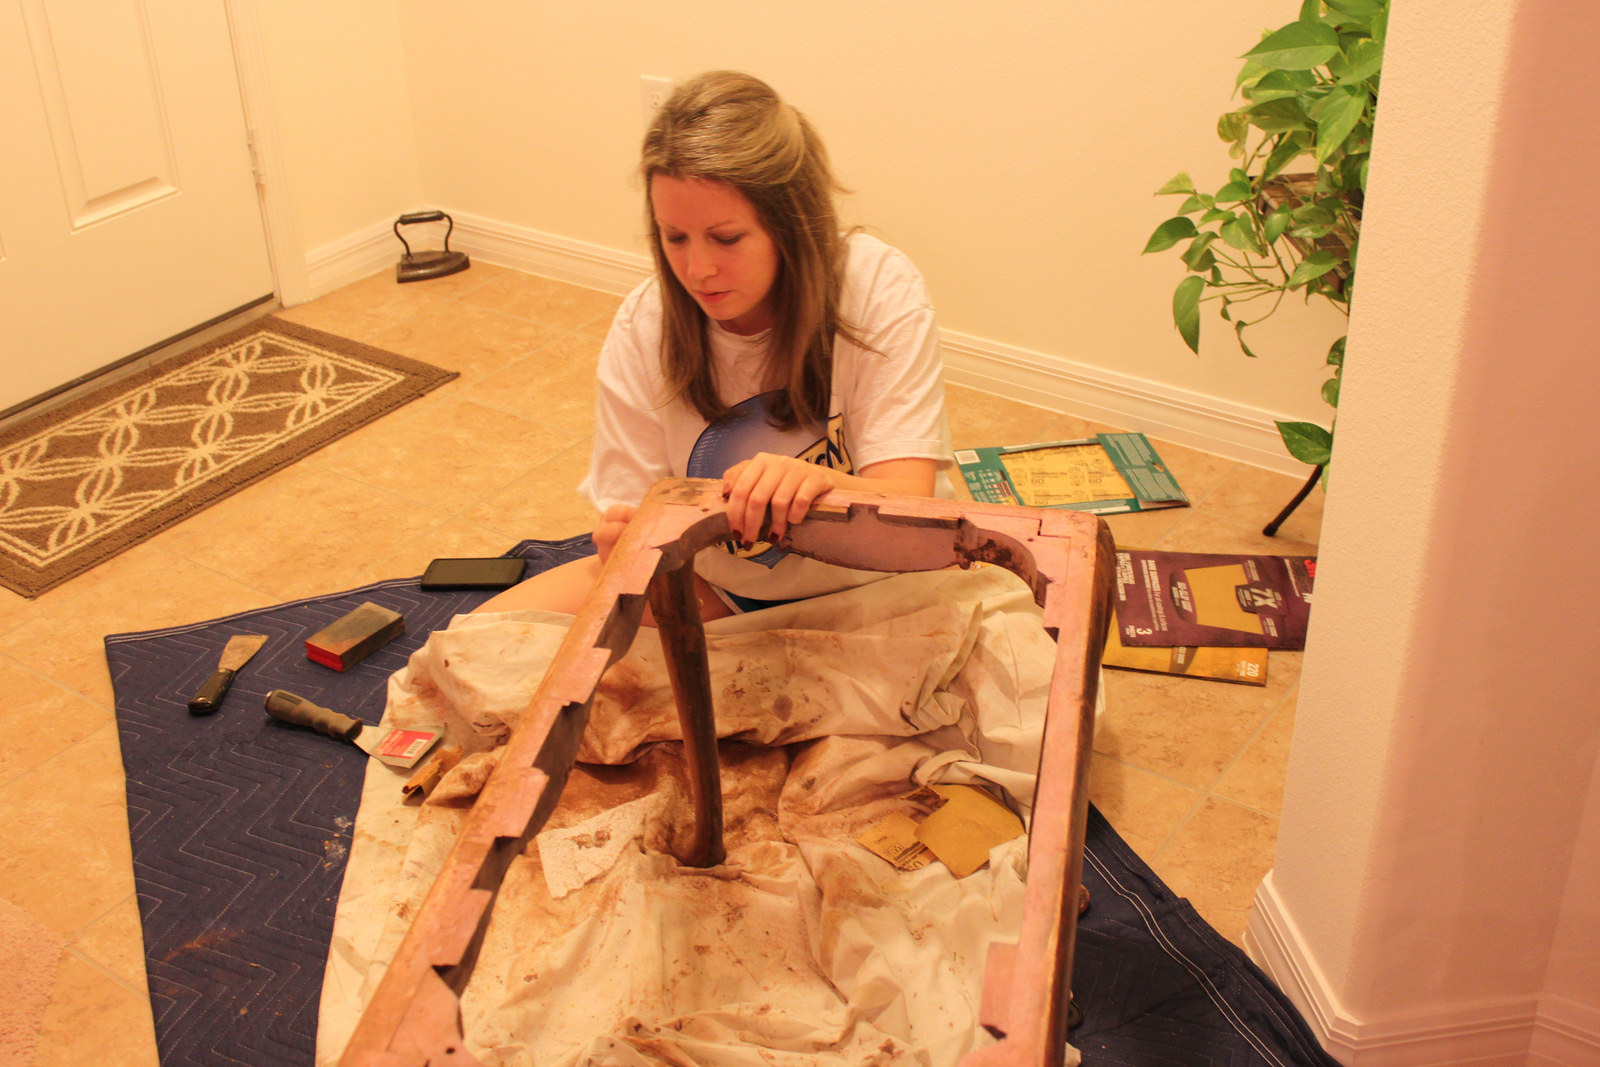 This is after the 4-step sanding process
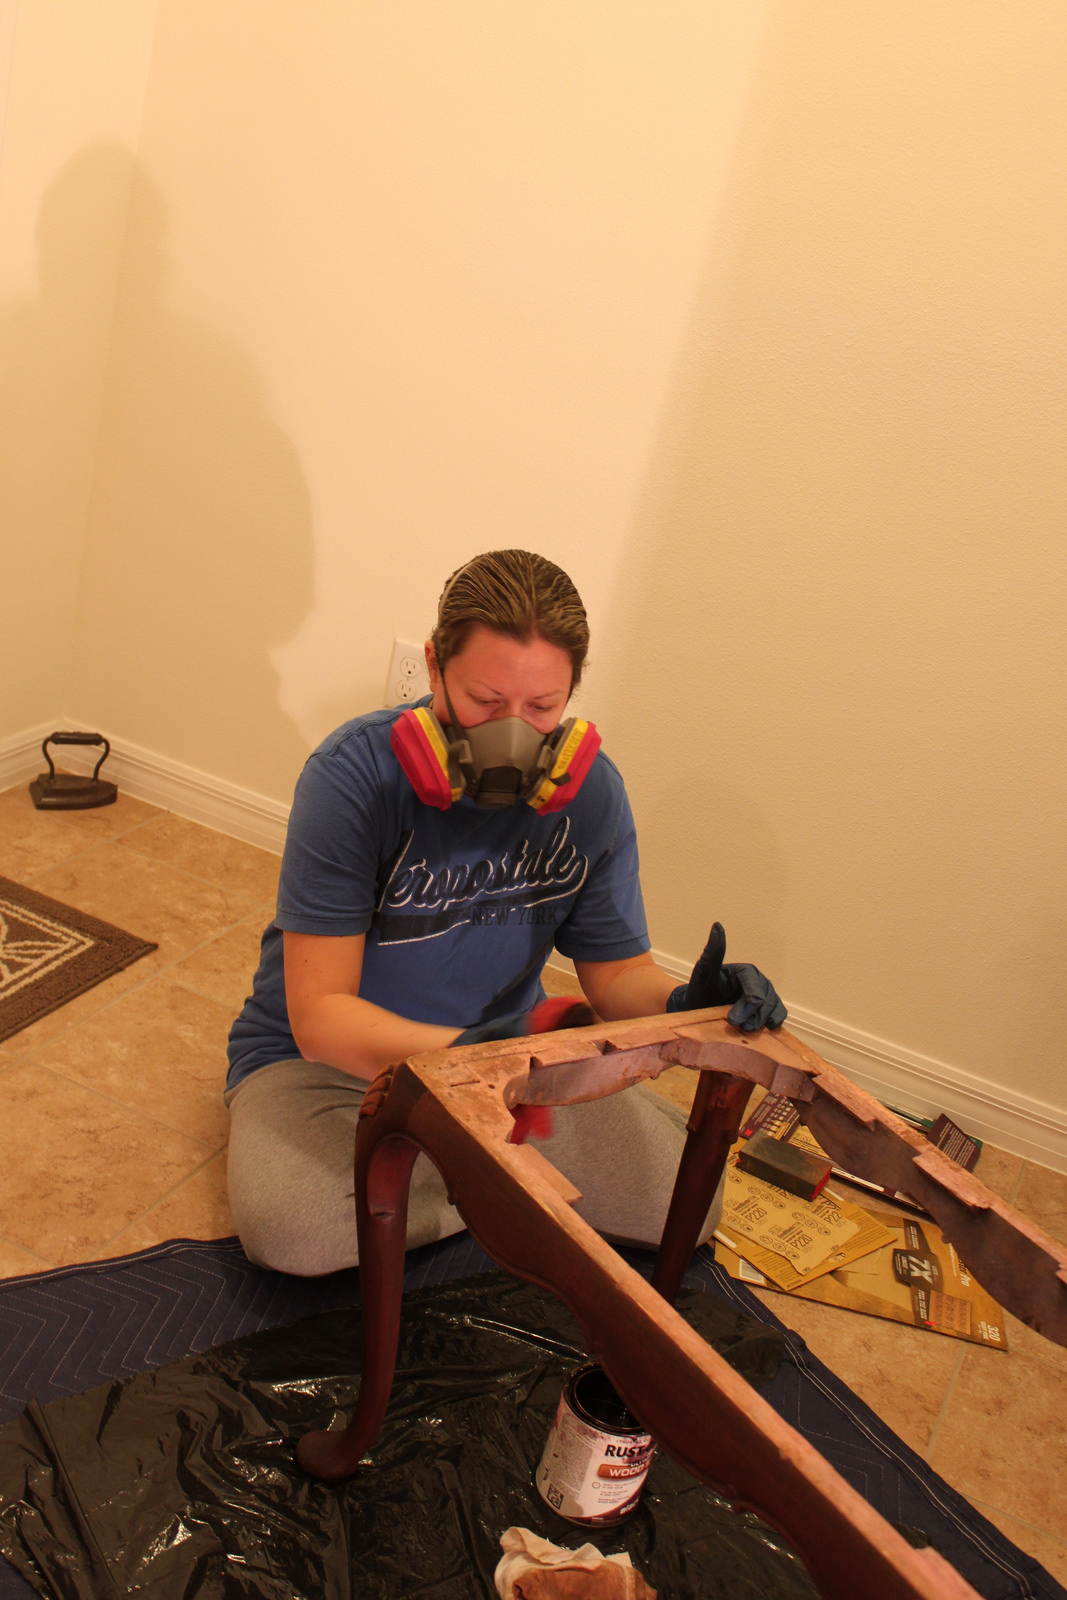
 Then I used mineral spirits to clean up the wood. Then I had to take the paint scrapper and get into all the little grooves to remove all the hints of paint.
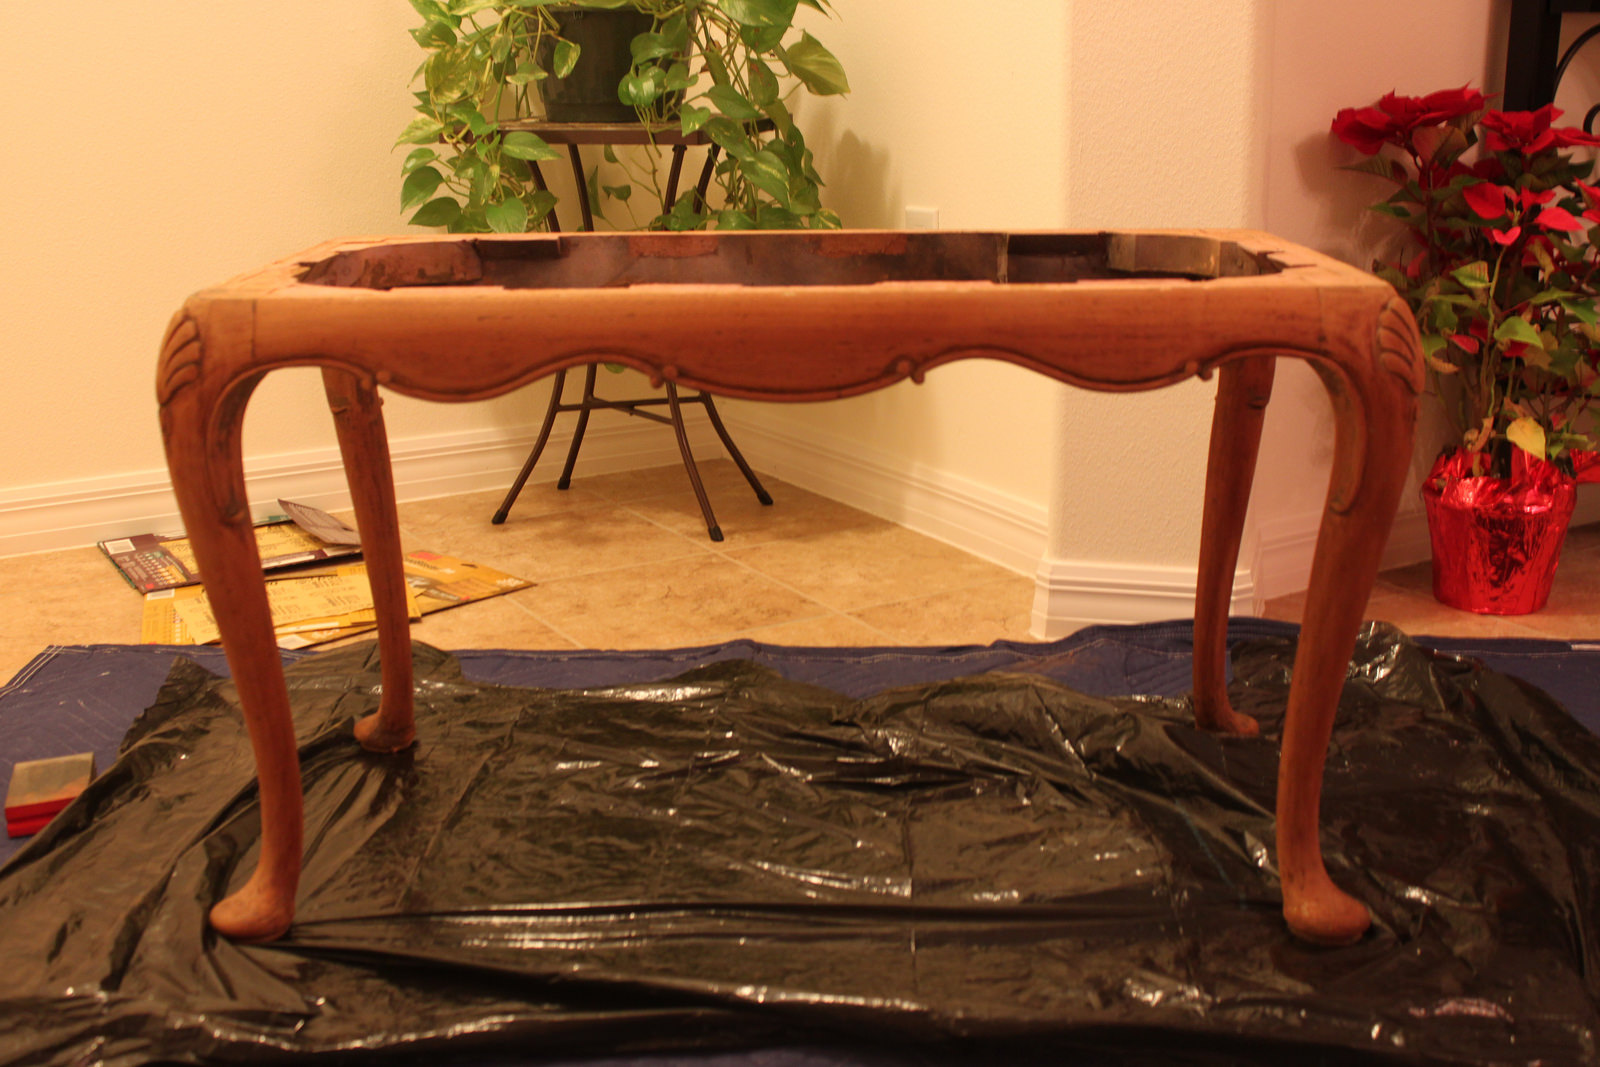
 After Mineral Spirits, I applied a pre-stain wood conditioner, this is to help penetrate the grains of the wood and prepare it for the final stain.
I do not know too much about wood, but I have finished a few wood pieces in the past. This wood after being stripped and sanded was a much darker wood than anything I have worked with in the past. My plan was to use Cherry stain (for a darker wood look) I was a little leery about it, I didn't know if the wood would come out super dark, but I still went with it and used the cherry stain.
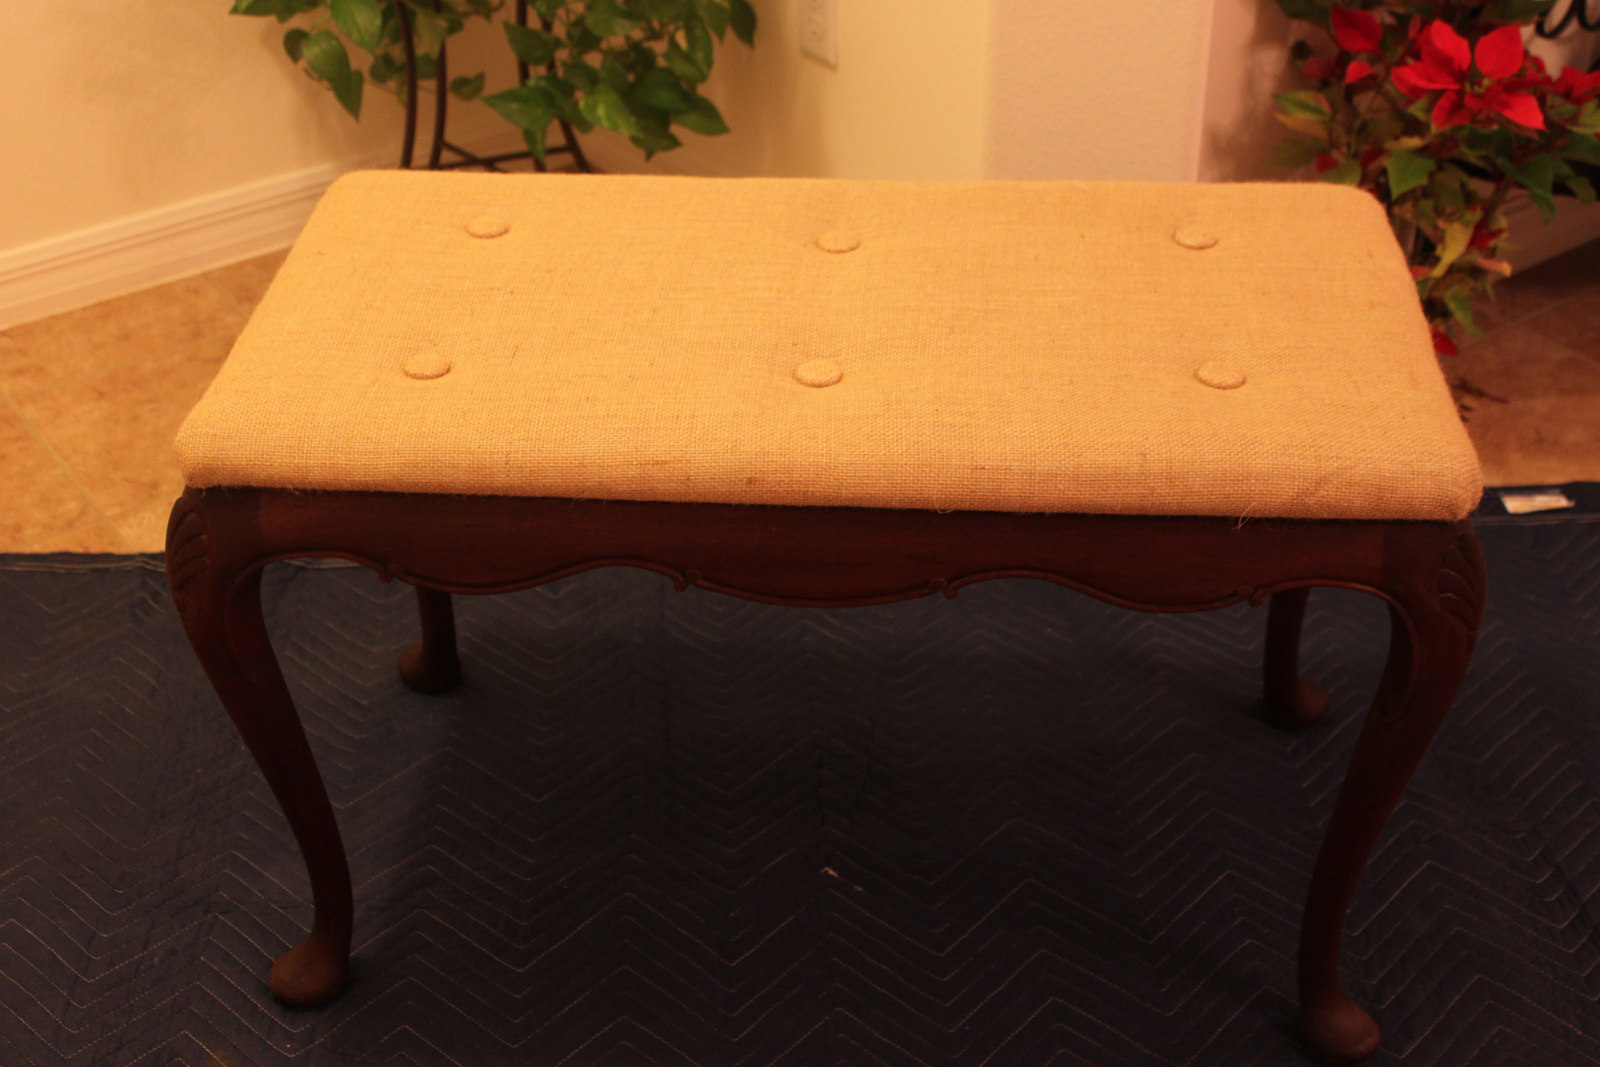
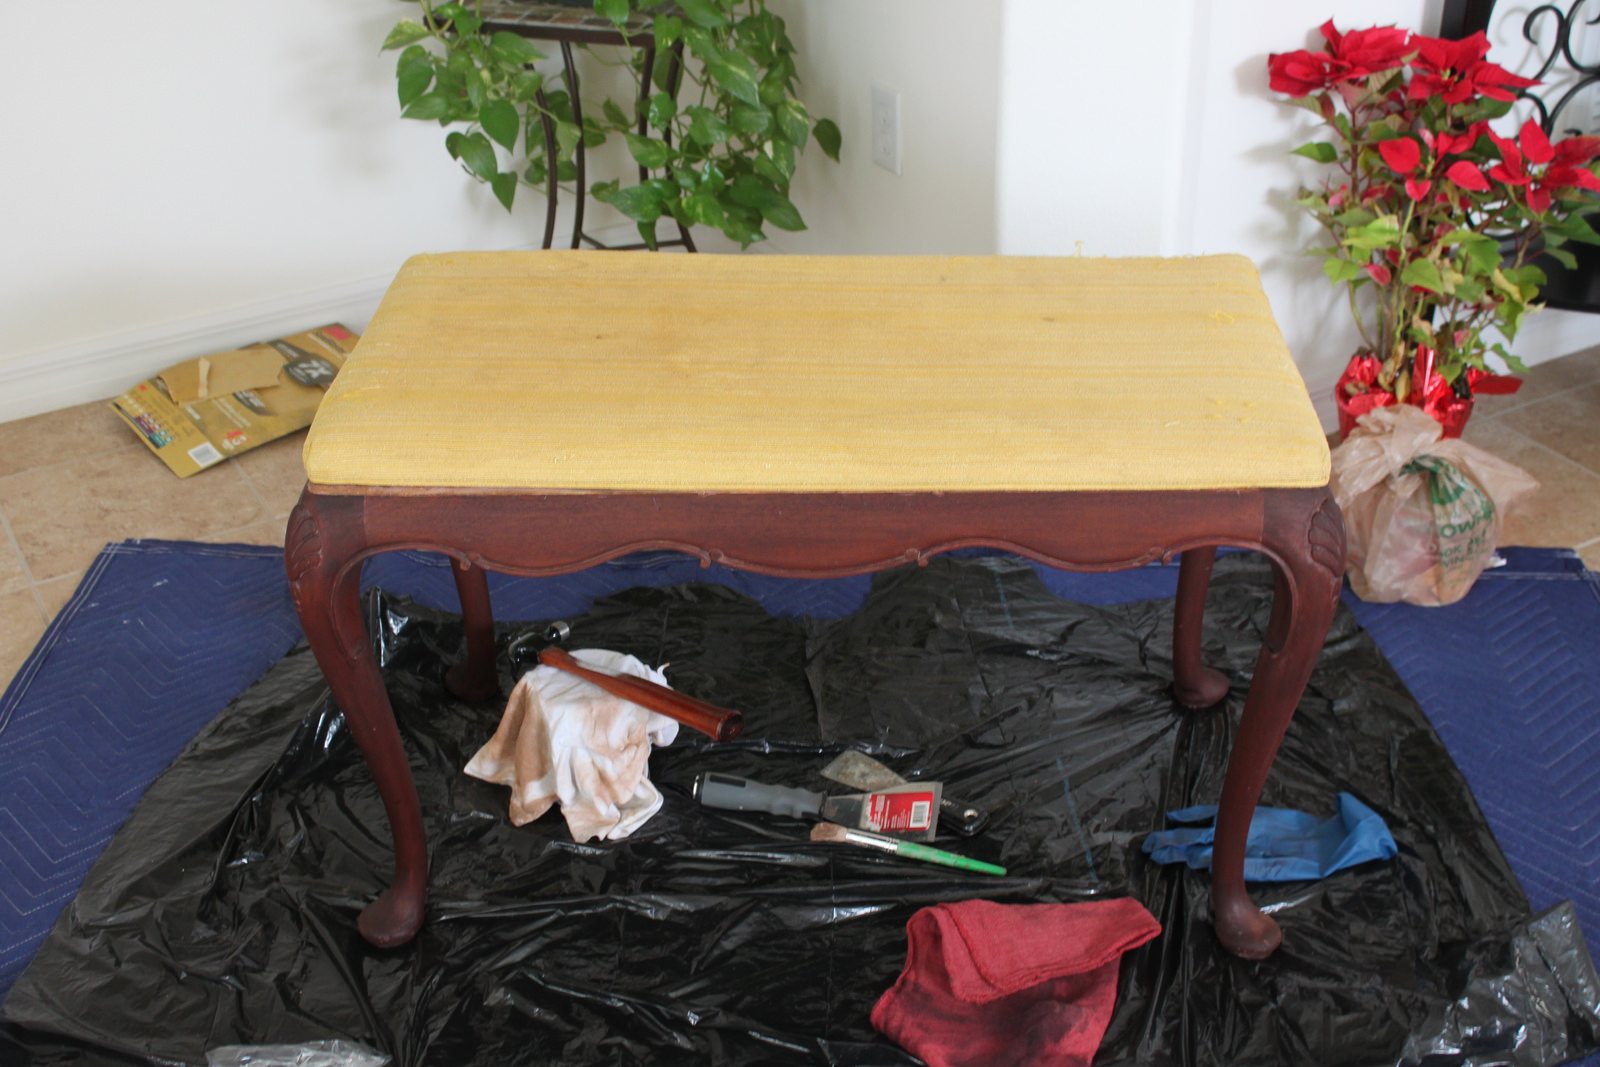 Above, is the piece completely stained, with the original bench cushion. I stripped the cushion from its Floridan look. It wasn't in bad condition so I decided to leave it and re-upholster.
Now this is my first time doing upholstery and I can honestly say I really enjoyed it!
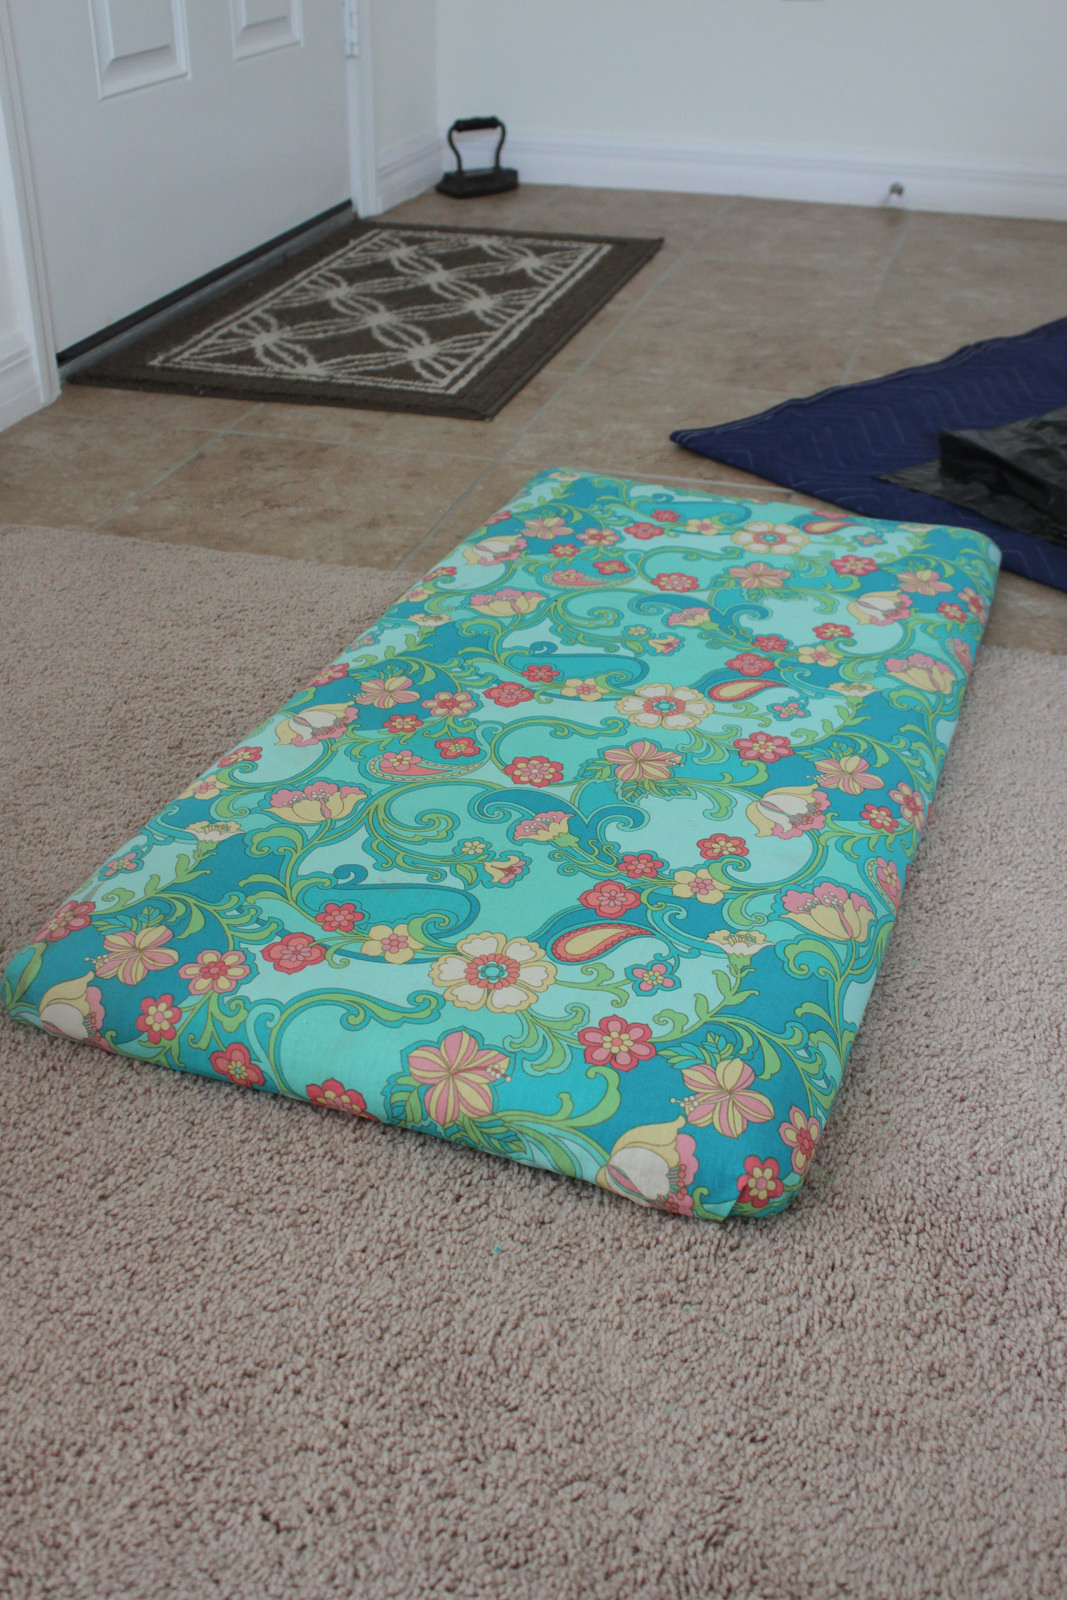
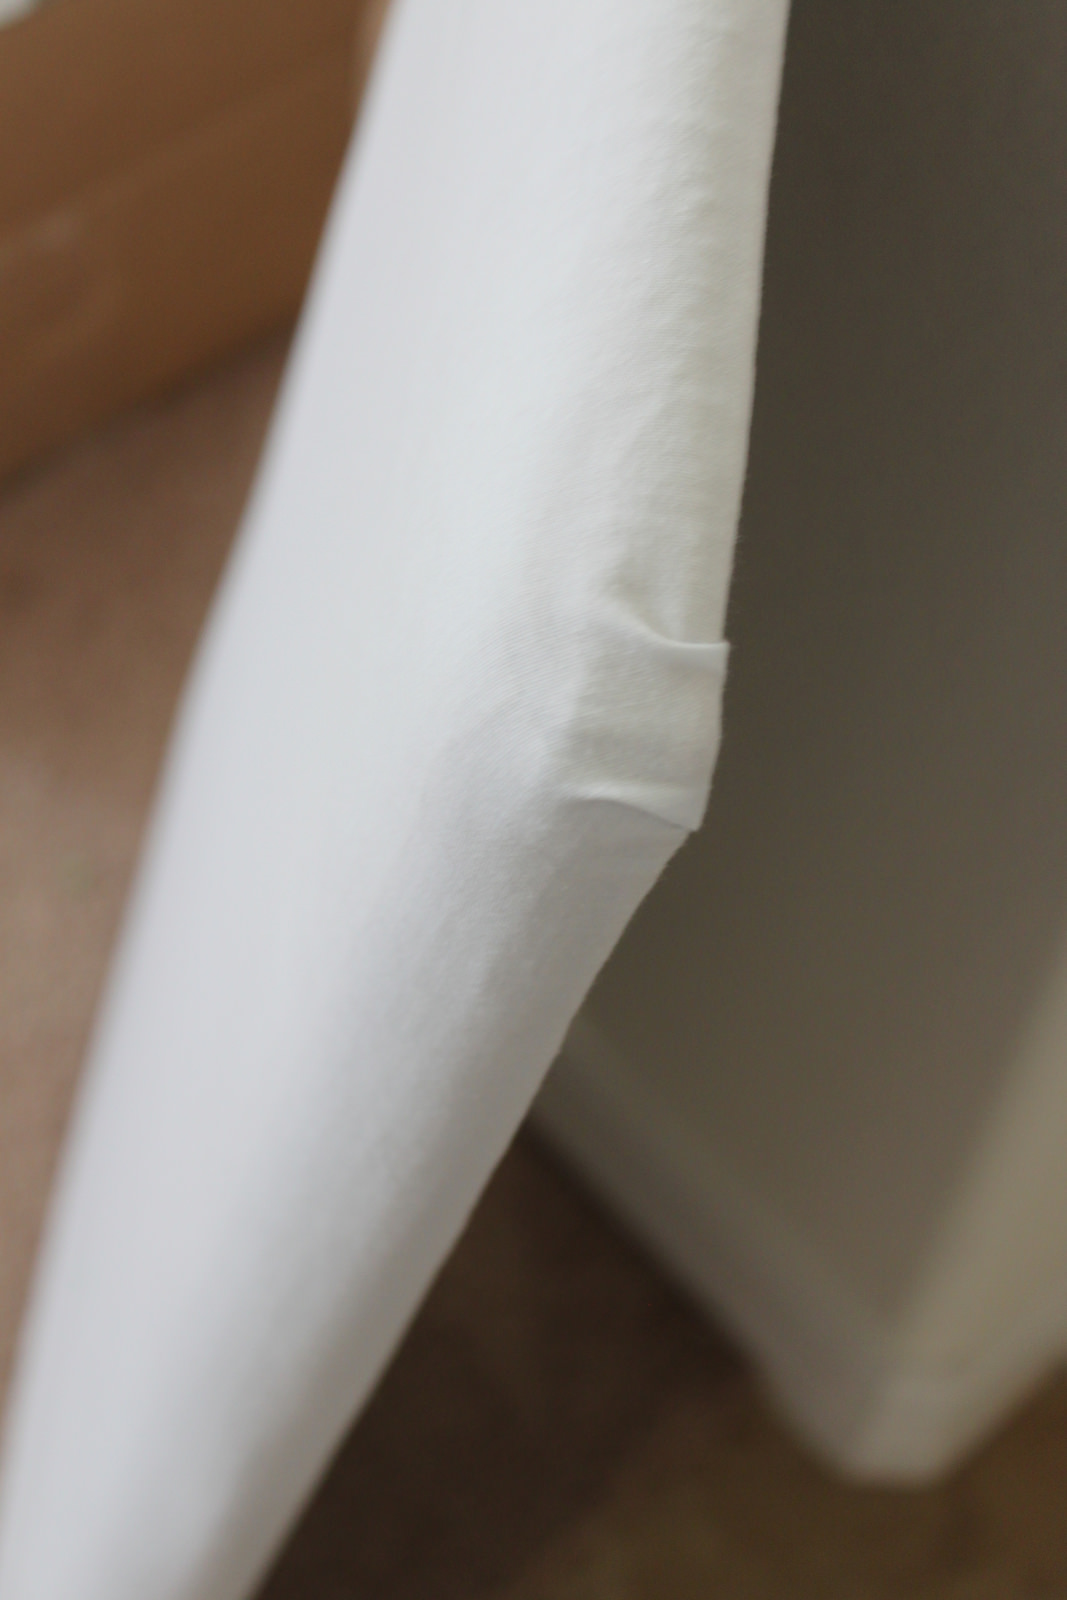
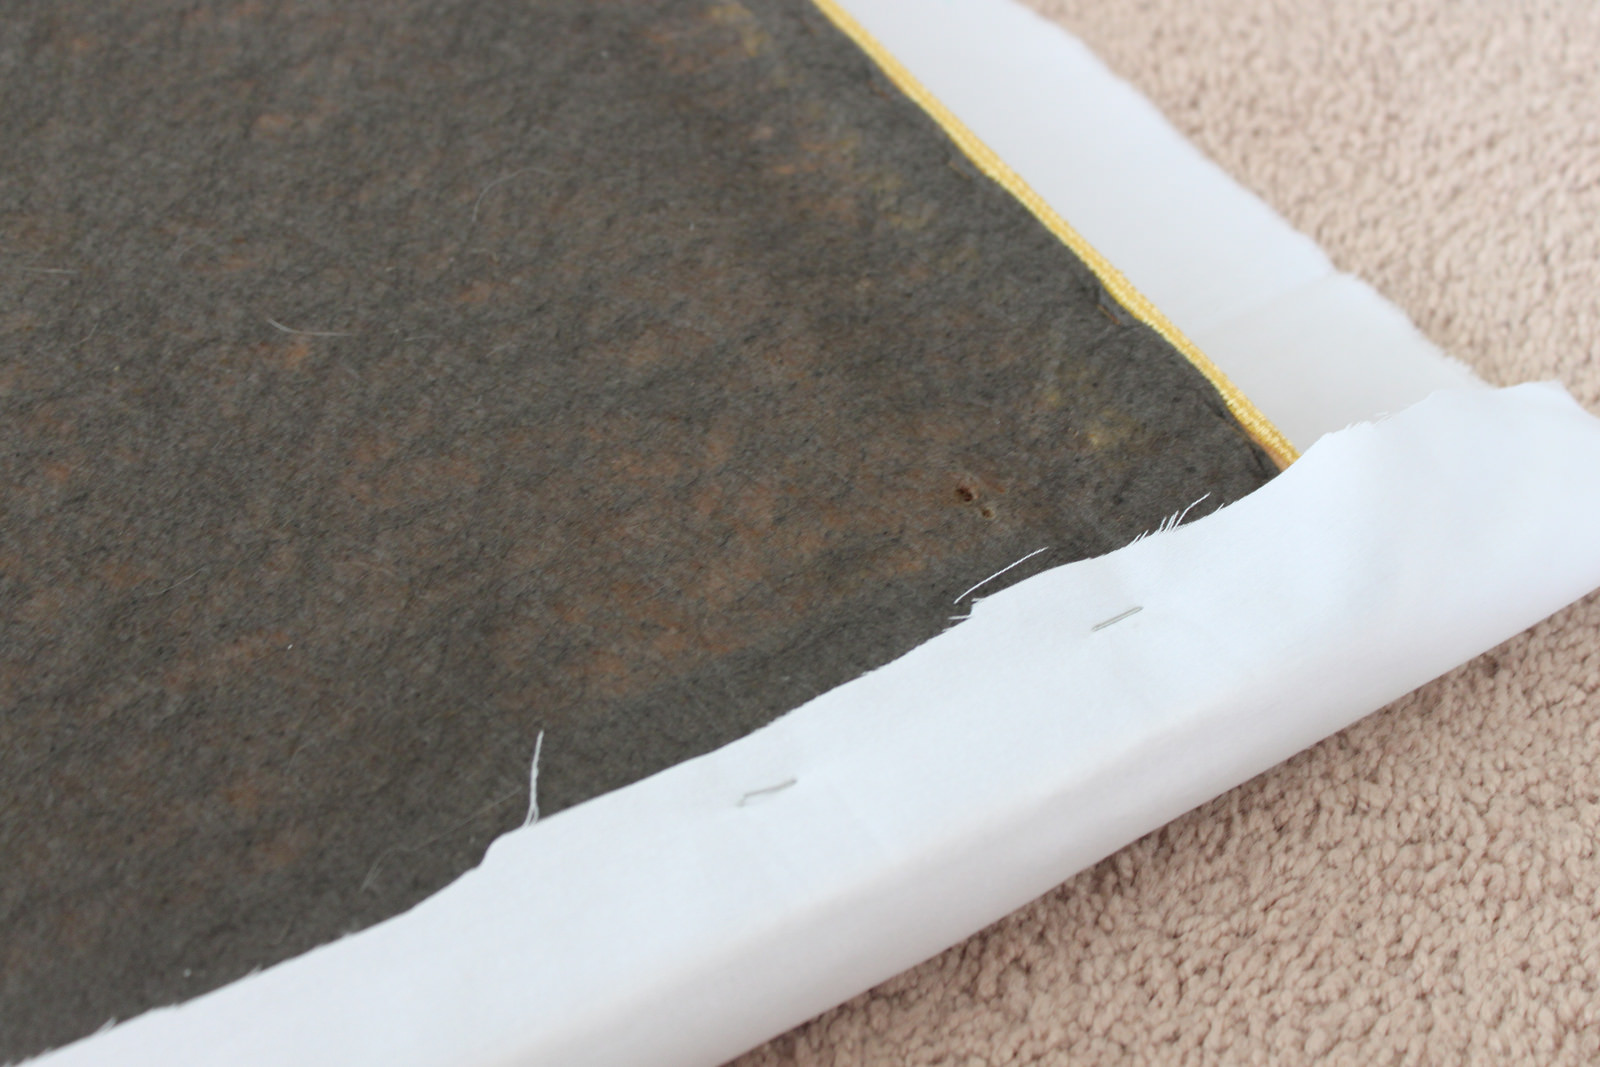 I covered the cushion in a white fabic and made sure all corners were up to my OCD standards.
 Then I decided to go with a burlap, one because it is the new thing, everything is burlap! But second it neutral and go with everything in the house. So then I started upholstering the cushion with the burlap material.

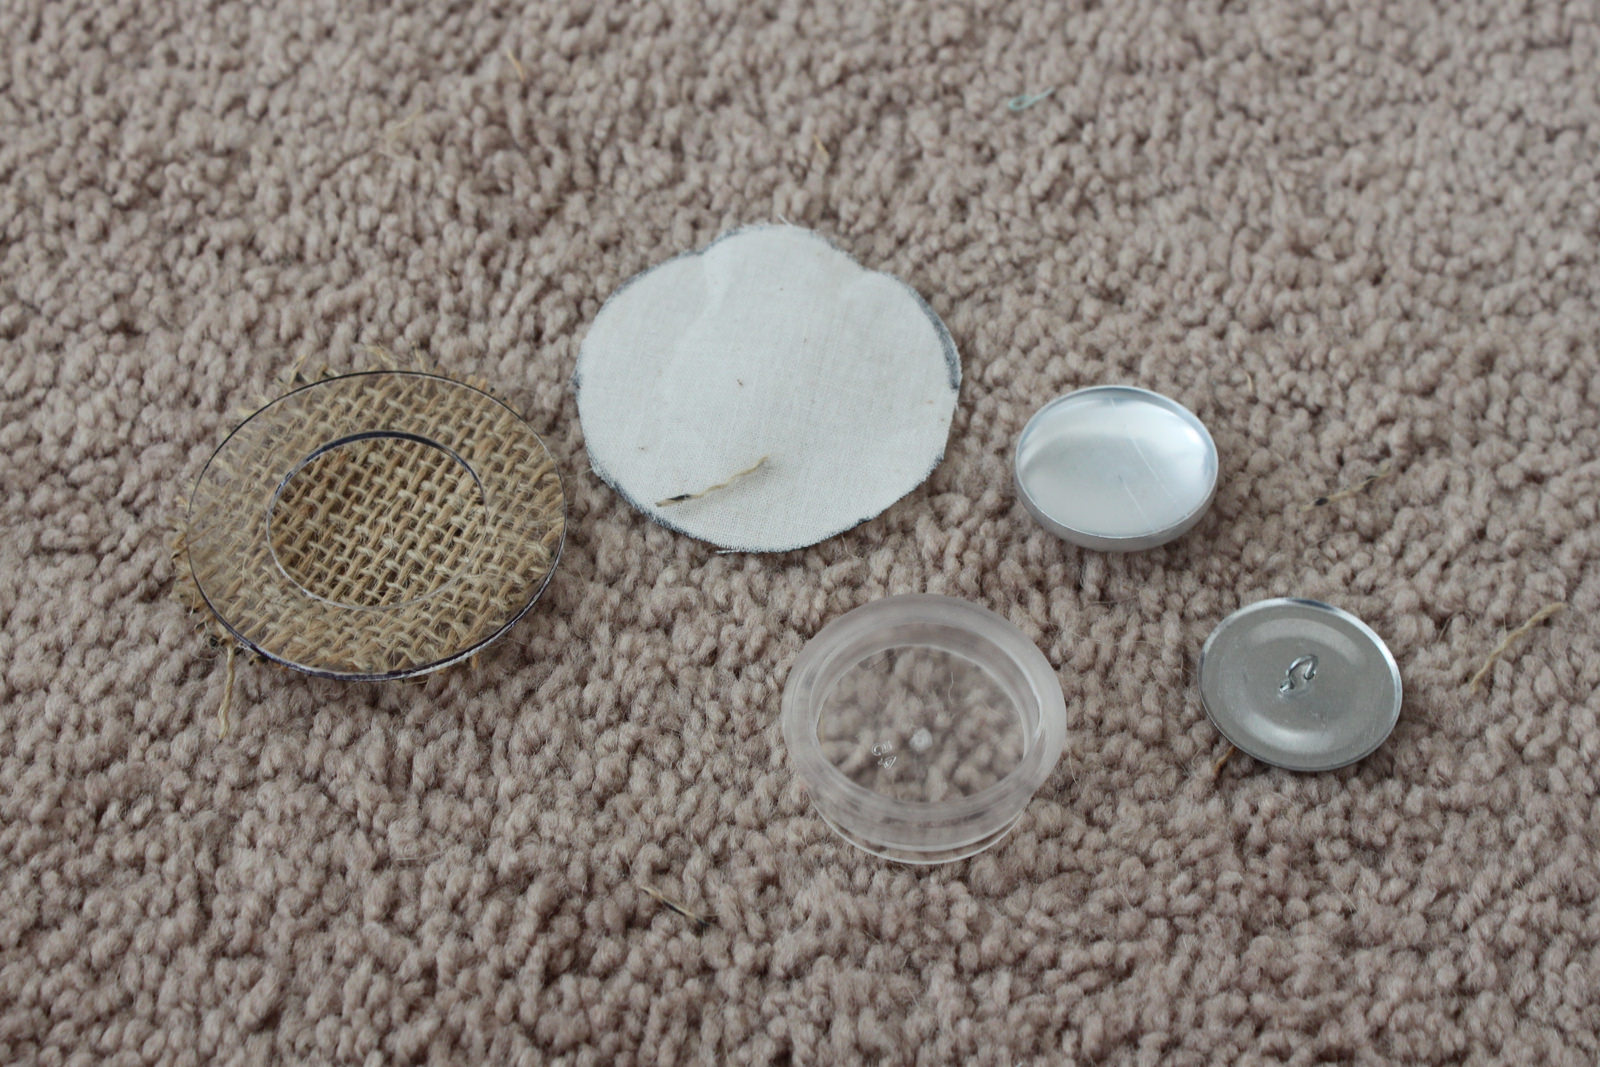
 I really thought some burlap buttons would just finish the piece off just right. I searched online how to make covered buttons, it seemed pretty easy. When I went to the craft store to find the type of buttons I needed it was going to cost about $12-13.00, just for plain buttons! So I actually bought a "covered buttons kit" for $10.00, it came with 10 buttons and it made the process super easy. Plus if you can buy the replacement buttons and still use the kit to cover them.
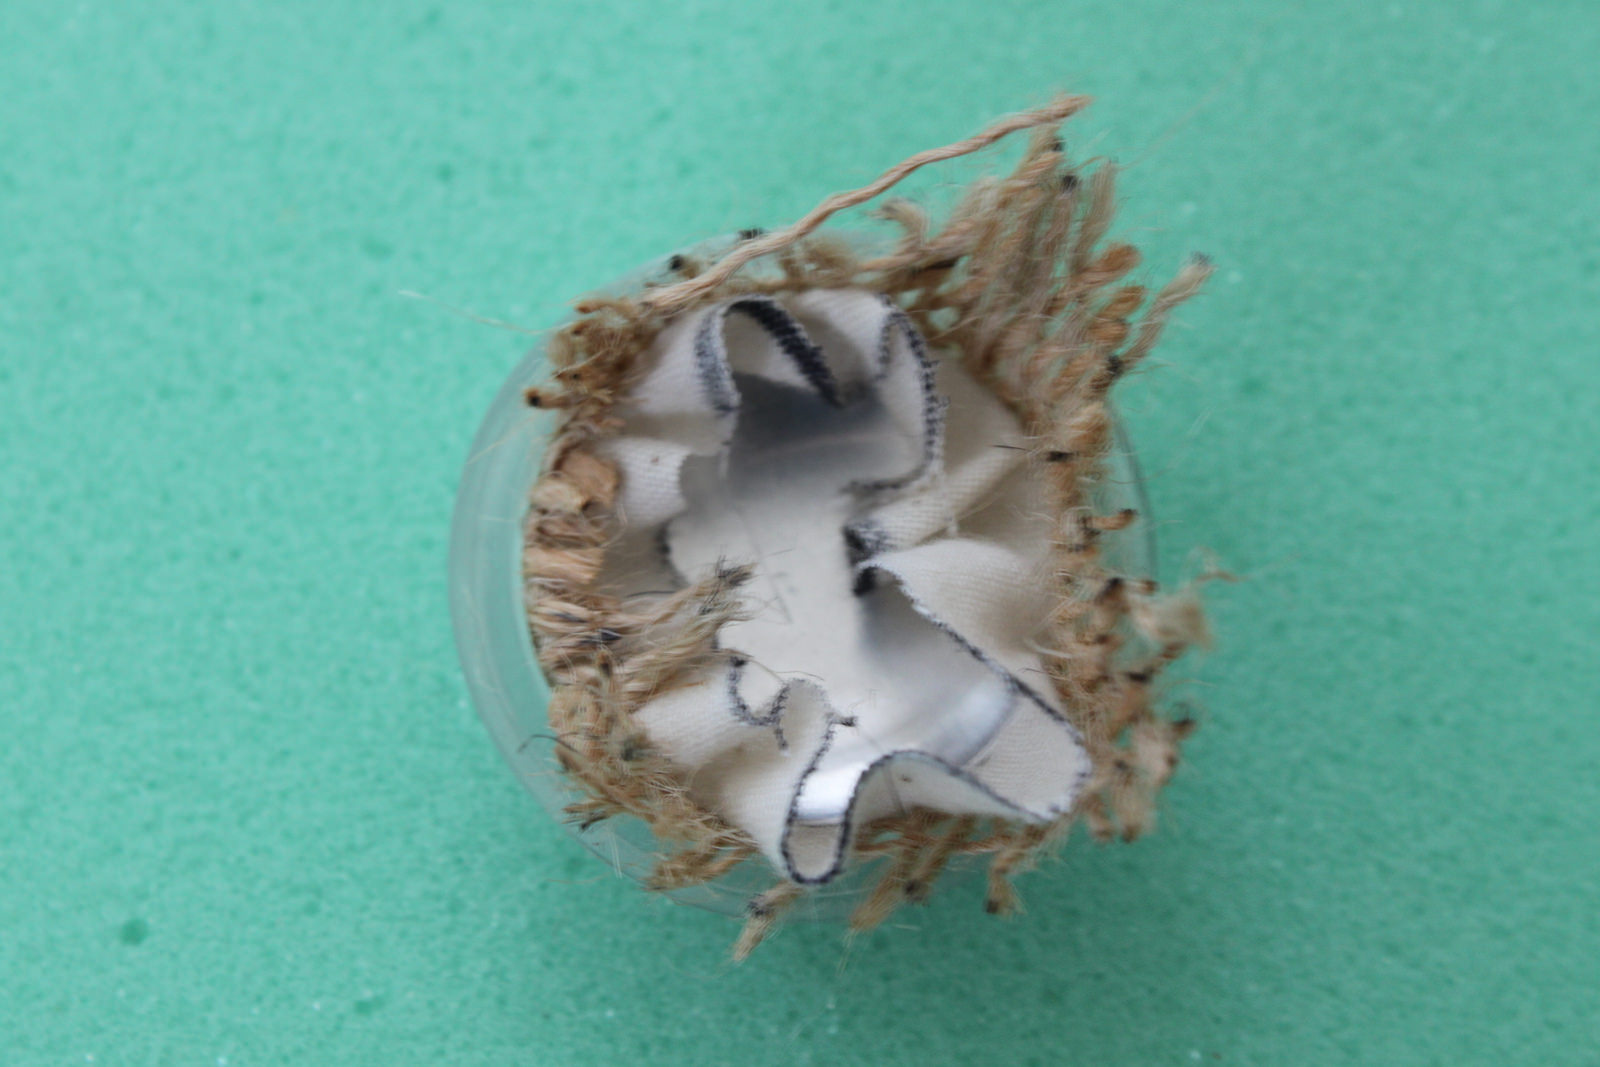

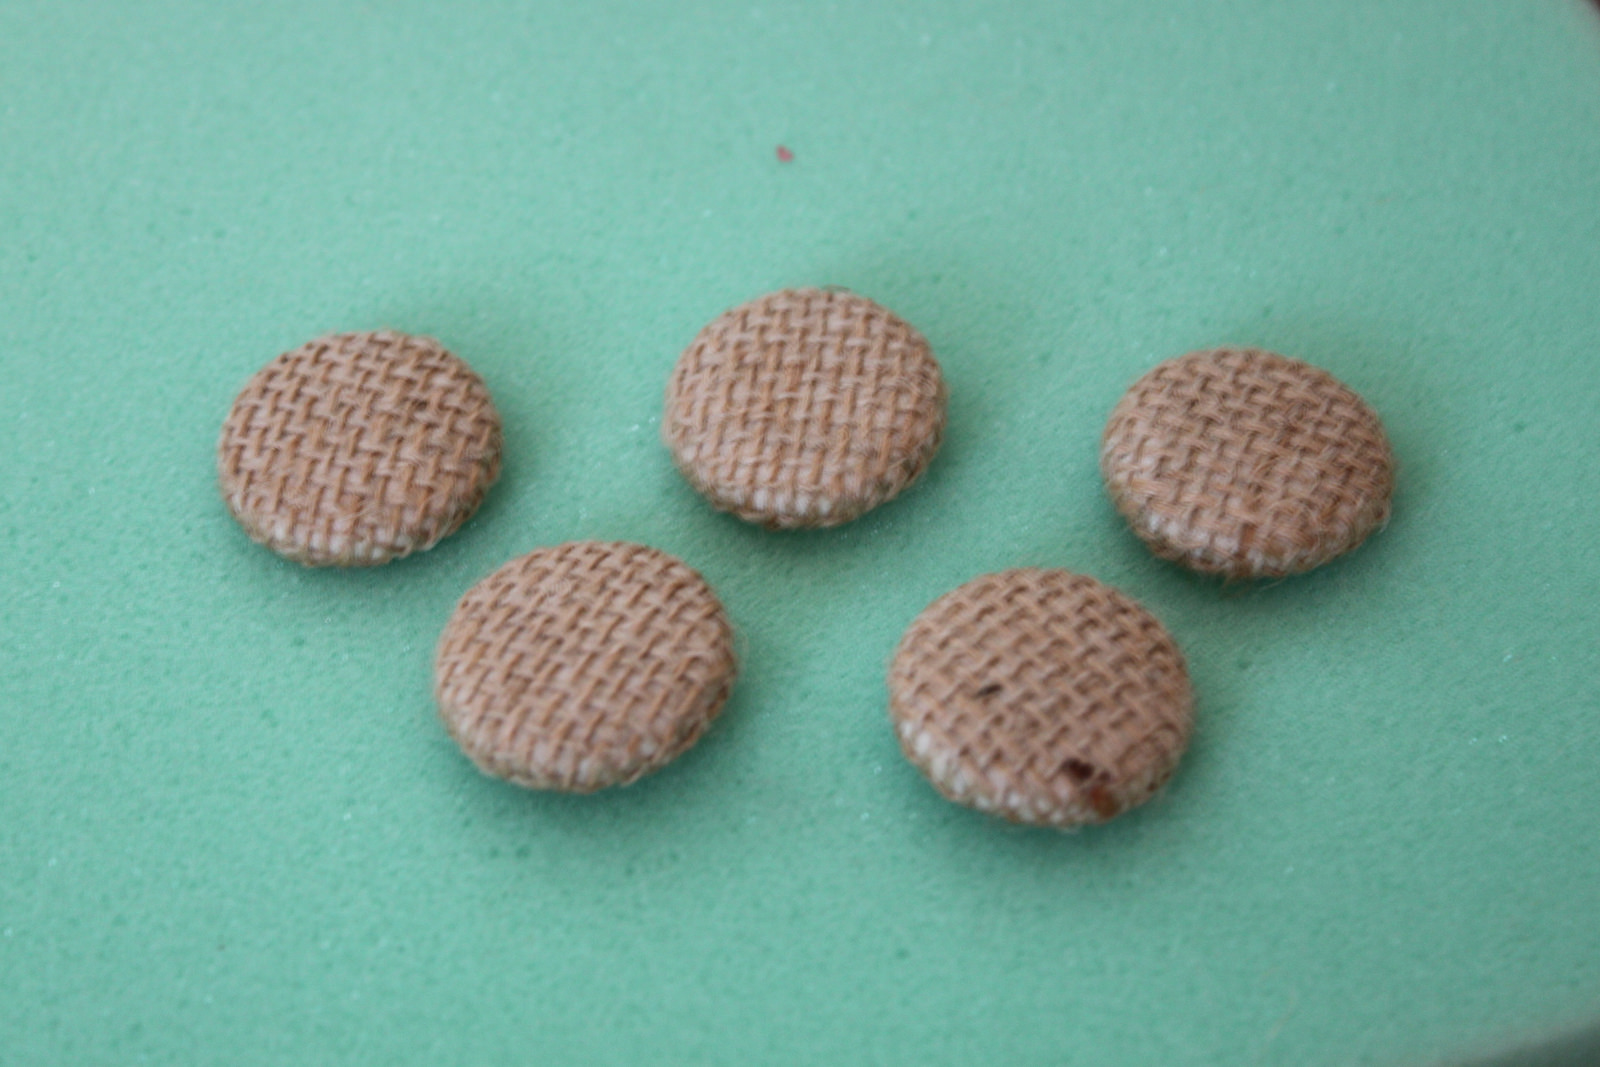 The buttons came out perfect! I then sewed them onto the cushion and through the cushion board. I used picture hanging wire to run the buttons through. Its a little bit more heavy duty then thread.
After the cushion was completed, the final step was applying the polyurethane to the wood. It only needed one coat.
 I am in love with this piece, I had so much fun bringing it back to life!
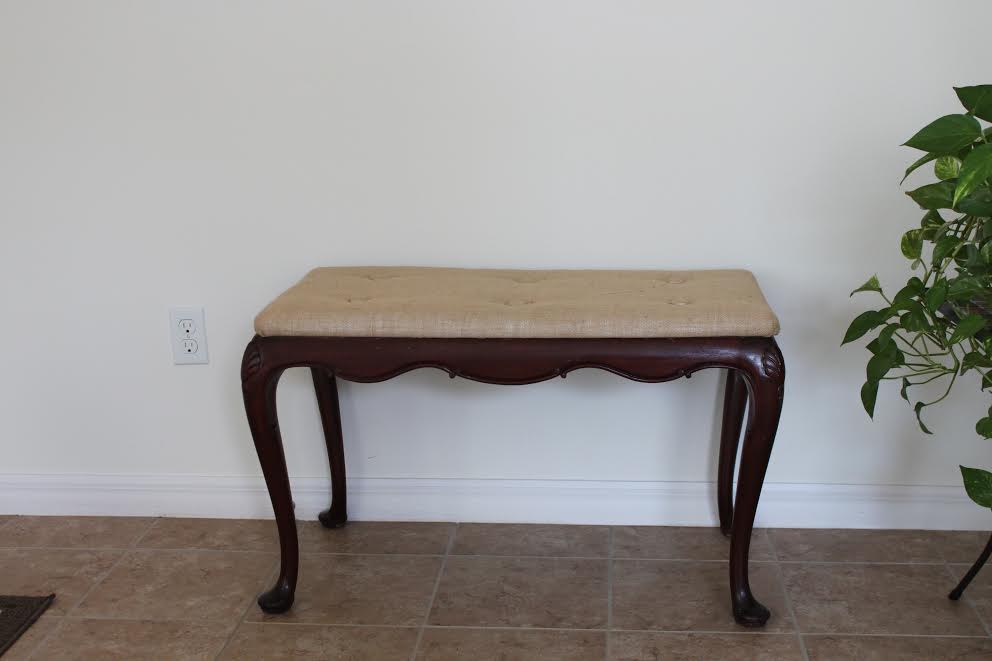
Here is the finished product in better lighting!

 Total cost of project $58.00
Breakdown:
- $25.00 for Bench
- $16.00 for Paint stripper (have alot leftover for upcoming projects)
- $7.00 for Burlap
- $10.00 Button kit
- I already had the following products: All the 4-step sanding materials, Cherry stain, Polyurethane, brushes, rags, paint scrappers, sewing supplies for buttons, gloves.)
Comments