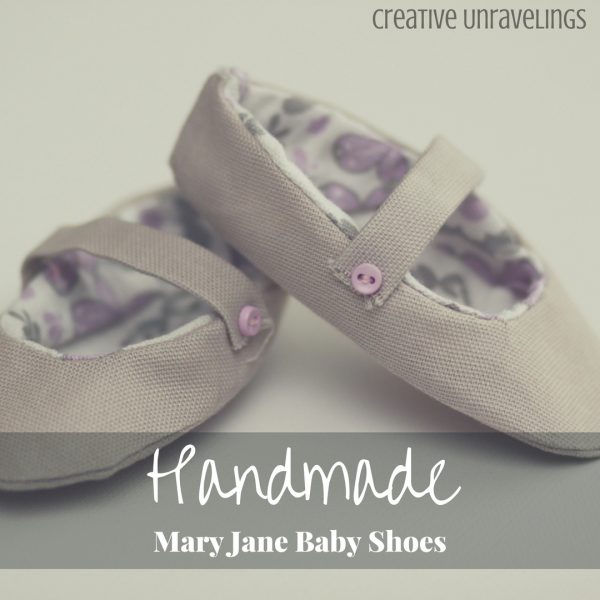
 I have always loved hand making items for family and friends. 2015 was a busy year, aside from a growing a baby I made 5 baby blankets! In 2016, my friends were having more babies, I decided to go a different route. I saw these Mary Jane shoes on Pinterest. I thought they would be so cute to make for my friend and for my little one. The instructions were a little overwhelming and long. I don't enjoy making complicated things. I honestly do better looking at the final product and then figuring out in my head how I want to tackle this. For those of you who have the same mindset as I do I hope you will find this post to be helpful.
Materials
- sewing machine
- scissors
- Iron
- pins
- sewing needle
- 1/4 yard of cotton fabric (outside of the shoe)
- 1/4 yard of cotton fabric (lining of the shoe)
- paper
- coordinating thread
I recommend using cotton fabric because it will hold up better as far as the structure of the shoe goes. I purchased 1/4 of fabric because I was making 2 pairs of shoes, plus I wanted extra fabric in case of any mistakes.
I found this free pattern for Mary Jane shoes online
Step 1: Cut out the pattern. Fold the fabric in half and pin the patterns to it. Place the top pattern piece on the fold.
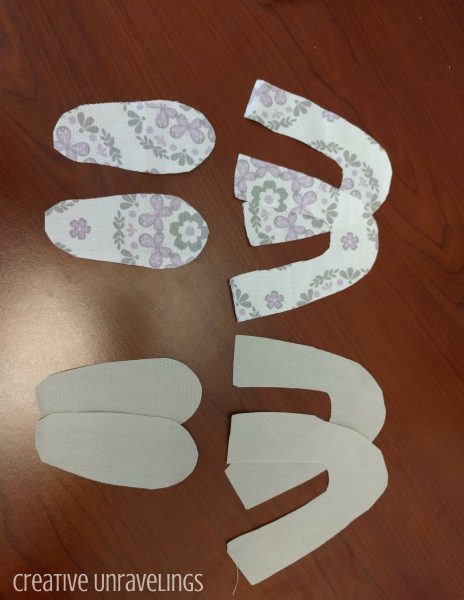 Step 2: Cut out 4 top pieces and 4 bottom pieces. You should be cutting 2 from the lining fabric and two from your outer shoe fabric.
Step 3: With the right sides together fold the pieces in half.
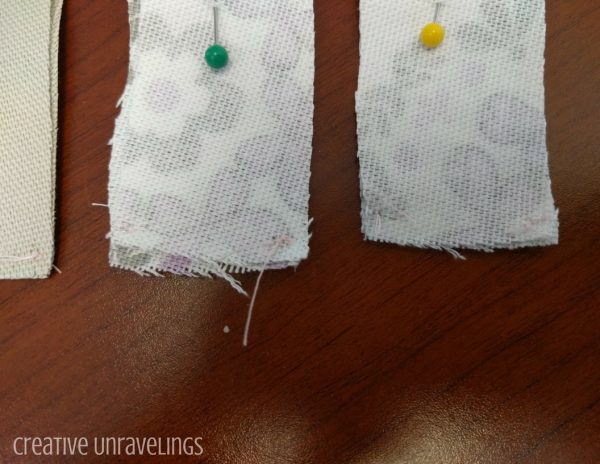
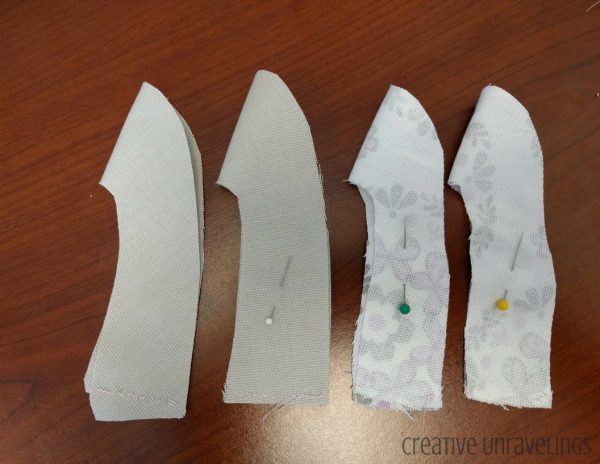 Step 4: Pin and then sew the back raw edges together with about 1/4-inch seam. Leave about a 1-inch opening (near the heel) in each of the lining pieces.
 Step 5: Line up the top shoe pieces with the bottom pieces with the right sides together. Then pin the bottom pieces and the top pieces together.
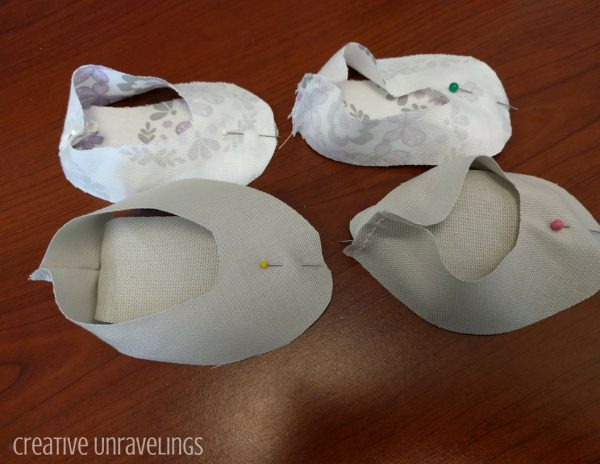 As you begin to sew the tops to the bottoms, remove the pins and leave about 1/4 inch seam
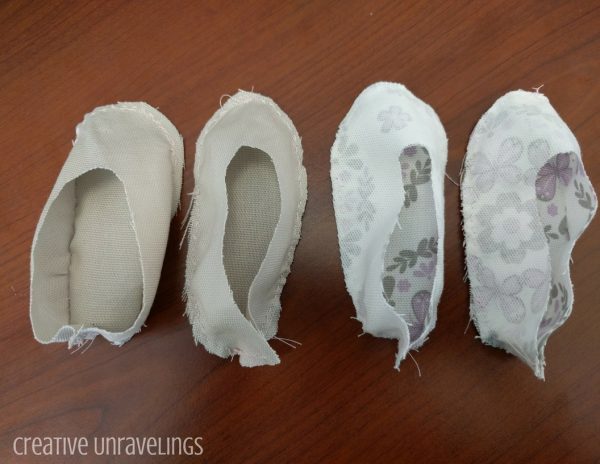 Step 6: Cut little notches around the curves of the seam. This will allow the piece more flexibility and to lie flat once they are right side out.
 Step 7: Place the outsides of the shoes inside the linings so that the right sides are together.
Step 8: Sew the top raw edges of the shoes together with a 1/4-inch seam.
Step 9: Now its time to turn the shoes right-side out, pull them through the 1 inch openings in the back of the lining.
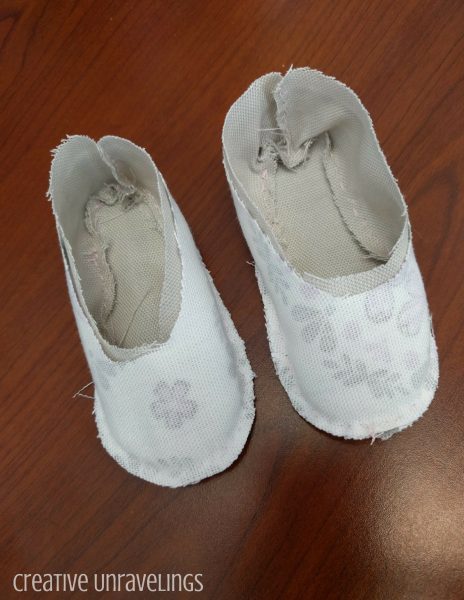
 Step 10: Once your shoes are turned right-side out, hand sew the openings closed. Then tuck the linings inside of the shoes and use your iron to press along the edges.
Step 11: For the top strap, I estimated the width of a baby's foot by using my child's foot as the model. I hand stitched the strap to both sides of the shoe.
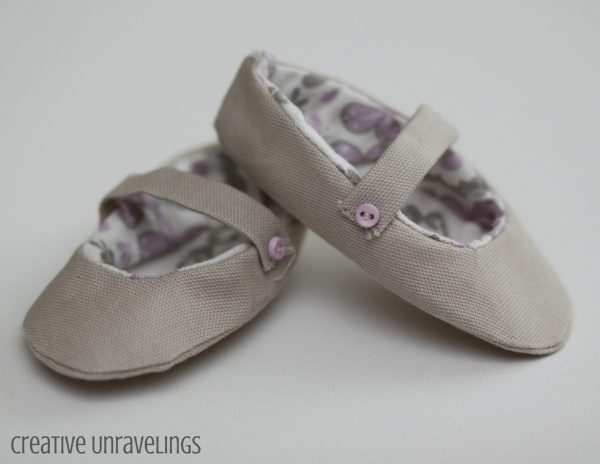
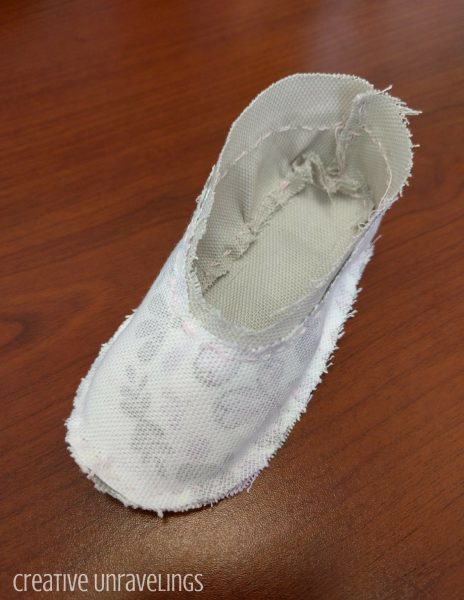
 There you have it! How darling are these shoes?
Comments