
I never thought I would attempt making a birthday invitation from scratch! I am so pleased with my final product on my daughter's birthday invitation. I never thought it would come out looking this professional. I am so use to creating my own seasonal cards in Shutterfly and Snapfish with a hefty price tag. Thanks to my Cricut this bring a whole new meaning to custom cards, of course they are a lot of work. I will talk about that later. Its now time to check out my daughter's birthday invitation!
Here are the supplies you will need:
- Cricut Explore Air 2
- Cricut Design Studio
- 12 x 12 Cricut Mat
- Cricut Tools
- Cricut Black Pen
- Cardstock (for this project I used 3 different colors)
- Mod Podge ( I used gloss)
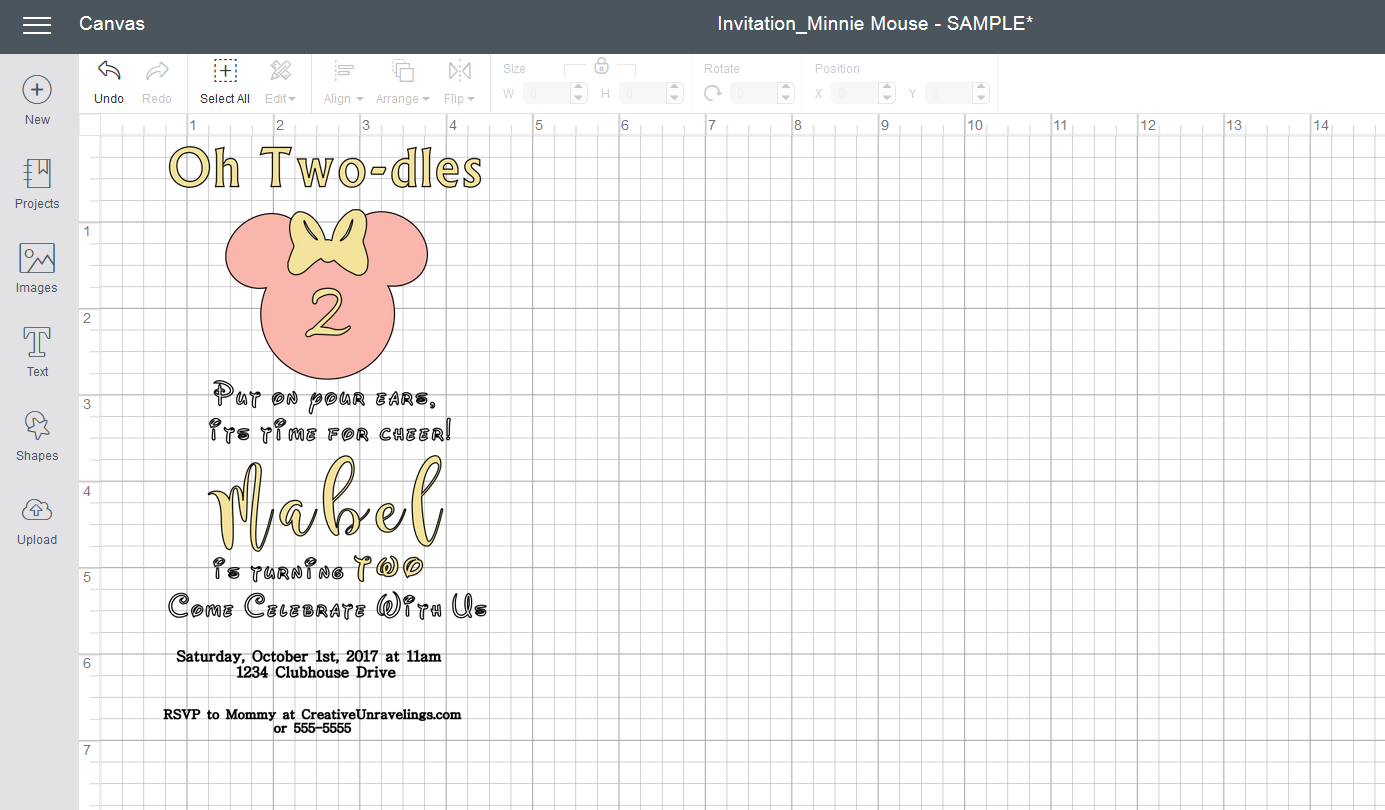
The first step was creating my invitation. Since the colors that I would be using are pretty girly, I wanted to keep it clean and simple. I went with Minnie Ears with a bow as my focal point on the invitation. Then I wanted certain words on the invite to pop, things like "Oh, Two-dles," her upcoming age and of course my daughter's name. So to the Cricut Design Studio I went to create my invitation!
You can access my Cricut Design file for my "Oh, Two-dles" invitation here.
Here is a screen shot of my invitation creation in Cricut Design Space. Please keep in mind some of my fonts are my own system fonts so when you open up the program you might see the error: This project contains fonts that are not installed on your computer. You can always change the font to best fit your design.
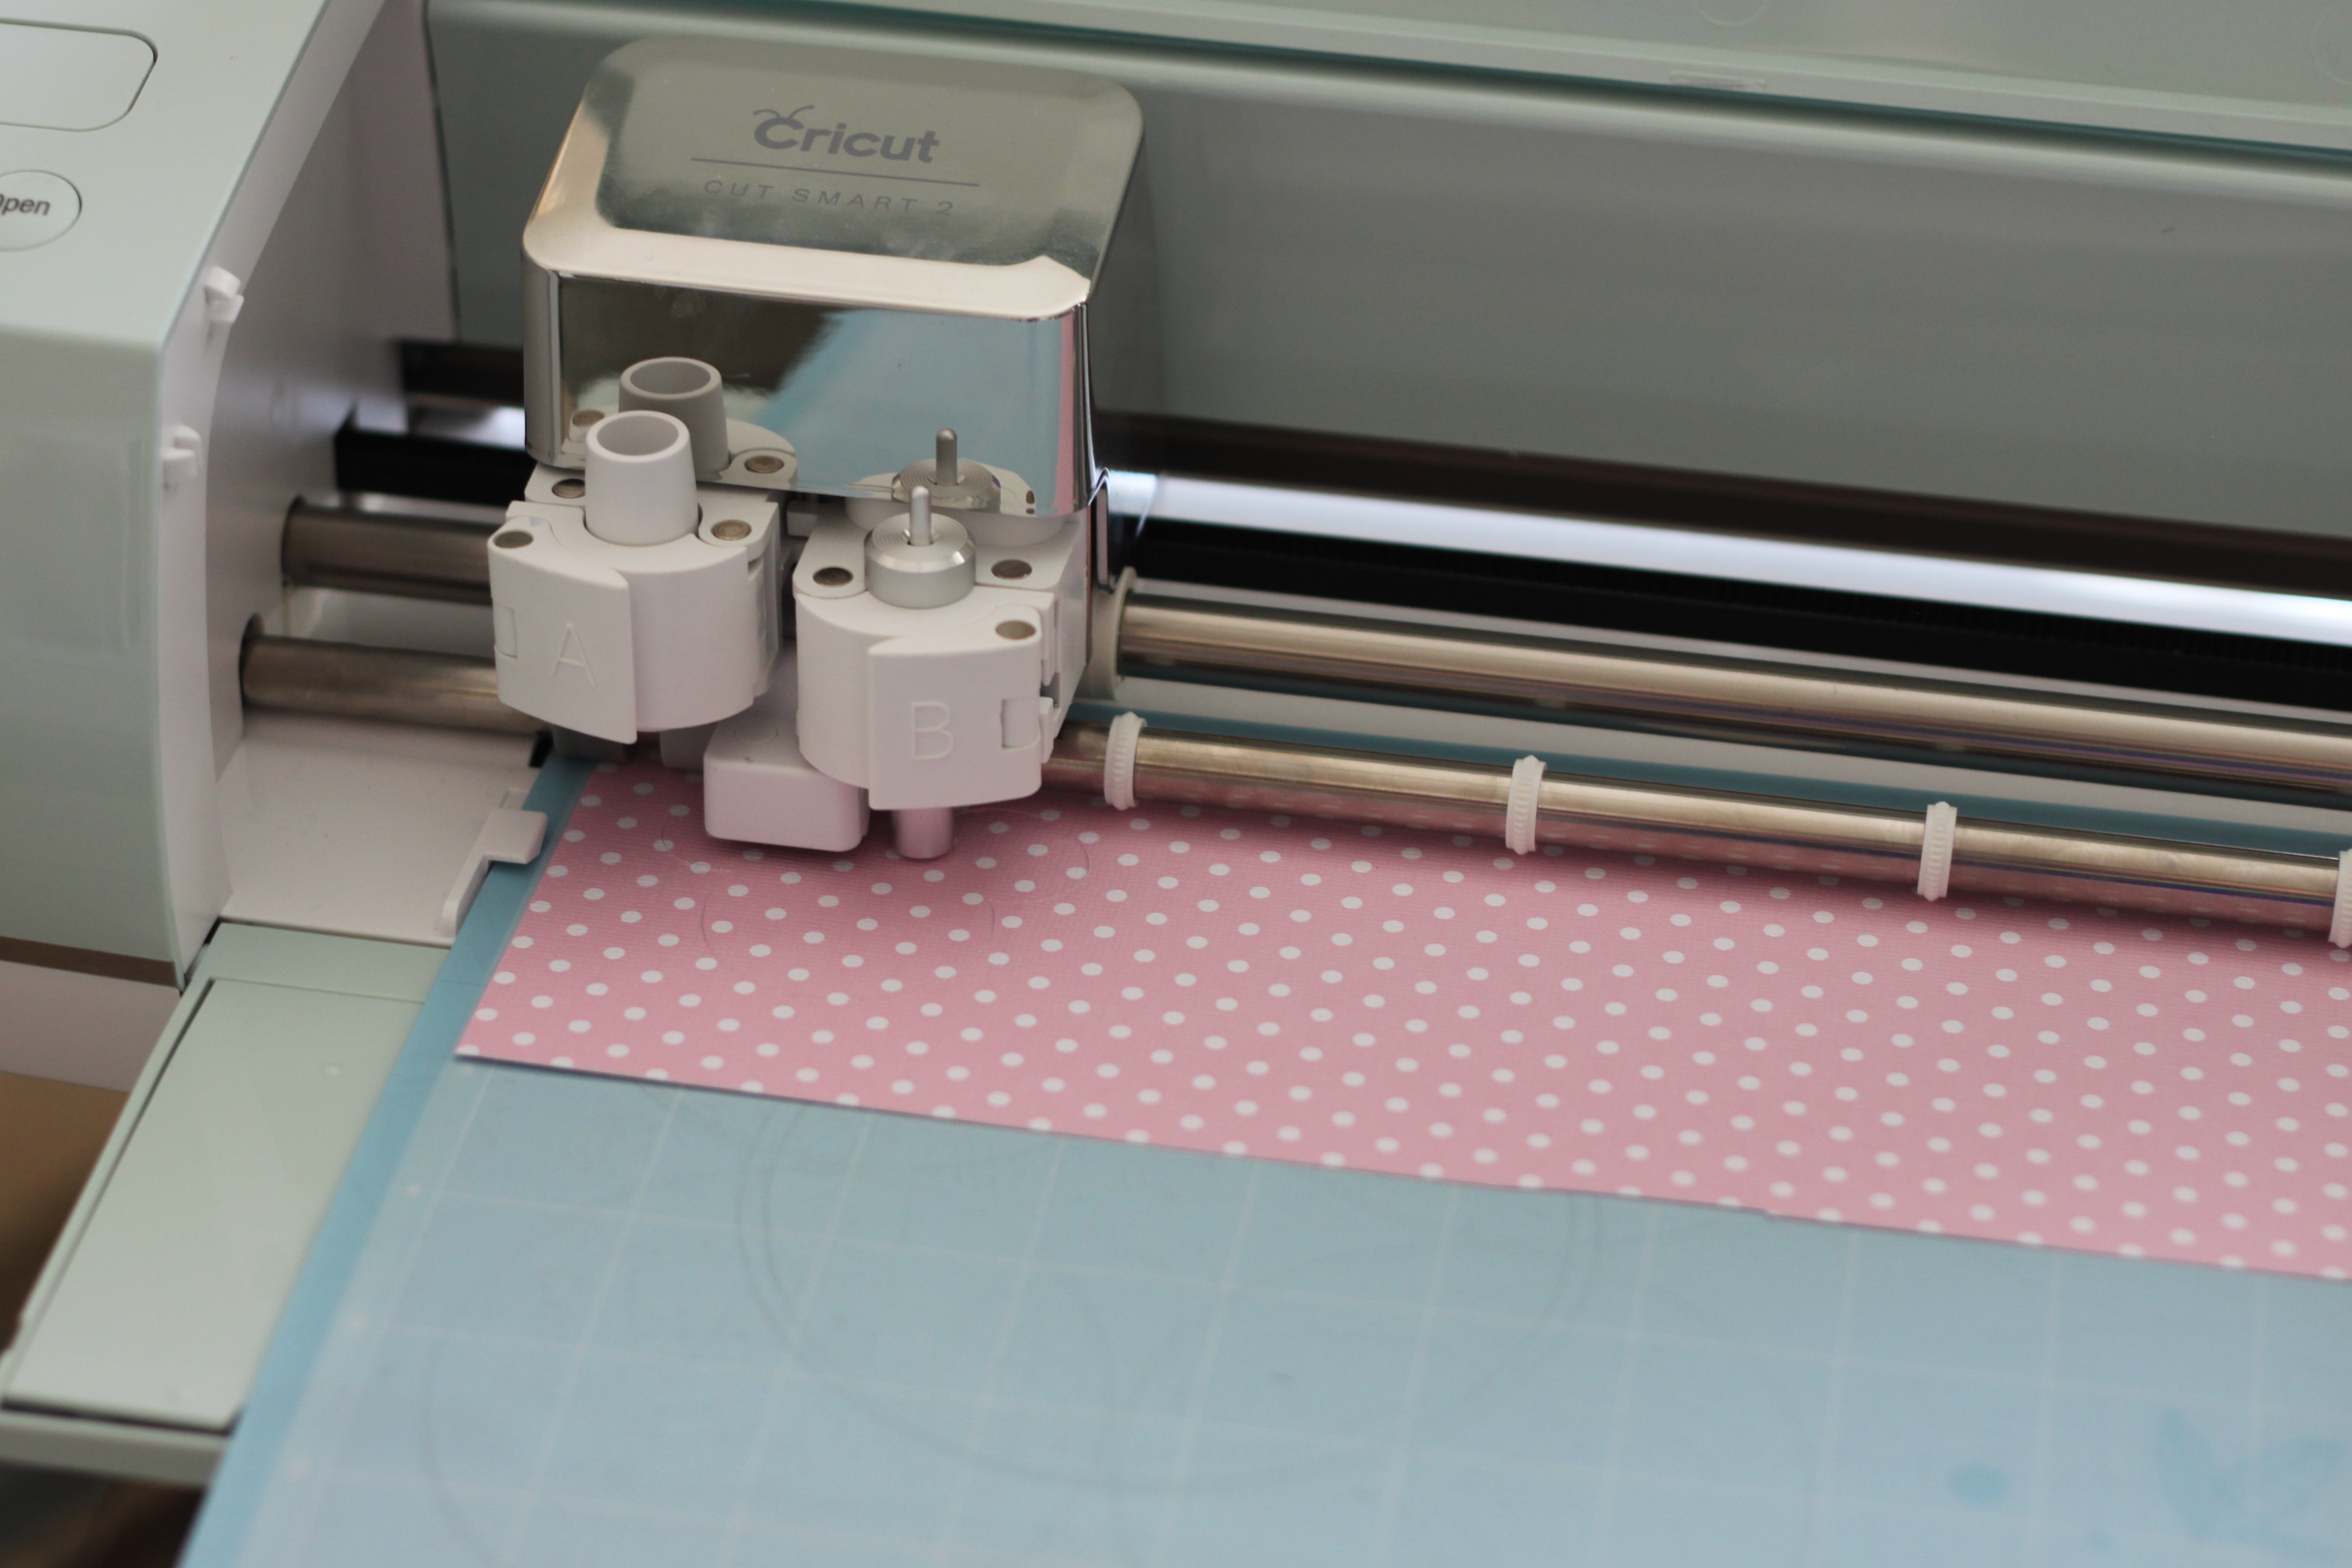
For this project I used 3 different types of card stock. So there is a few different cutting/writing sessions that need to happen.
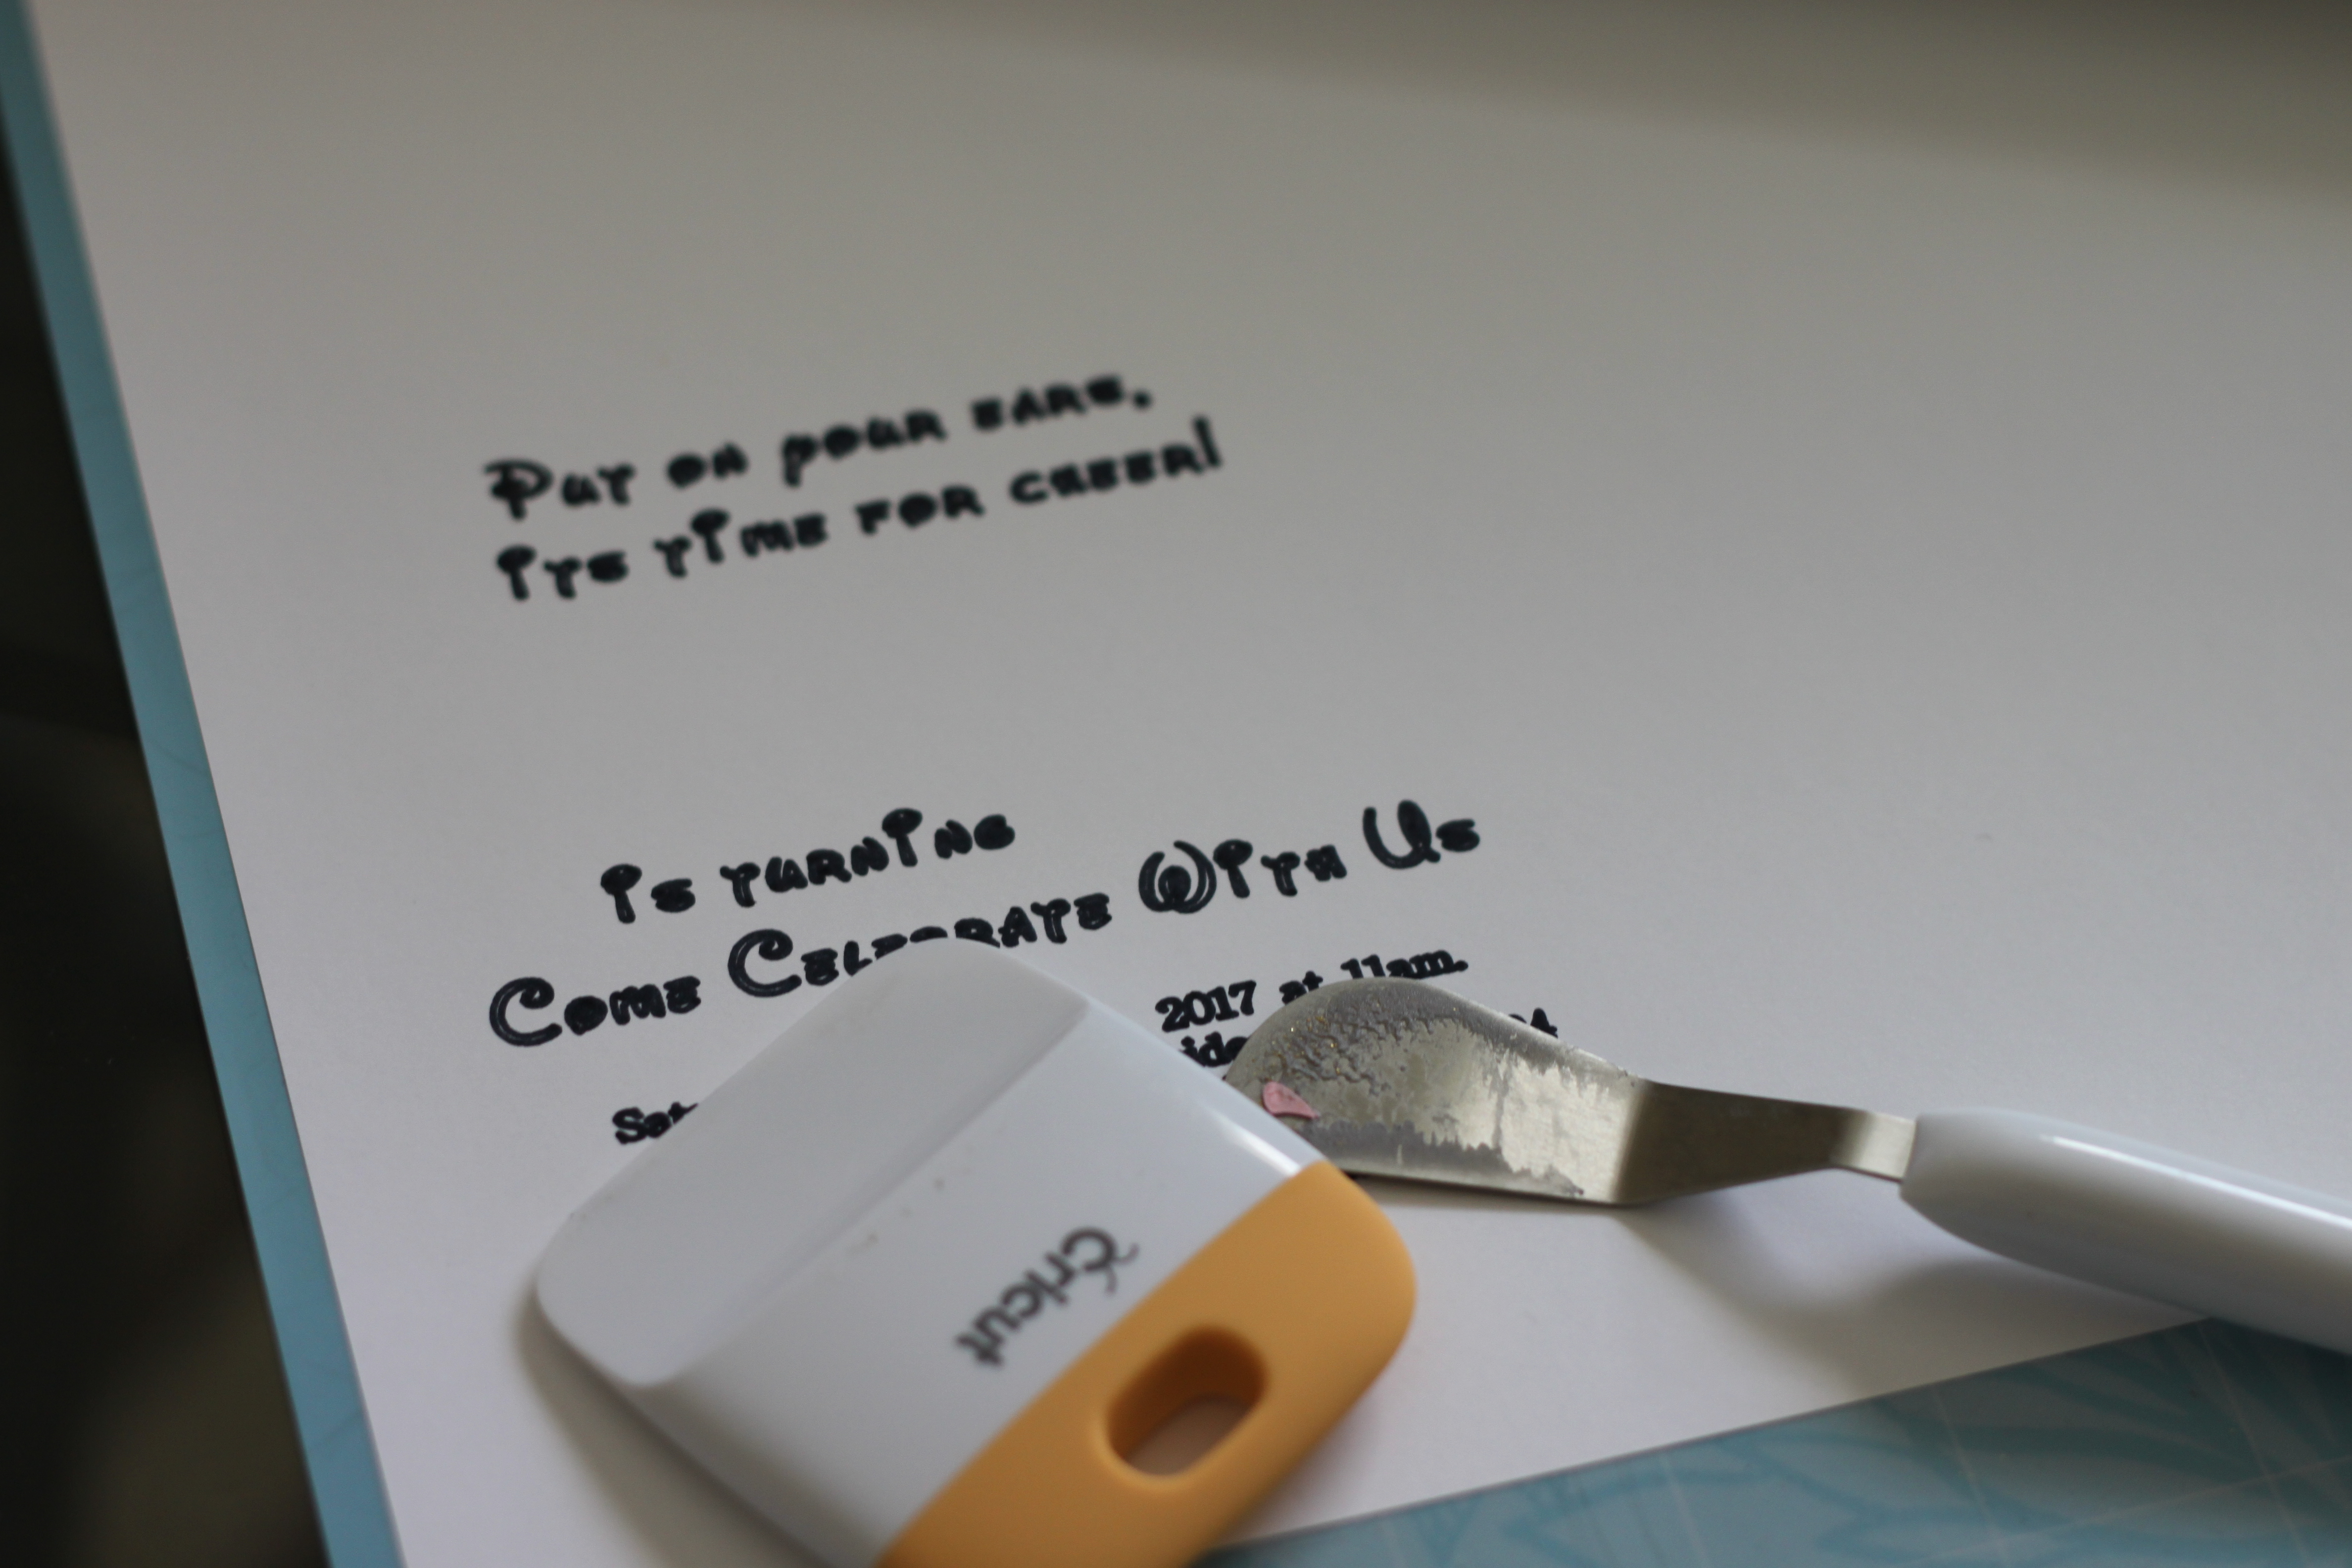
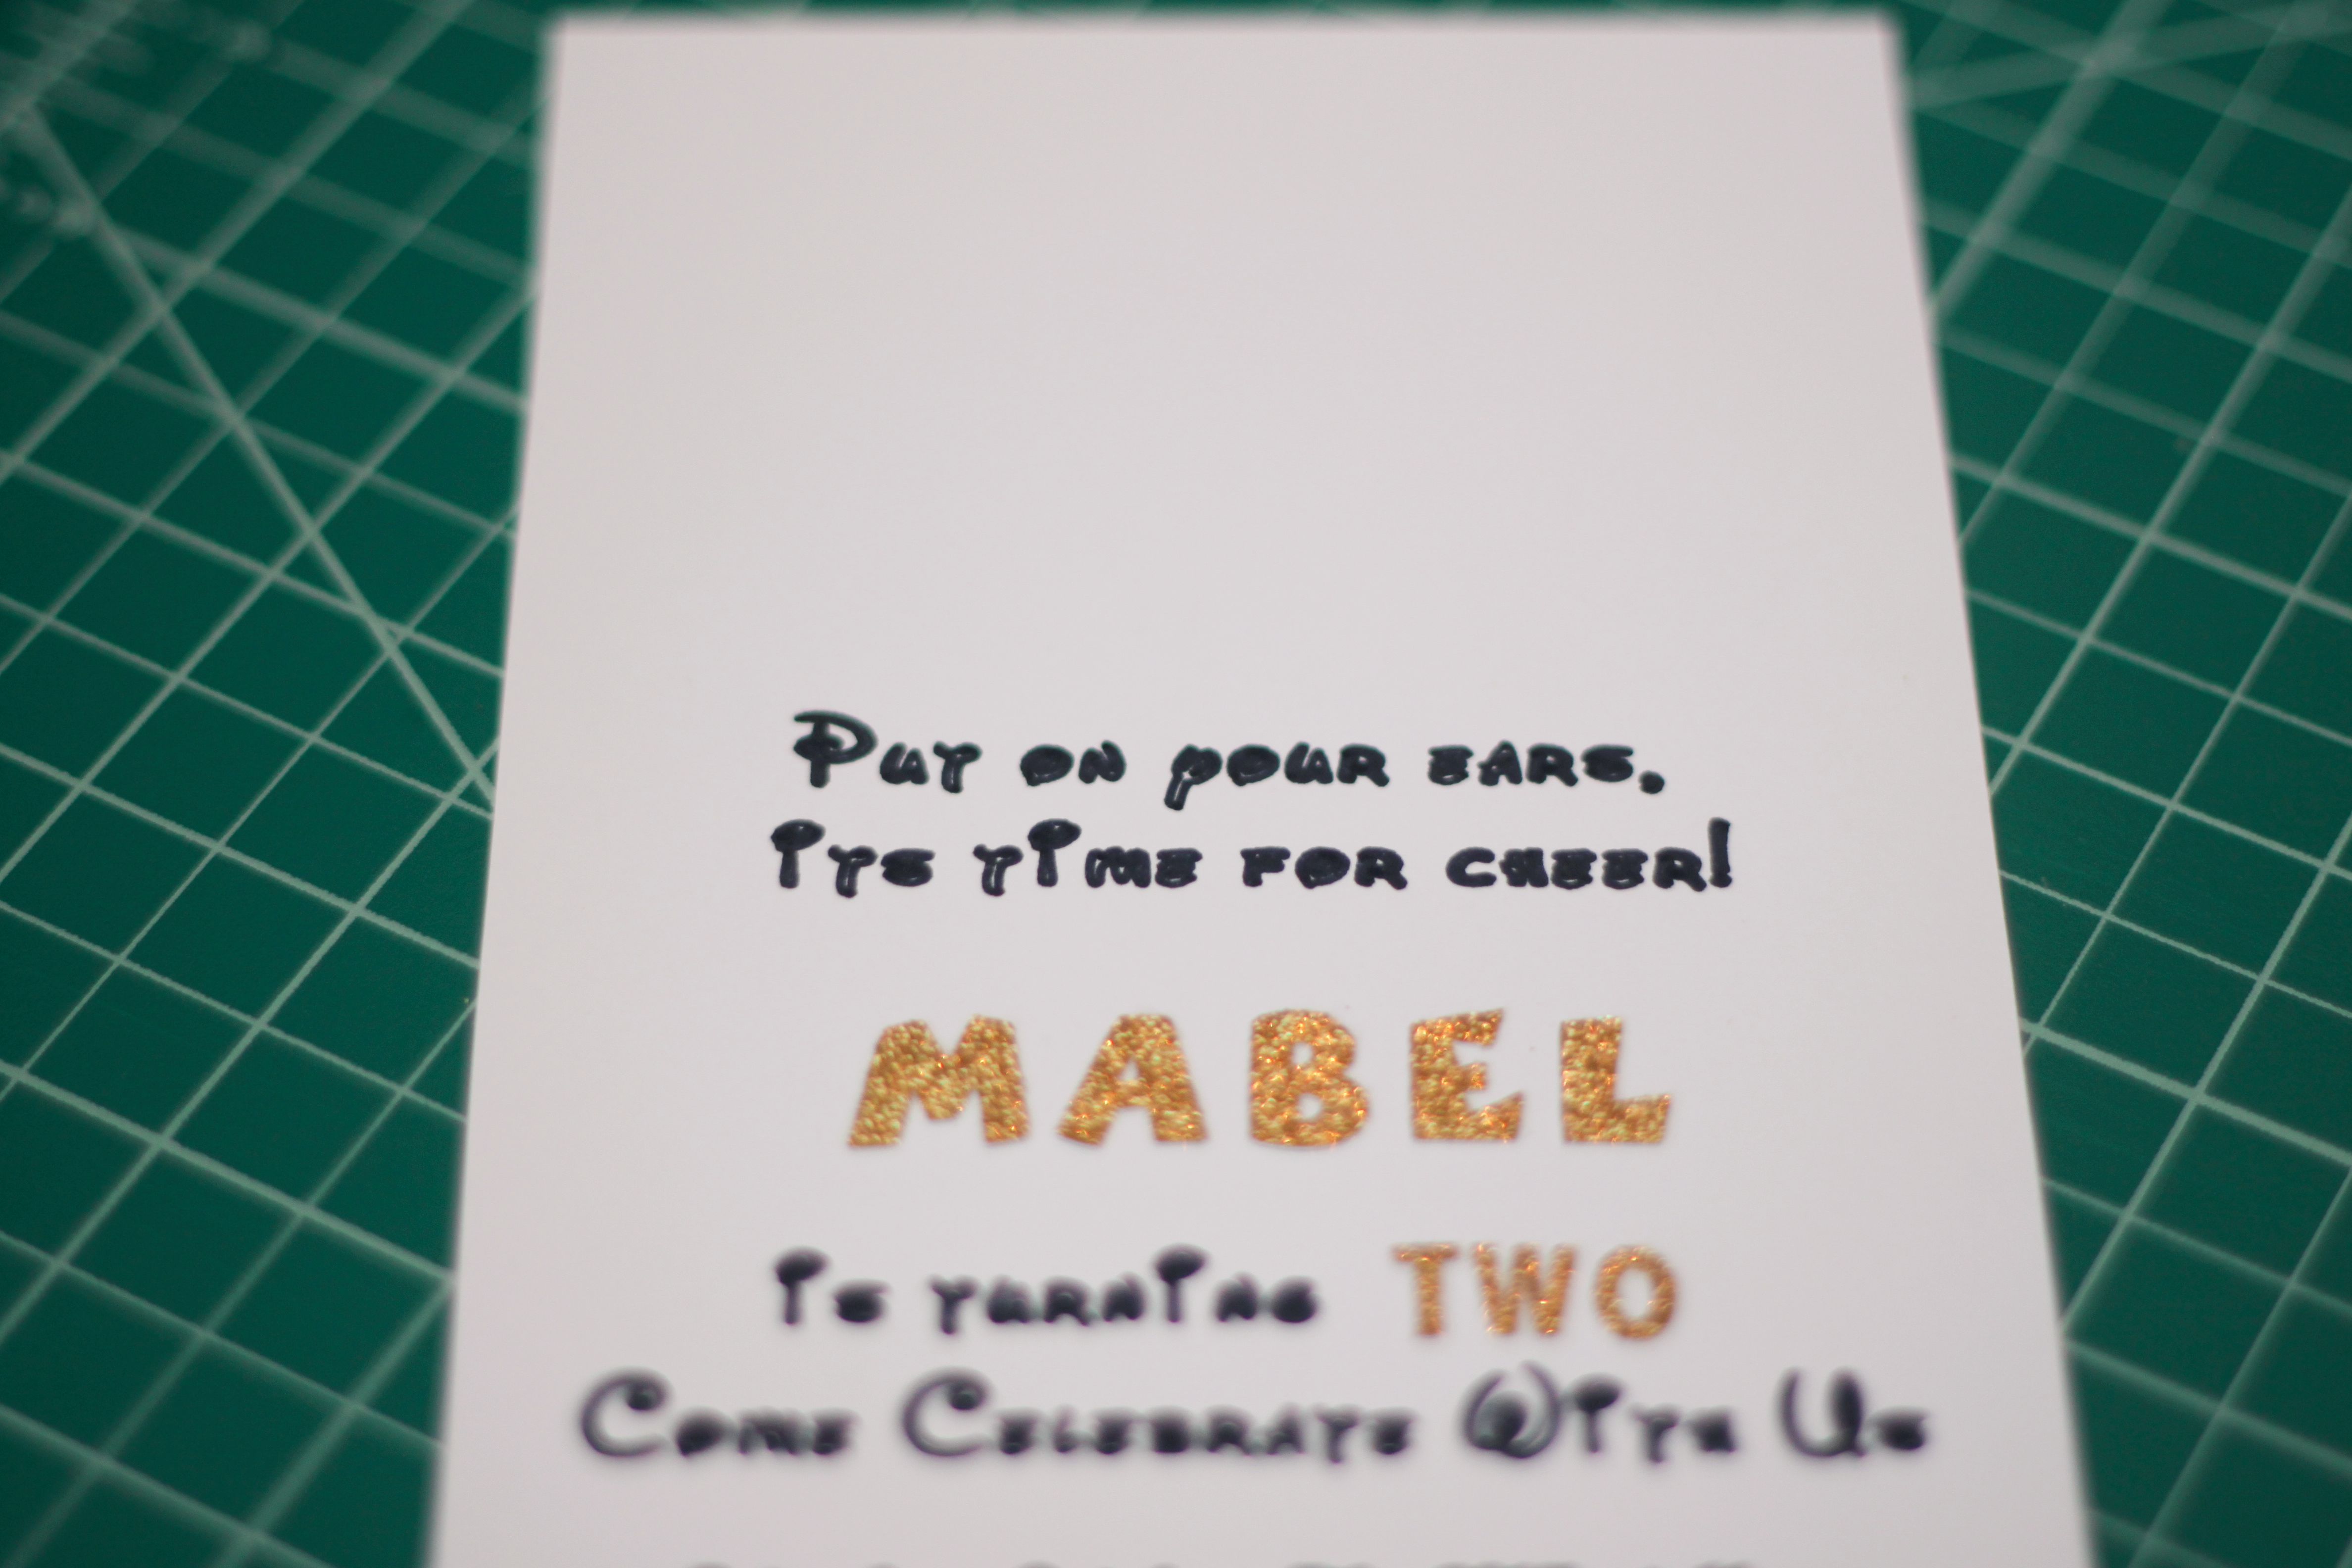
The first session is creating the main layer of the invitation. This will be the layer in which all the writing and party details will be present on. I used white 8 x 11.5 card stock for this layer. I chose to have the Cricut write the selected content on my card stock and then I was going to cut it down myself. In the preview section I measured out how far I would like my writing to come down. After about 2 practice sheets I was happy with my layout and it was now time to print on the "good" paper.
Note: Cricut Design Space has updated their program and it is so much more user friendly. However I still notice a handful of glitches here and there. At times I cannot move my preview around on my screen. When it does finally move it moves it to the bottom. At first I thought it was my computer, but then I used my husband's and we both had the same issue. Another annoying thing is if you have text at the far top of your project screen and you go to select it, the program recognizes you selecting it but it pulls the text box down over your text and it makes it difficult to select your text.
To save on paper and costs, I would print one invitation on one side of the white card stock and then carefully remove the paper and flip it so I could fit another invitation on the other side.
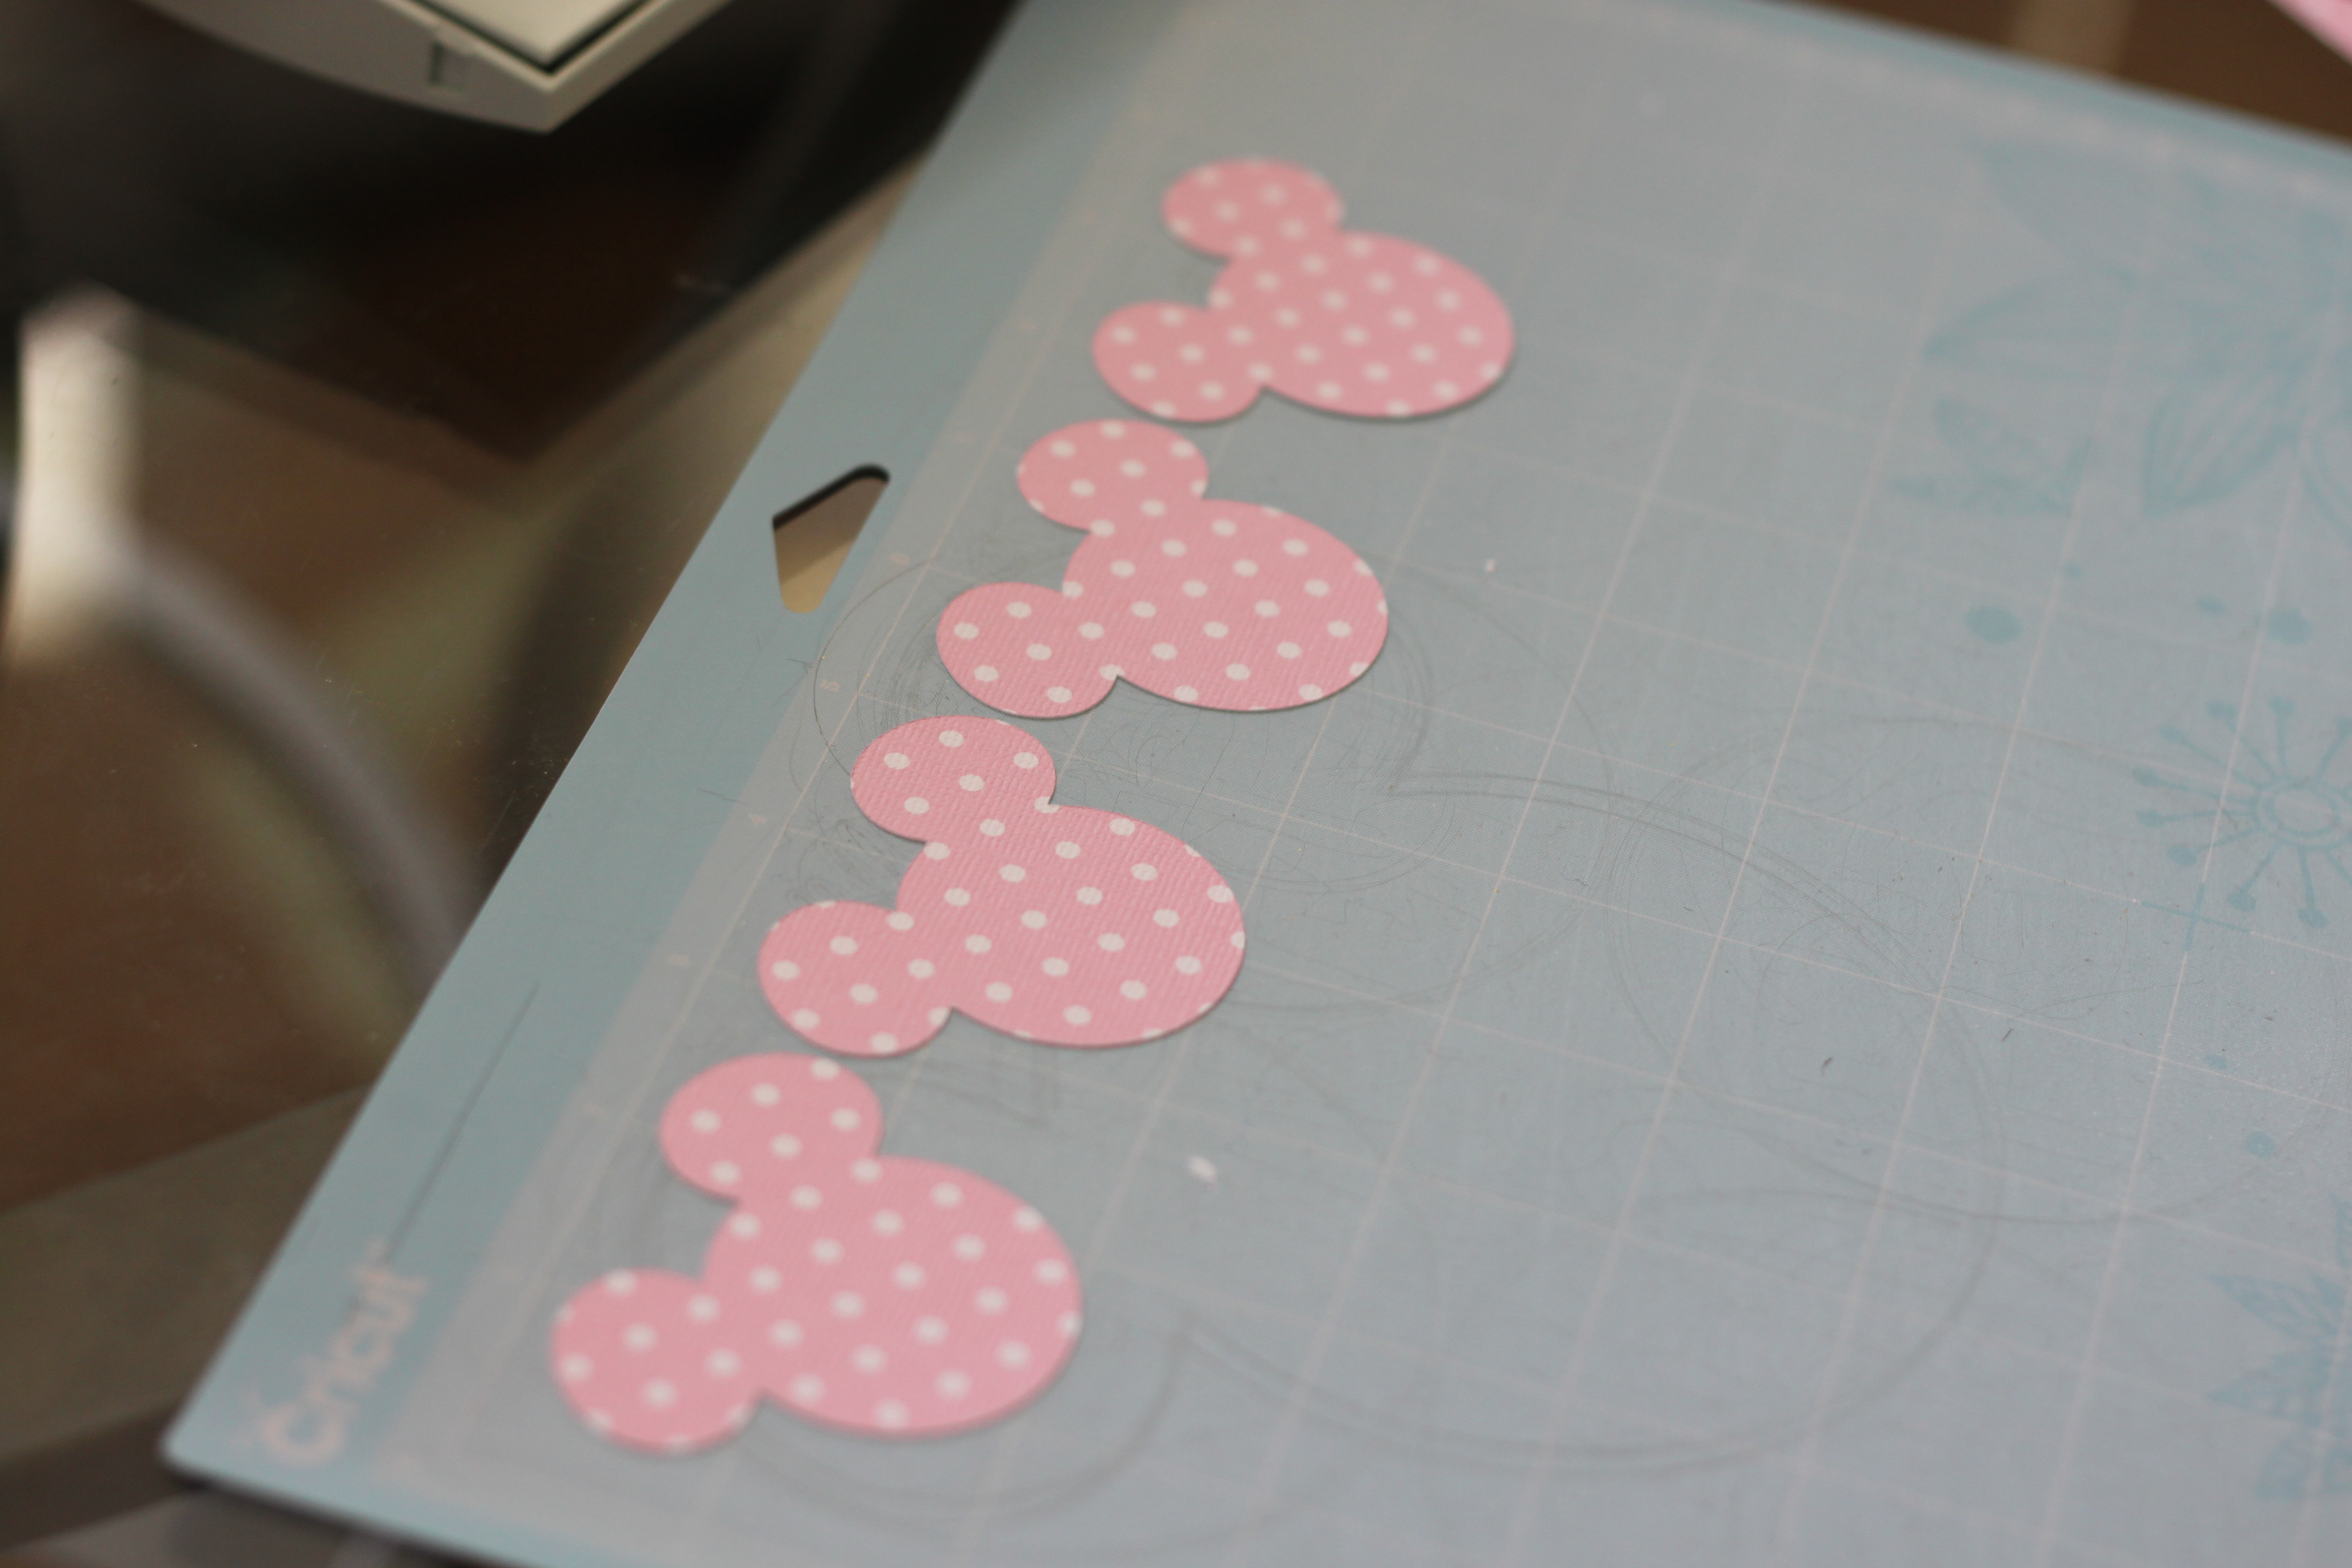
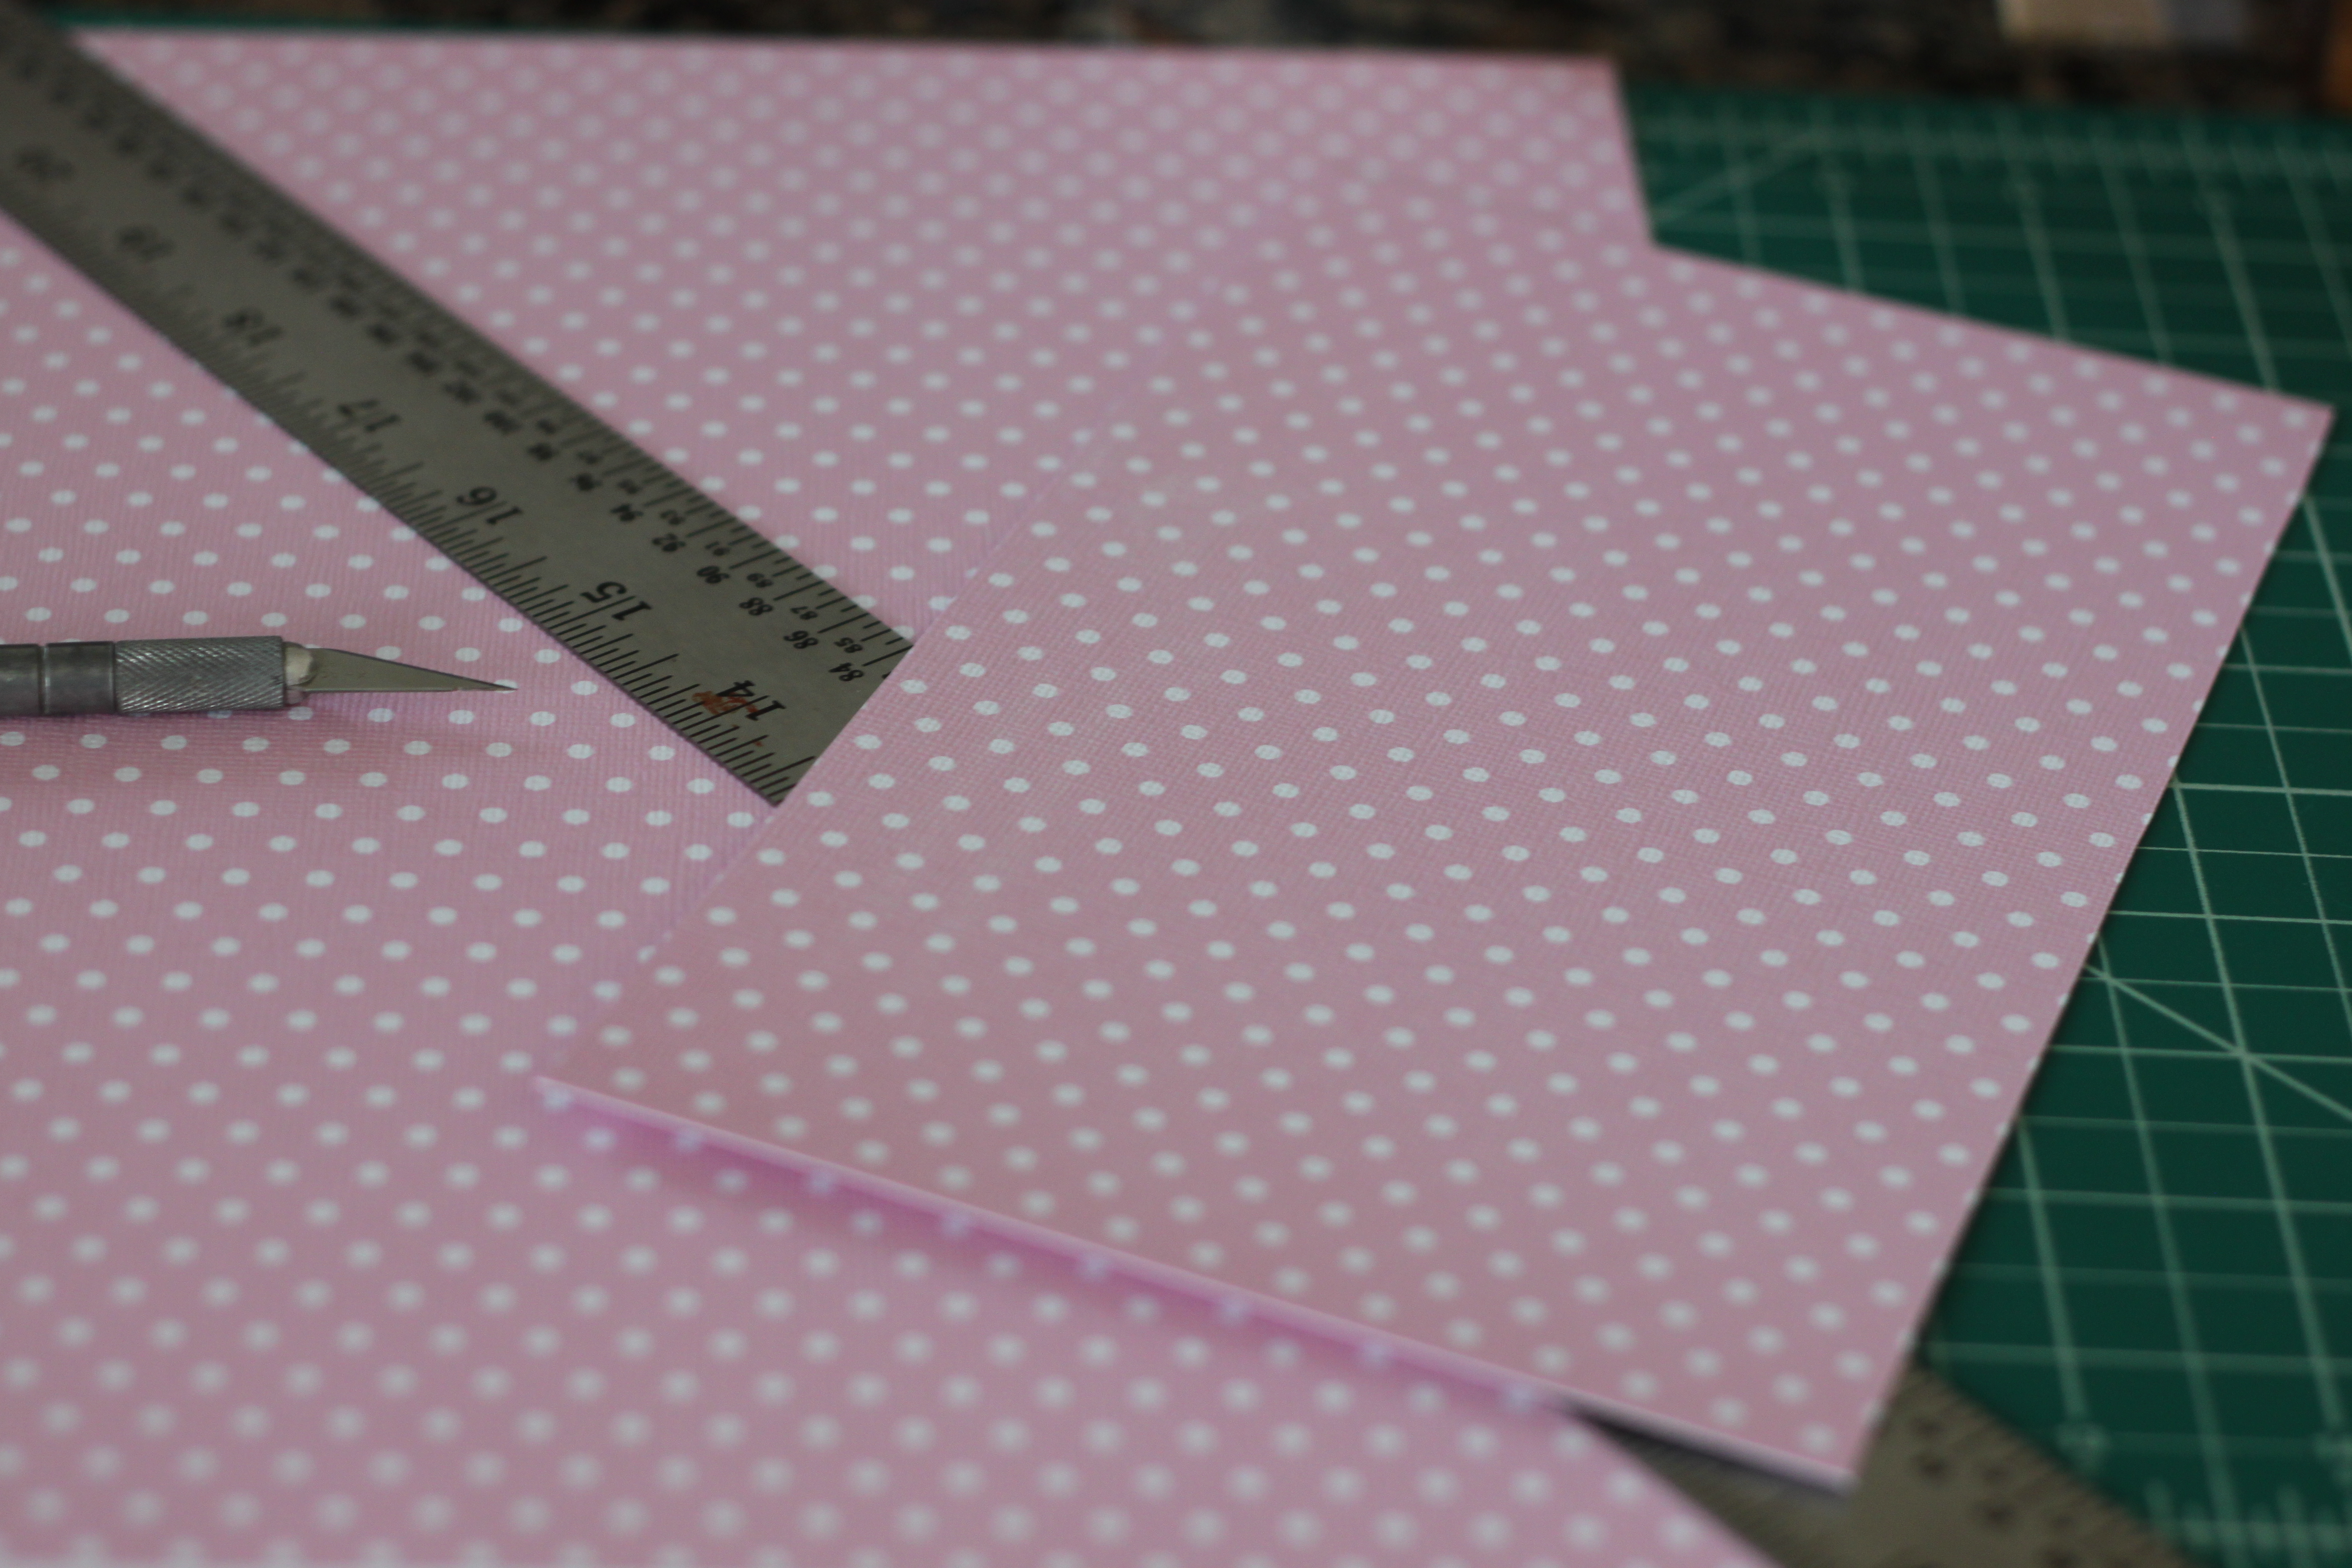
After my top base of the invitation was printed it was time to cut the Minnie Mouse ears out which will be placed at the top of the invitation. My vision for the invitation was to have a top base layer (where all the content and cutouts would be) and to also have a bottom base layer which would help give the invitation a little more durability and also add some more color.
Aren't these just adorable!
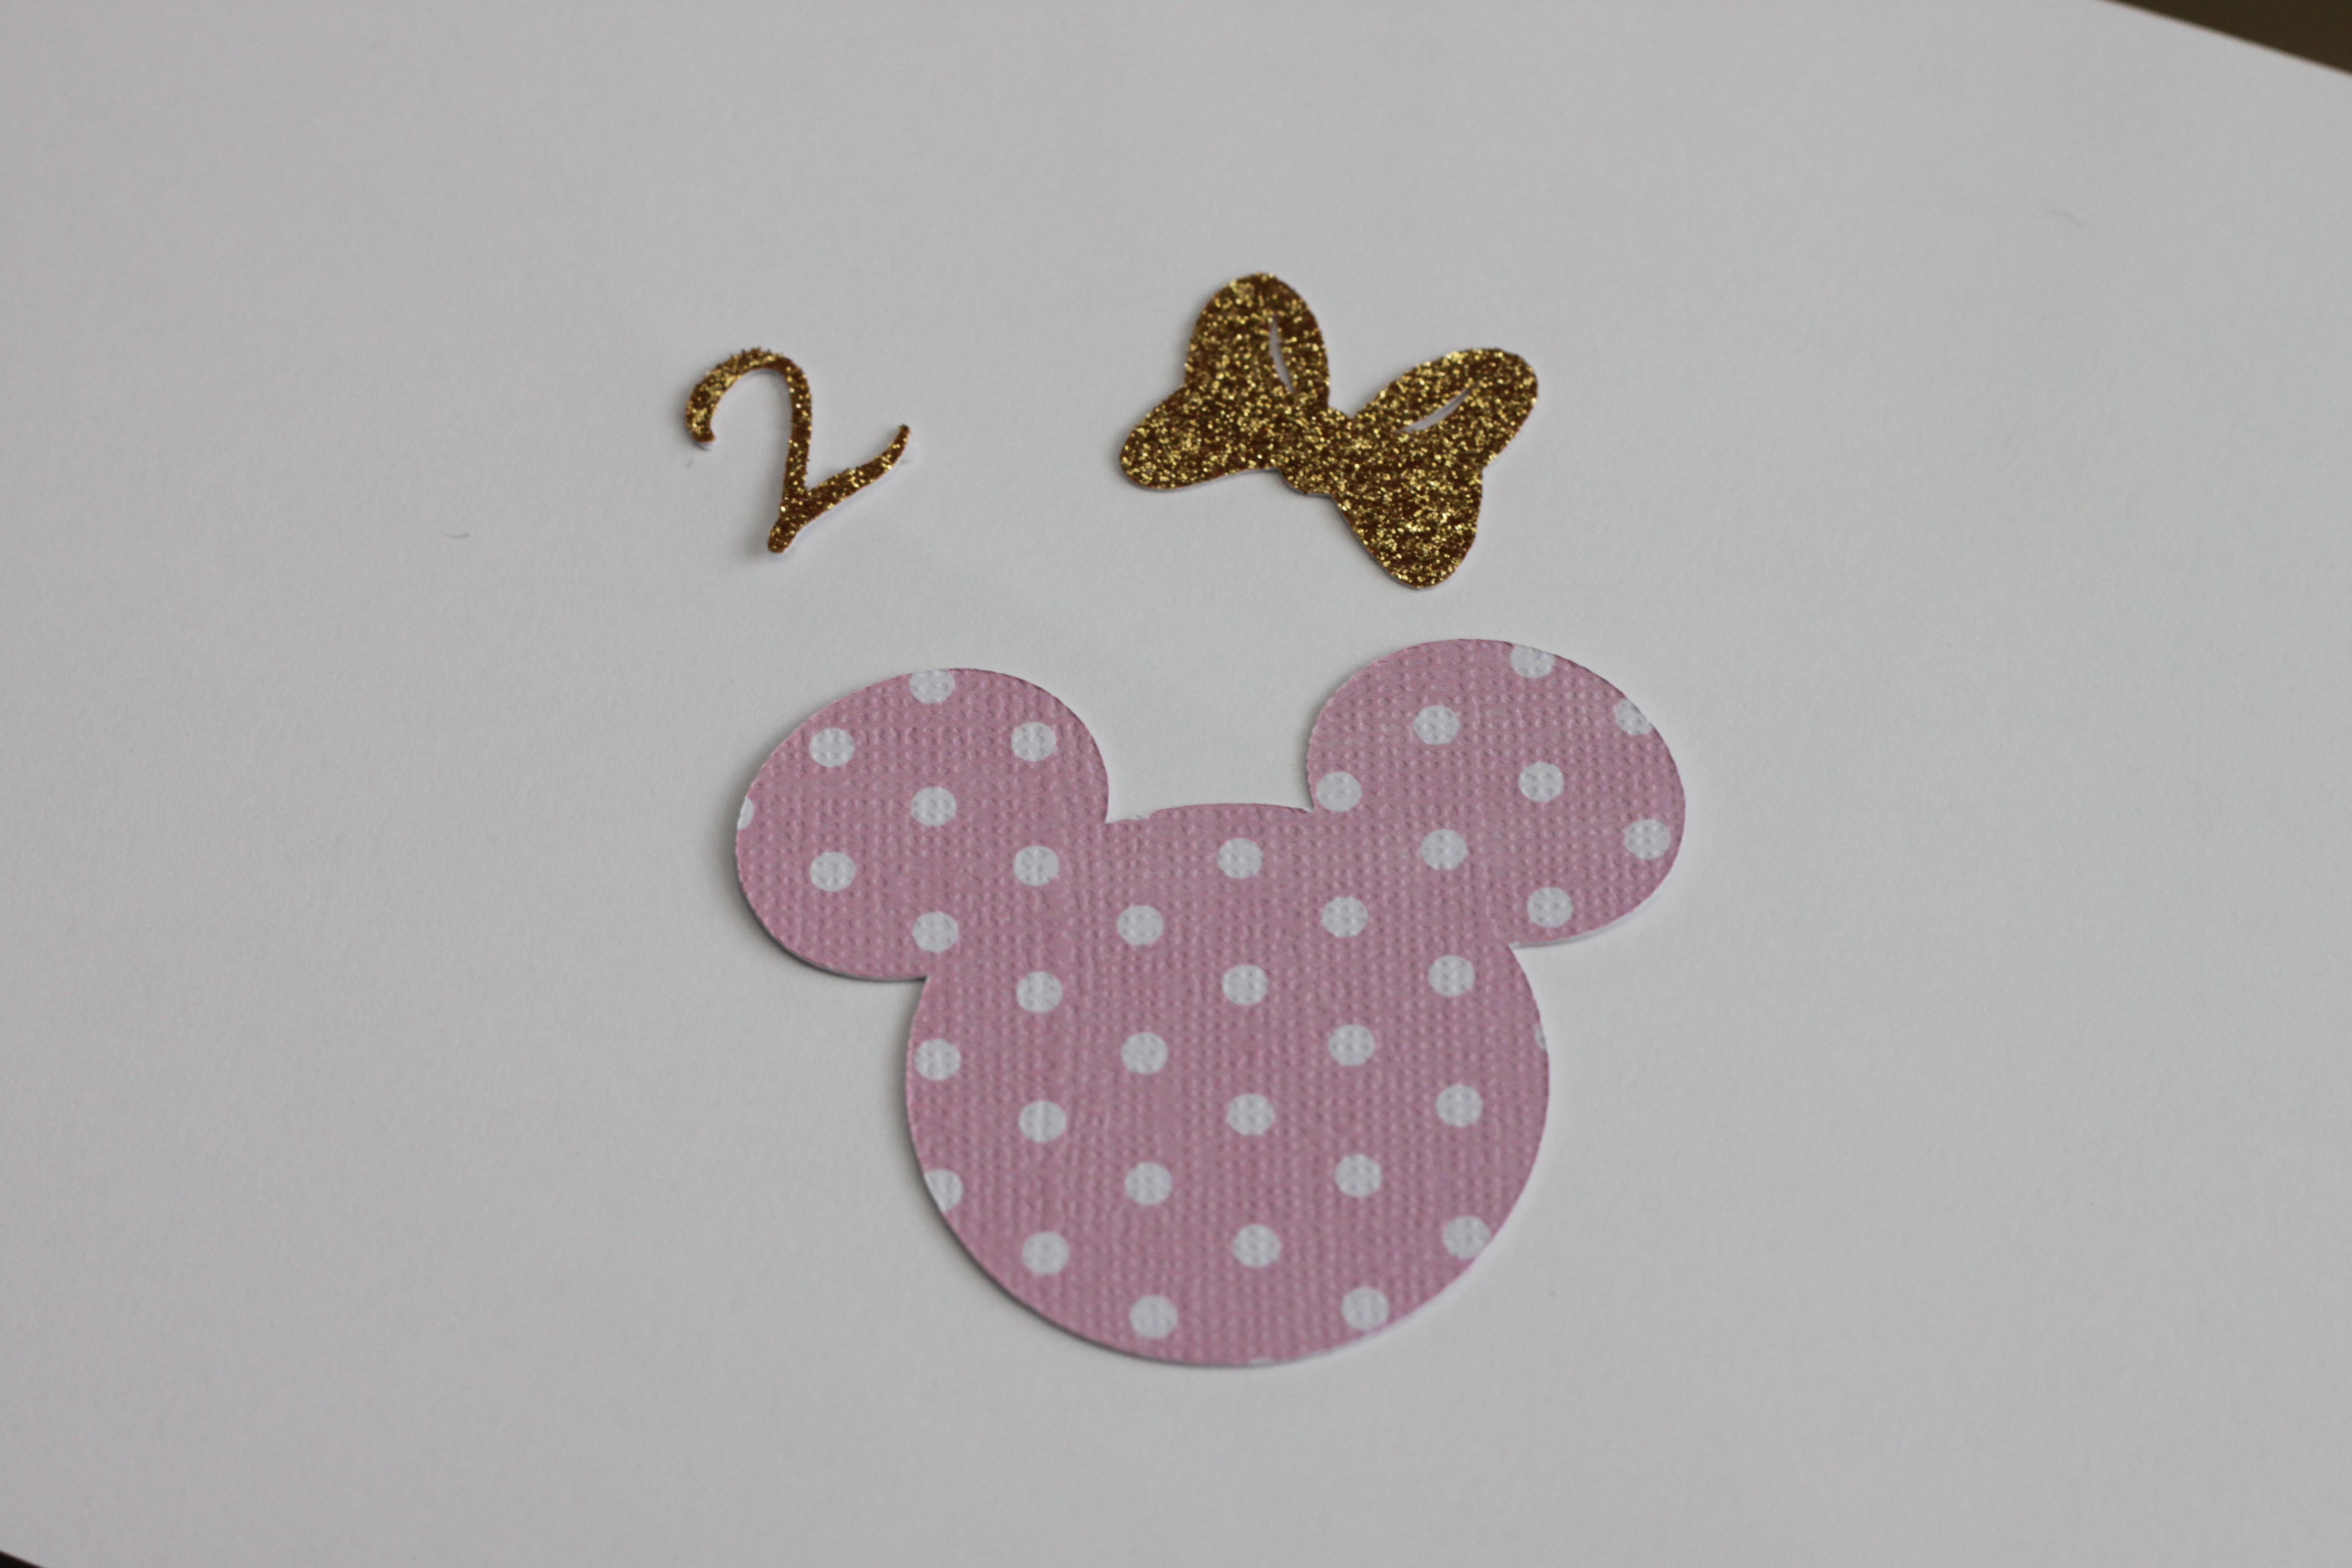
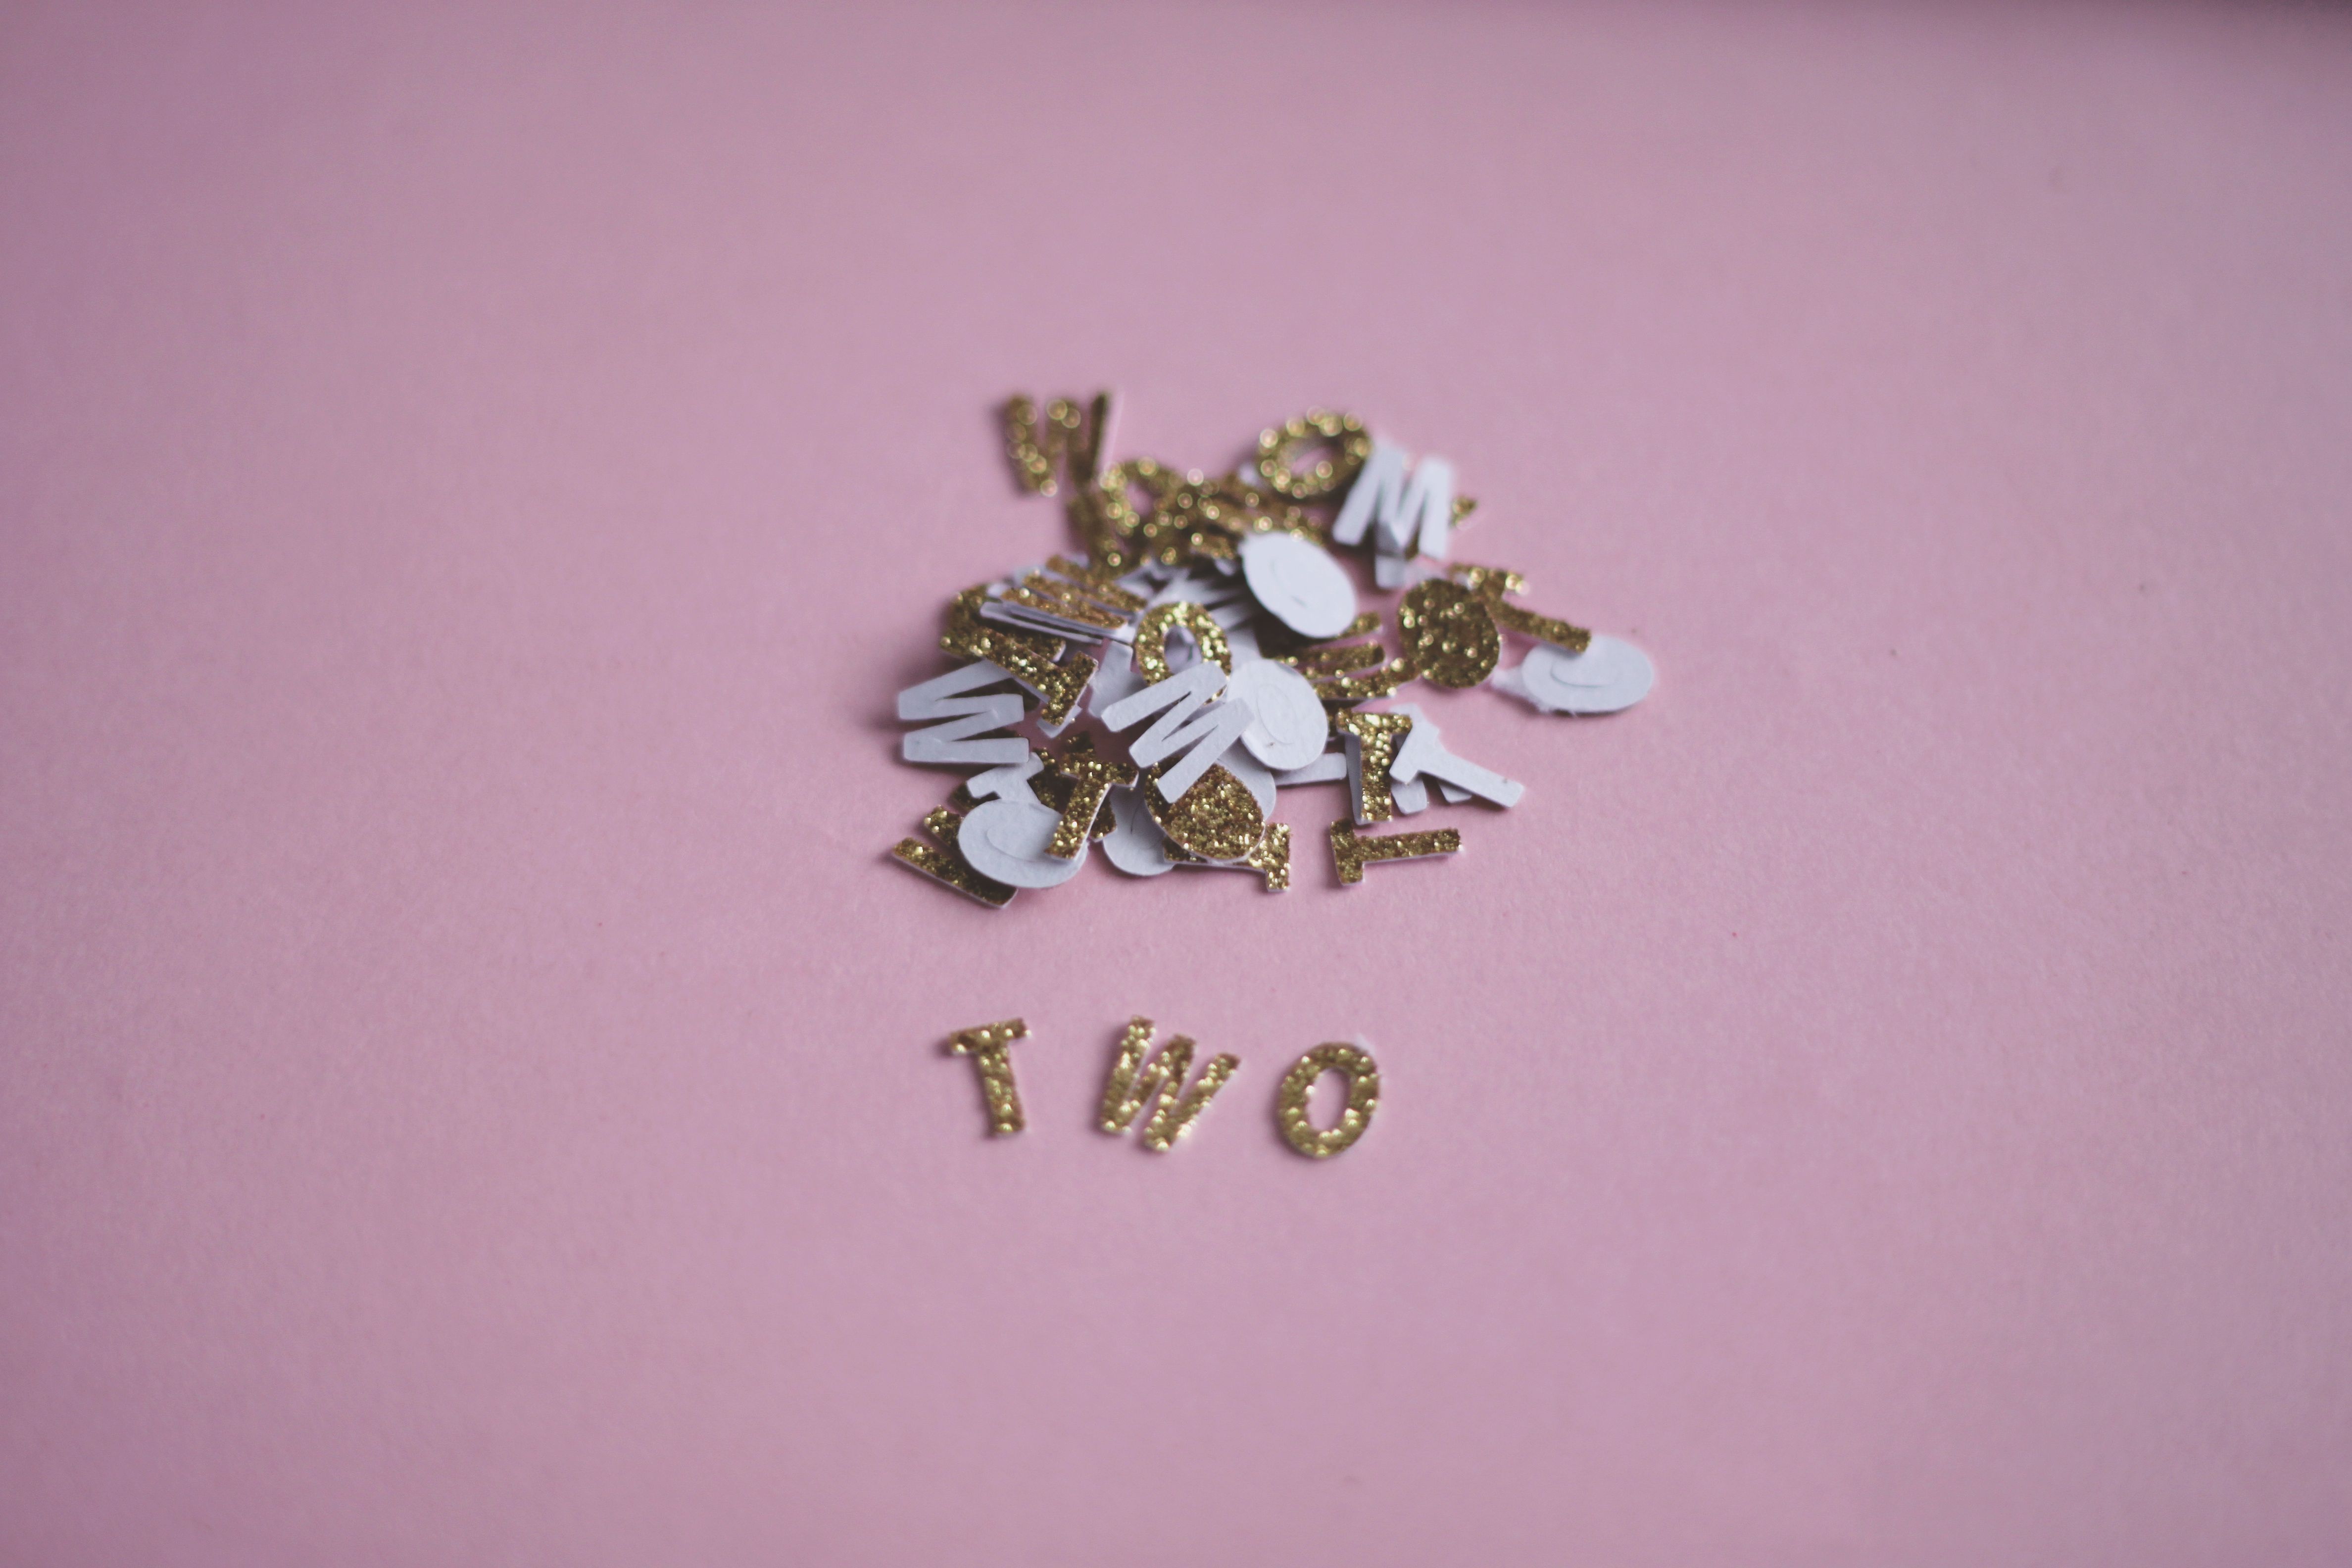
After the Minnie Mouse ears were all cut out. It was time to start another cutting session. This time I would be cutting out on gold card stock and I would be cutting the bows for the Minnie Mouse ears, my daughter's name, the number two and the number 2. Lots to cut and assemble!
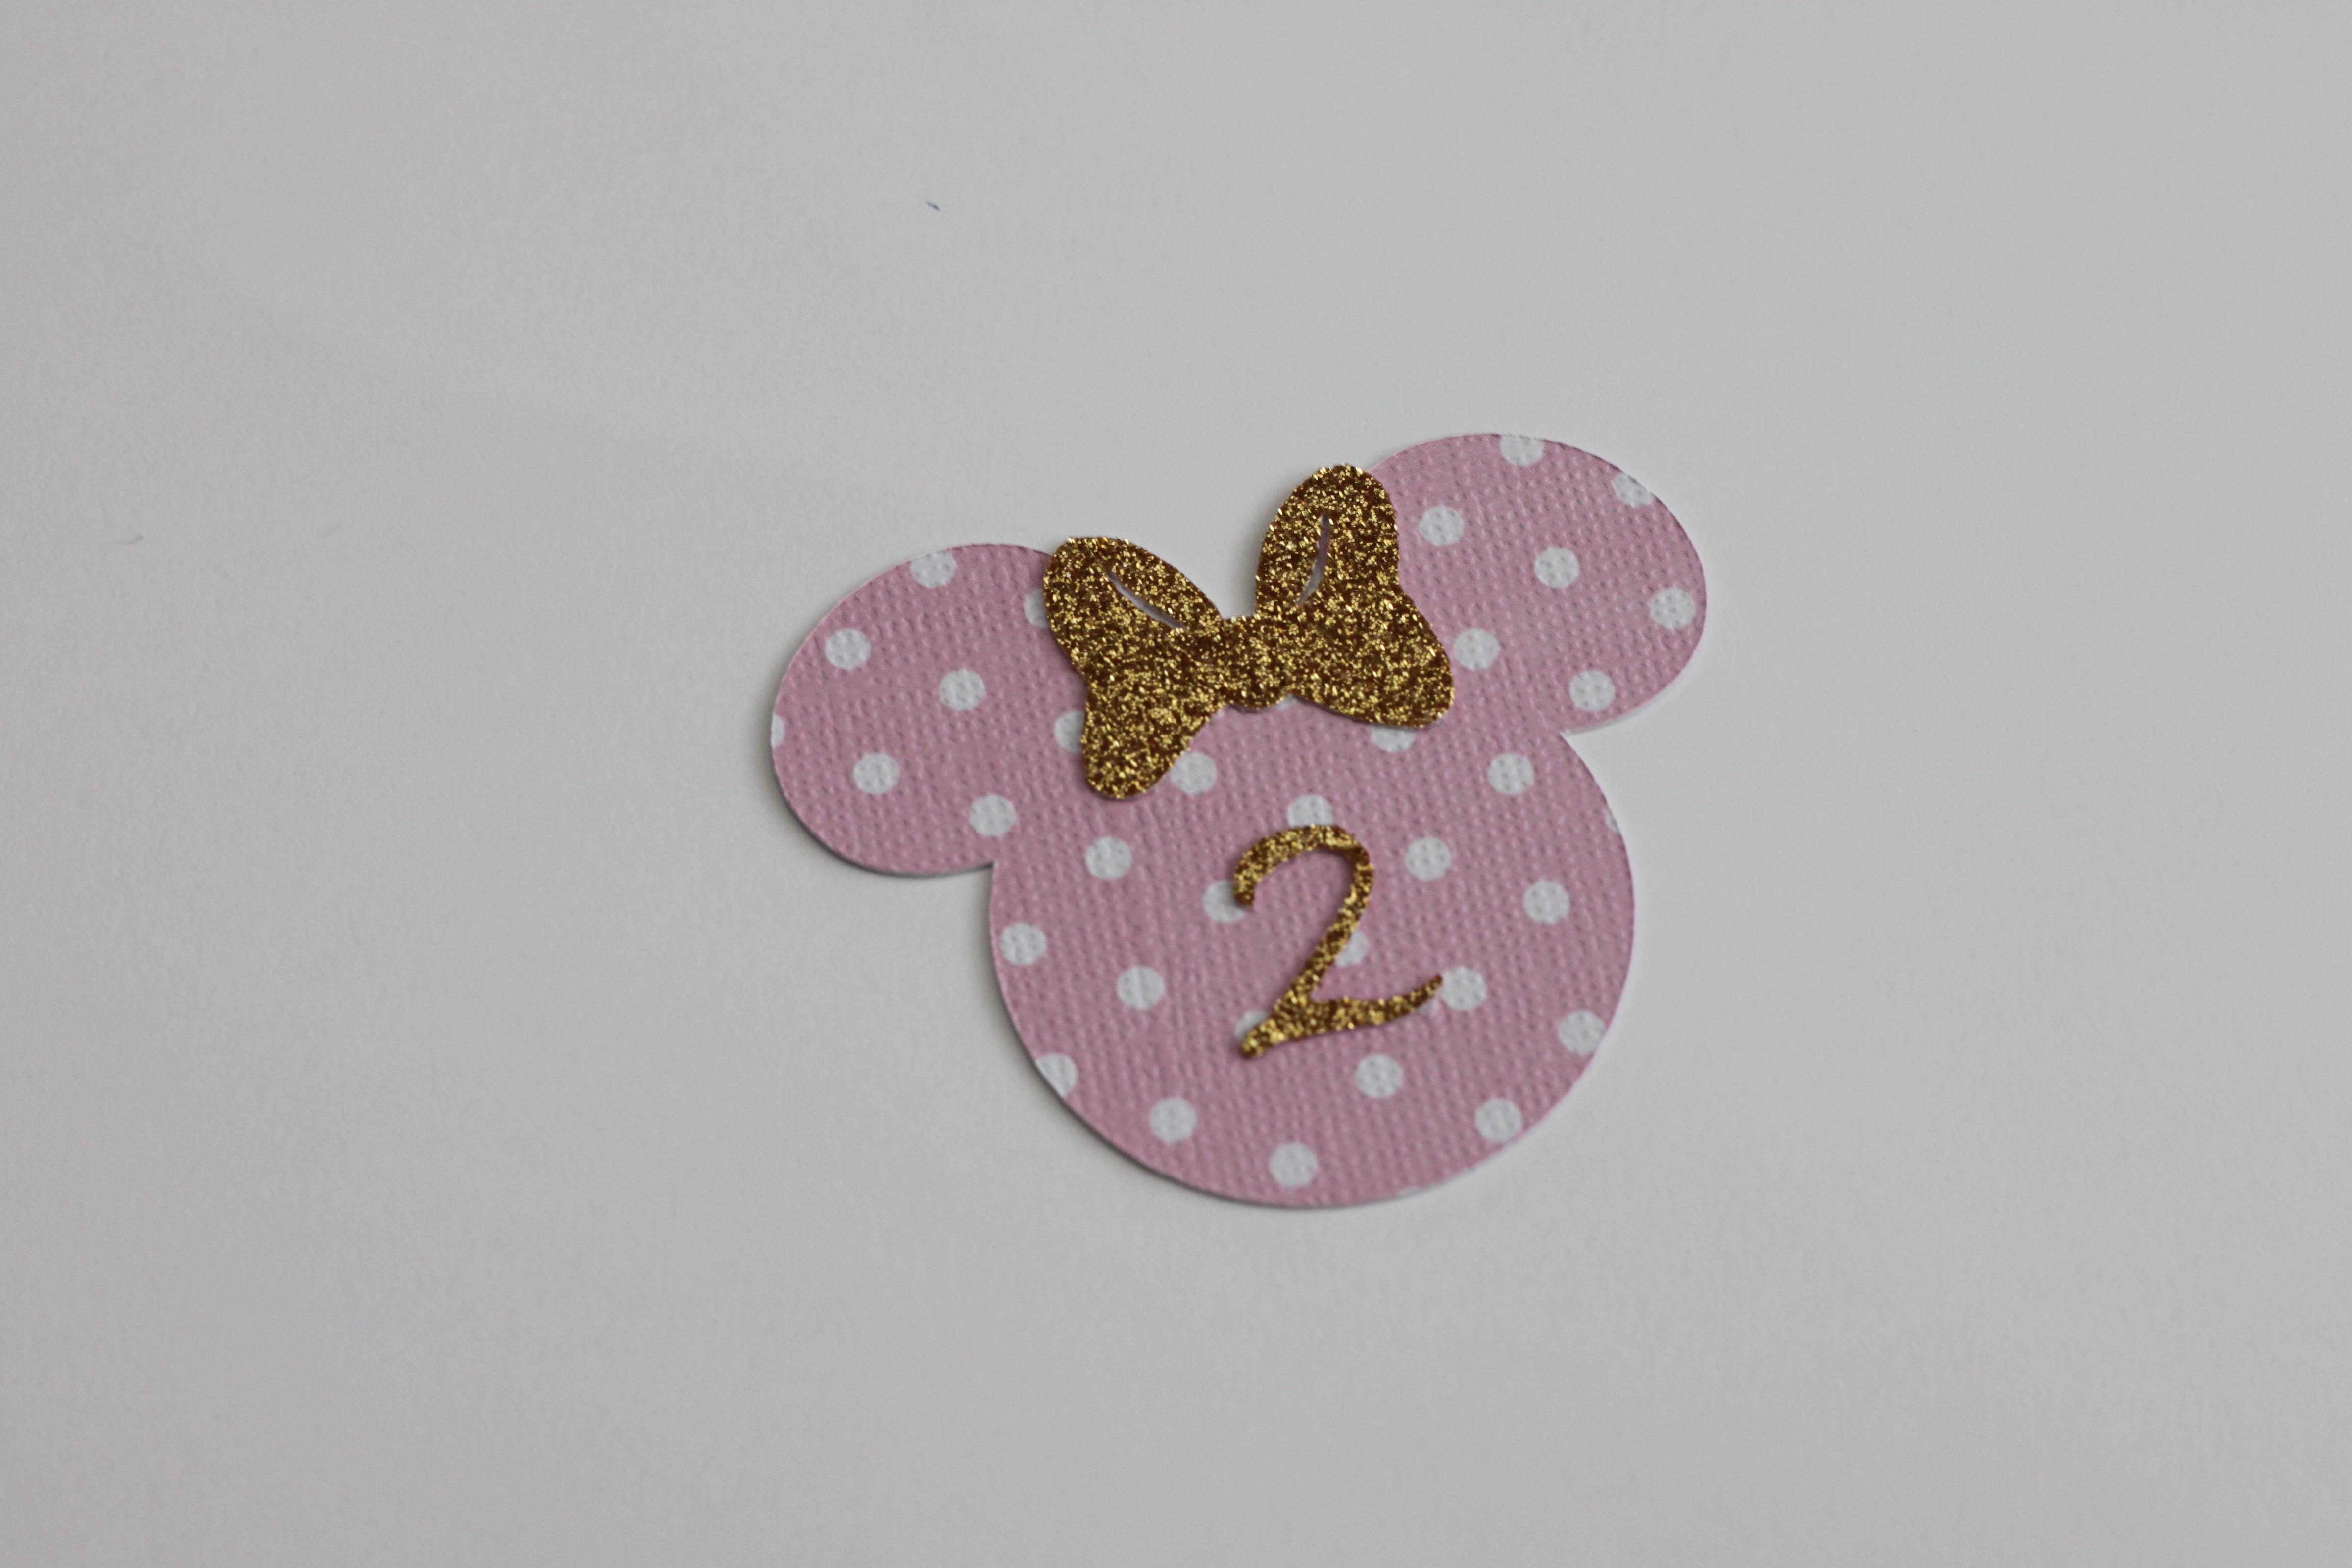
My focus is to complete the Minnie Mouse ears. All I have to add is the bow and the number "2." I am so happy with the pink and white polka dot card stock that I chose, I think it looks better than just using pink card stock.
And here is the Minnie Mouse ears assembled! Isn't it just adorable!
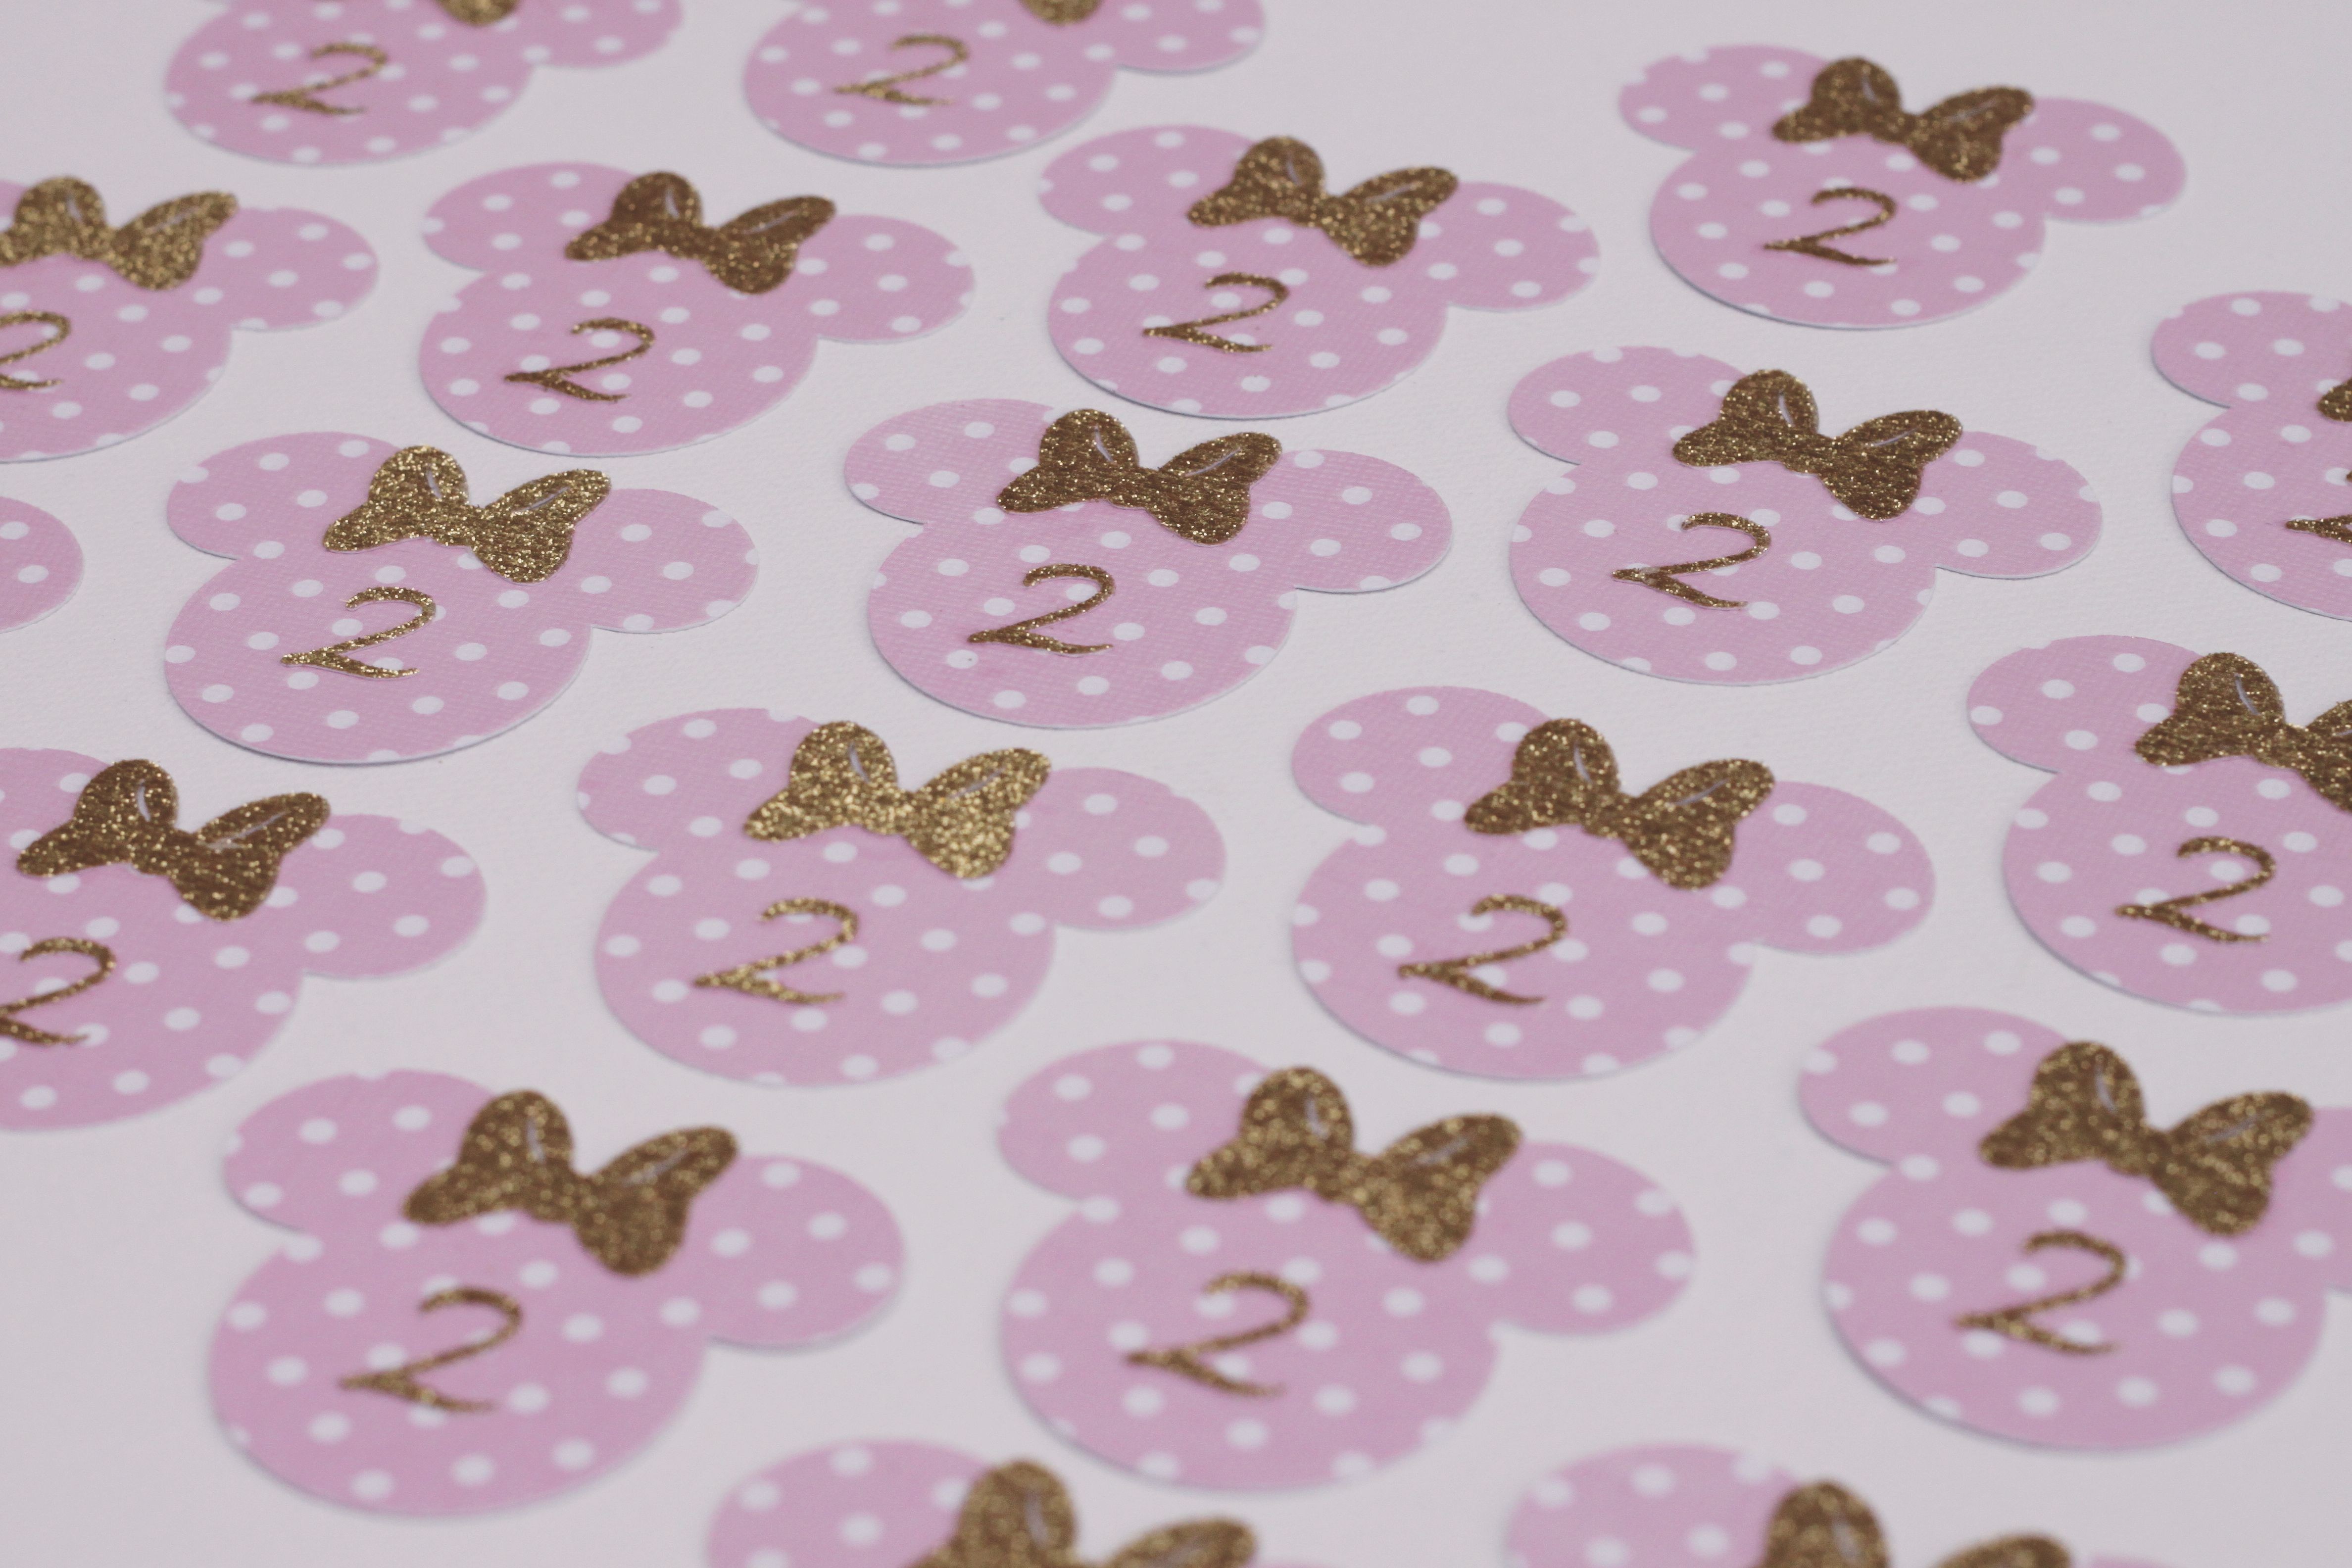
Of course we cannot just make one, I had to make about 25 of them!

The next step is to add my daughter's name and "two" to the invitation.
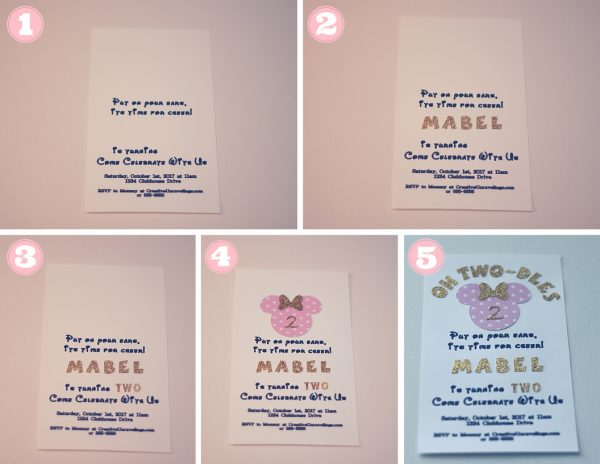 Once your invitation is completed its time to attach your main layer to the base layer of the invitation. I scaled down my main layer (white card) to a little under 5 x 7. I wanted my base layer to be a little under 5 x 7.
Now it is time to attach your main layer to your base layer.
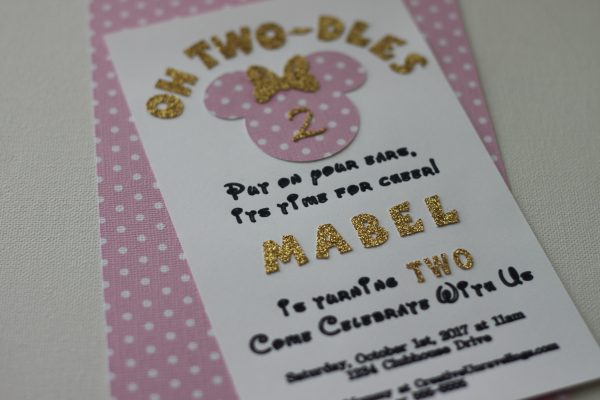
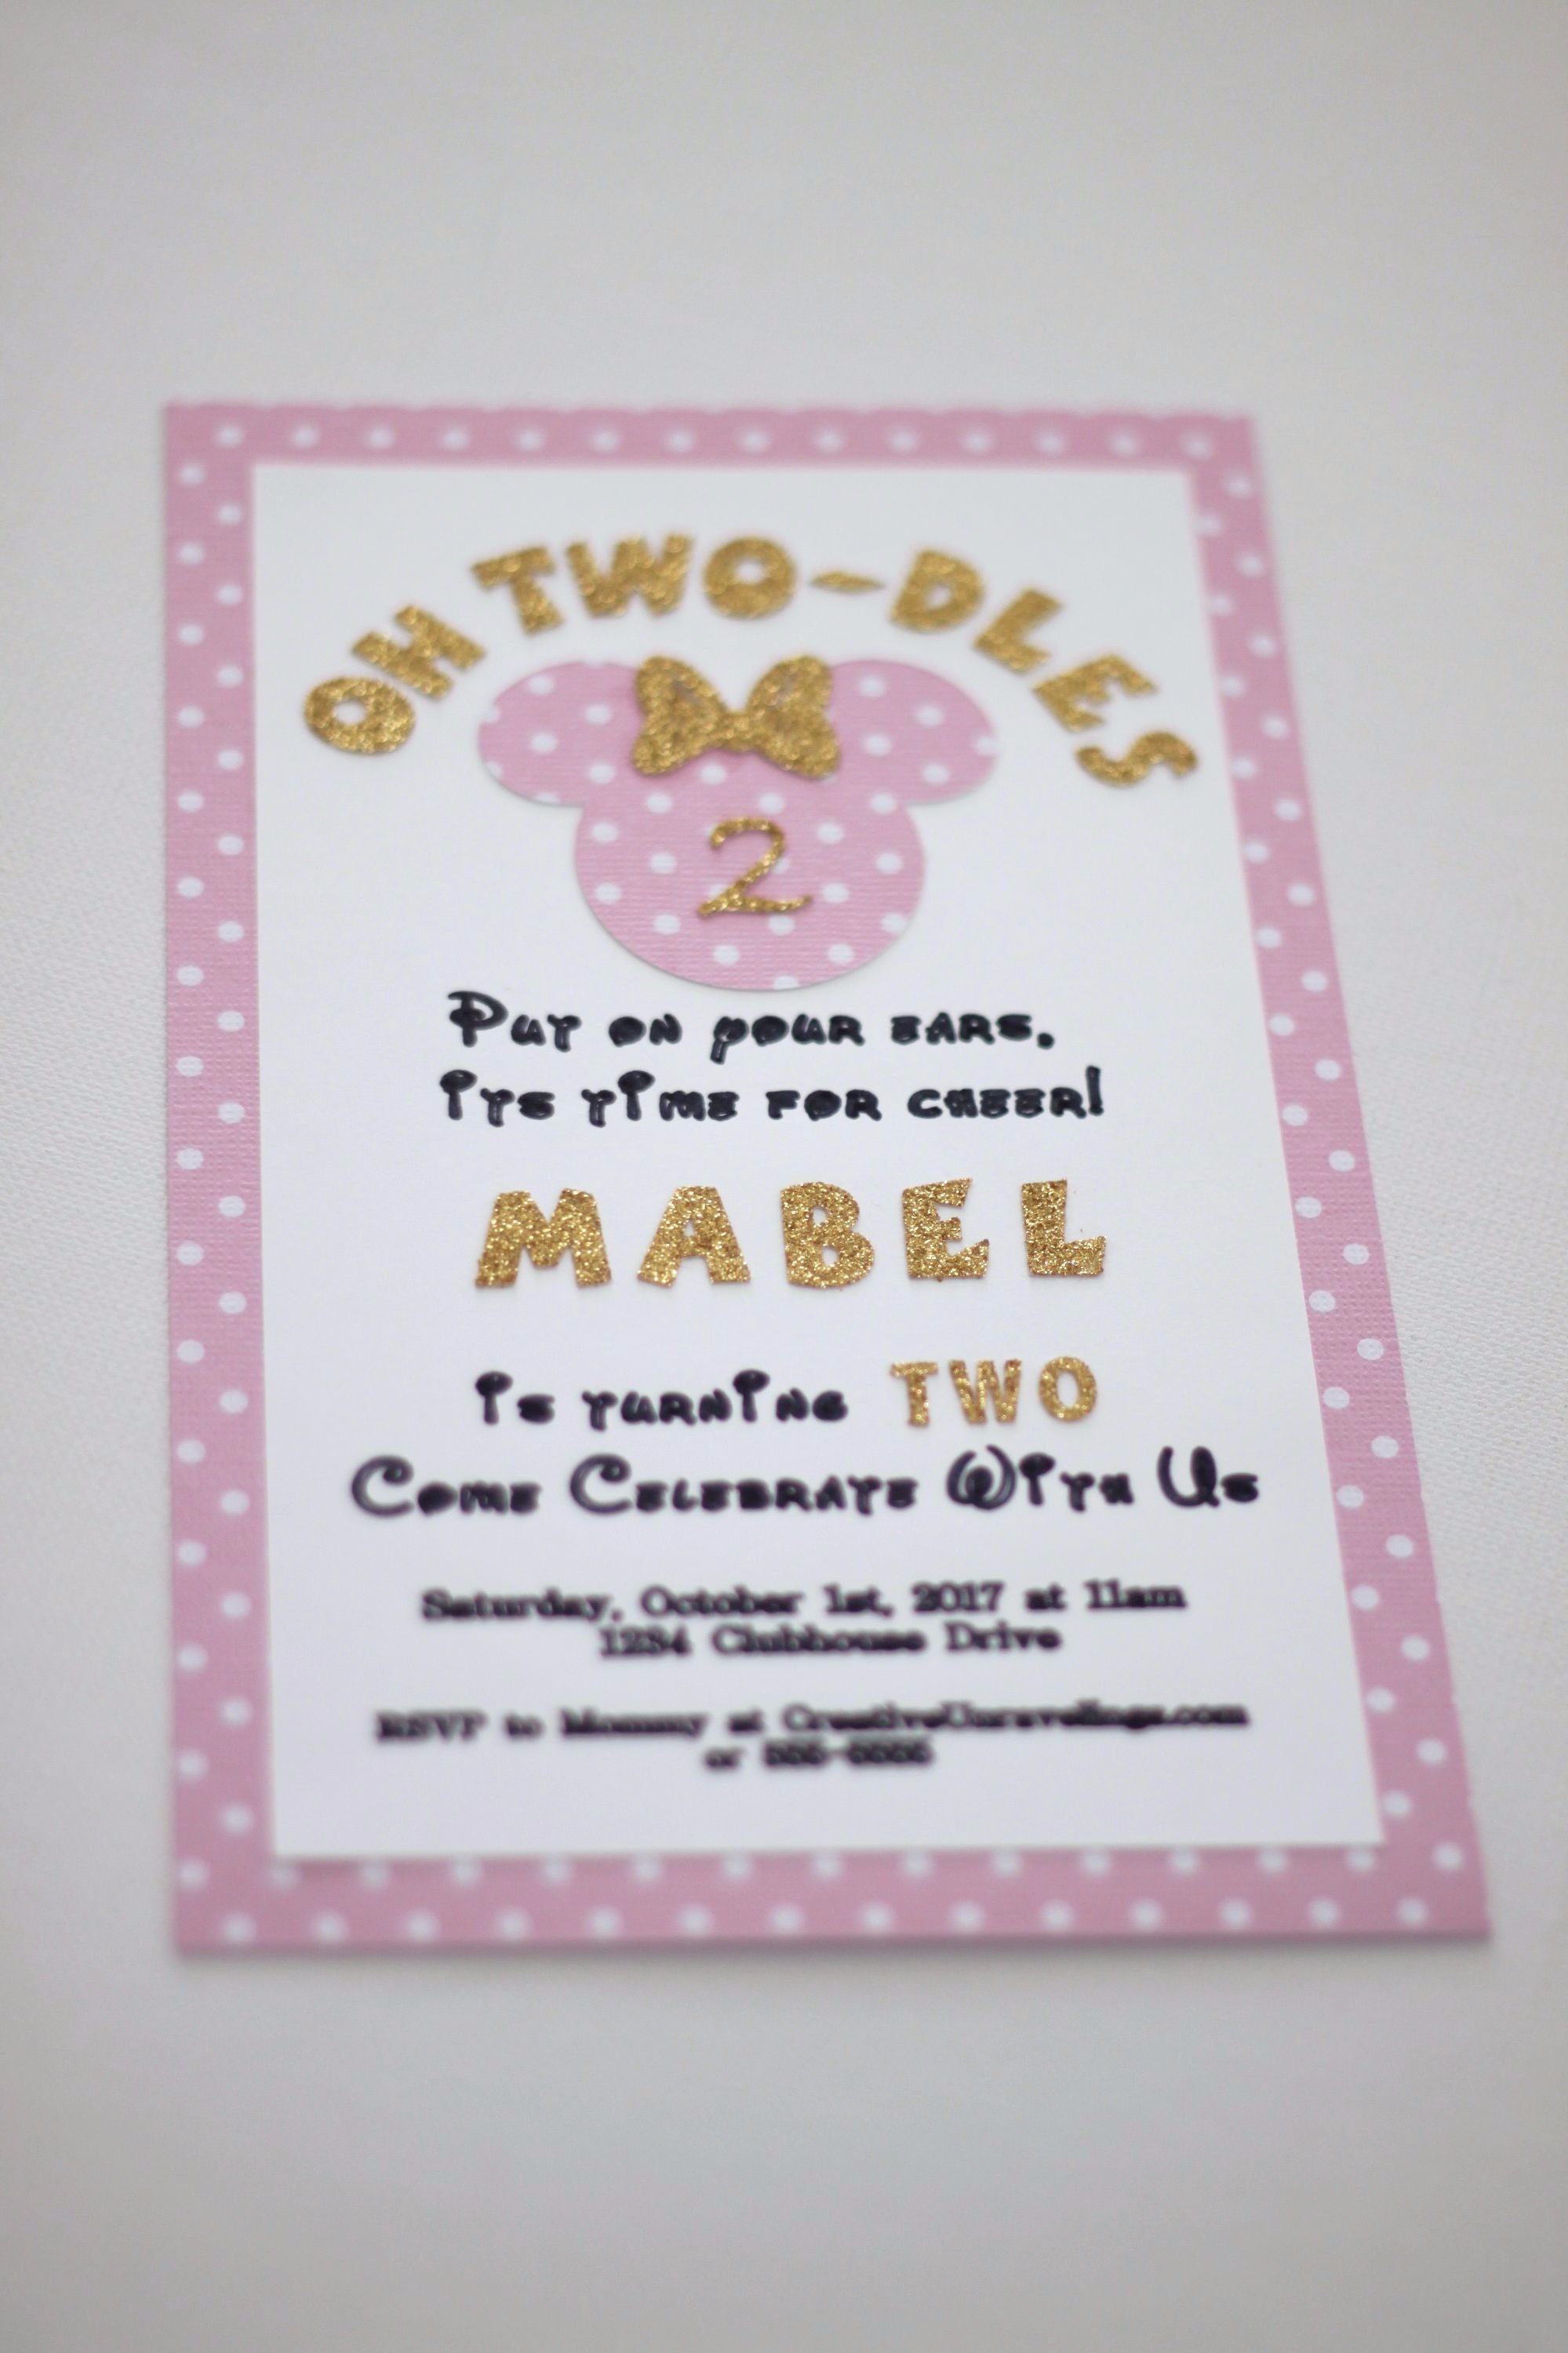
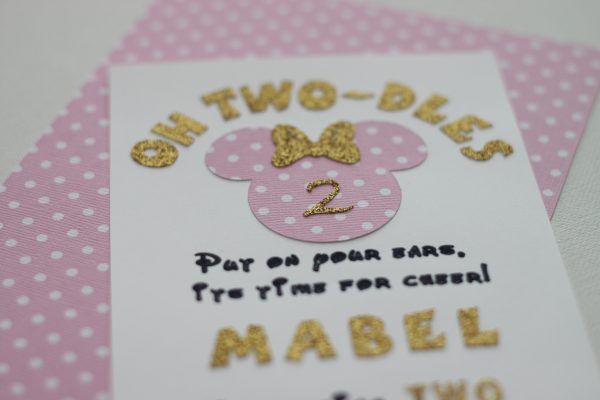 And here is the finished product! I LOVE how it turned out and I love how the Minnie Mouse ears coordinate with the base of this invitation! You all are not going to believe how much it cost to make these 25 invitations...wait for it...$8.00! I kid you not! Of course I did put in a lot of time putting them together, but I honestly I love working on crafts like this so it didn't bother me one bit!
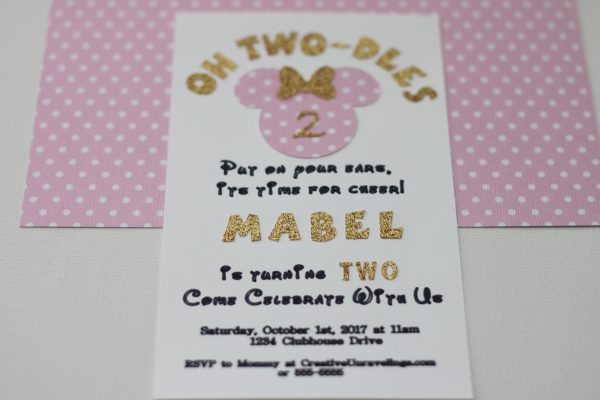
Here is the final product, of course this is my sample piece with fake information, but I wanted you to see how it all came together.
Making your own invitations can be a little time consuming but if you plan out your theme and set a date for the party at least 2 months in advance, you CAN do it too! I definitely saved a little chunk of change this year on my invites, plus not to mention they are so unique! What do you all think?
Comments