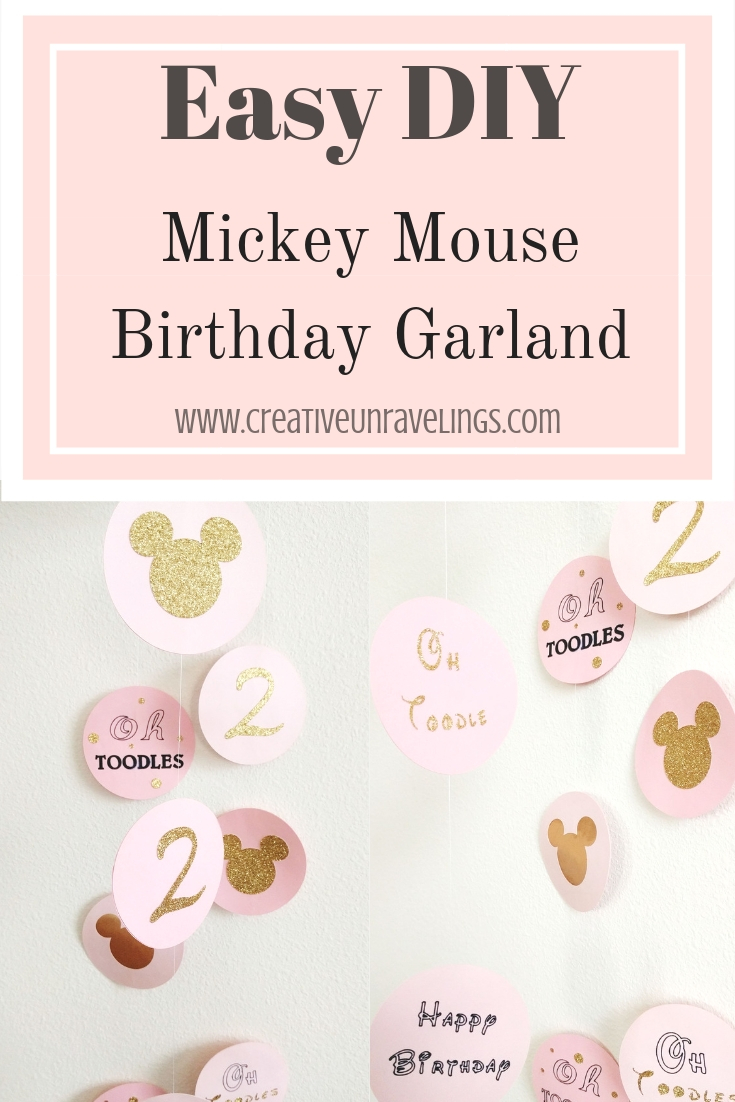
I stepped it up a notch this year with the birthday garland! Woohoo! Thanks to my Cricut and the million possibilities I came up with something really cute this year! Last year, for my daughter's first birthday I came up with something very simple (this was my first time making garland.) I cut it by hand!! For my first attempt at making garland you can see it here at my daughter's Little Pumpkin Birthday Party.
Materials for project:
- Cricut Explore Air 2
- Cricut Design Studio
- 12 x 12 Cricut Mat
- Cricut Tools
- Cricut Black Pen
- Mod Podge ( I used gloss)
- Card Stock (for this project I used 3 different colors)
- Scissors
- Q-tip
- White thread (used for stringing garland)
I am sharing with you my two Cricut Design space files for this project, they might look similar, but they are slightly different. I wanted to add different features so I thought by creating two projects I could mix the match them together with different colors of card stock. Please note there are images/fonts in this project that I had to purchase from Cricut.
Here are the two Cricut Design Space projects:
Minnie Mouse Garland
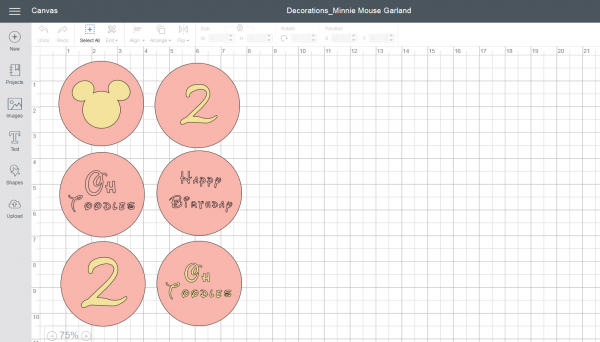 Here is my project file for the above Minnie Mouse Garland.
Minnie Mouse Garland 2
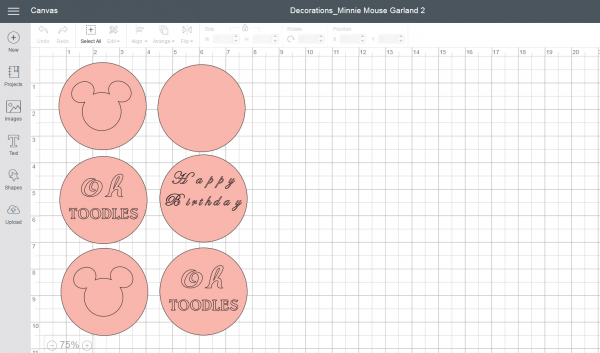
Here is my project for the above Minnie Mouse Garland 2
After your Cricut as done all the work, its time to start stringing the garland together.
- First make sure when you take your garland circle and line it up evenly with the thread. You want to make sure your garland "center image" is not crooked. Then I took a piece of tape and taped the white thread to it. The tape just gives it a little more durability when they are hanging. Then I applied mod podge gloss to the garland circle and took another garland circle (making sure the "center image" was lined up straight) and glued it together
- Next, I measured about 3- 3 1/2 inches between the first circle of garland and where the next circle of garland will be on the thread.
- Repeat step 1 until your garland strand is complete.
- I strung 3 garland circles on each strand, this is because I plan to hang the pieces in a low area.
- After I strung all the garland I wrapped each strand up in wax paper. I would alternate one garland circle, one piece of wax paper and so on.
- Then I placed the garland under some heavy books so that slight bending would hopefully go away. These pictures were taken right after I made them. So you will see the slightly bent garland circles.
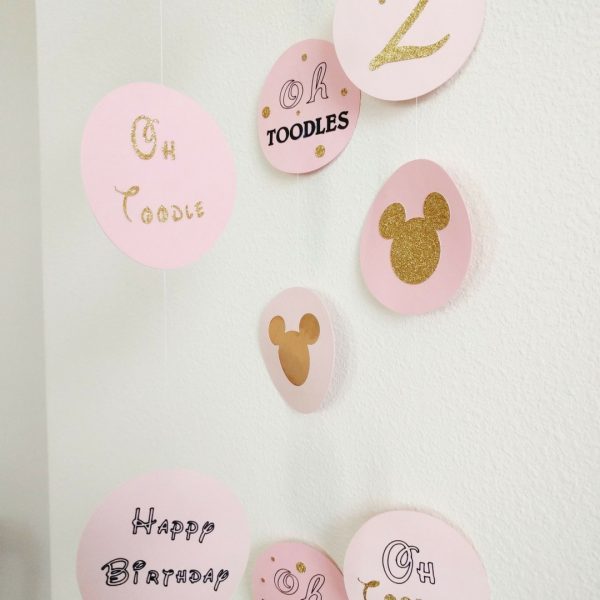
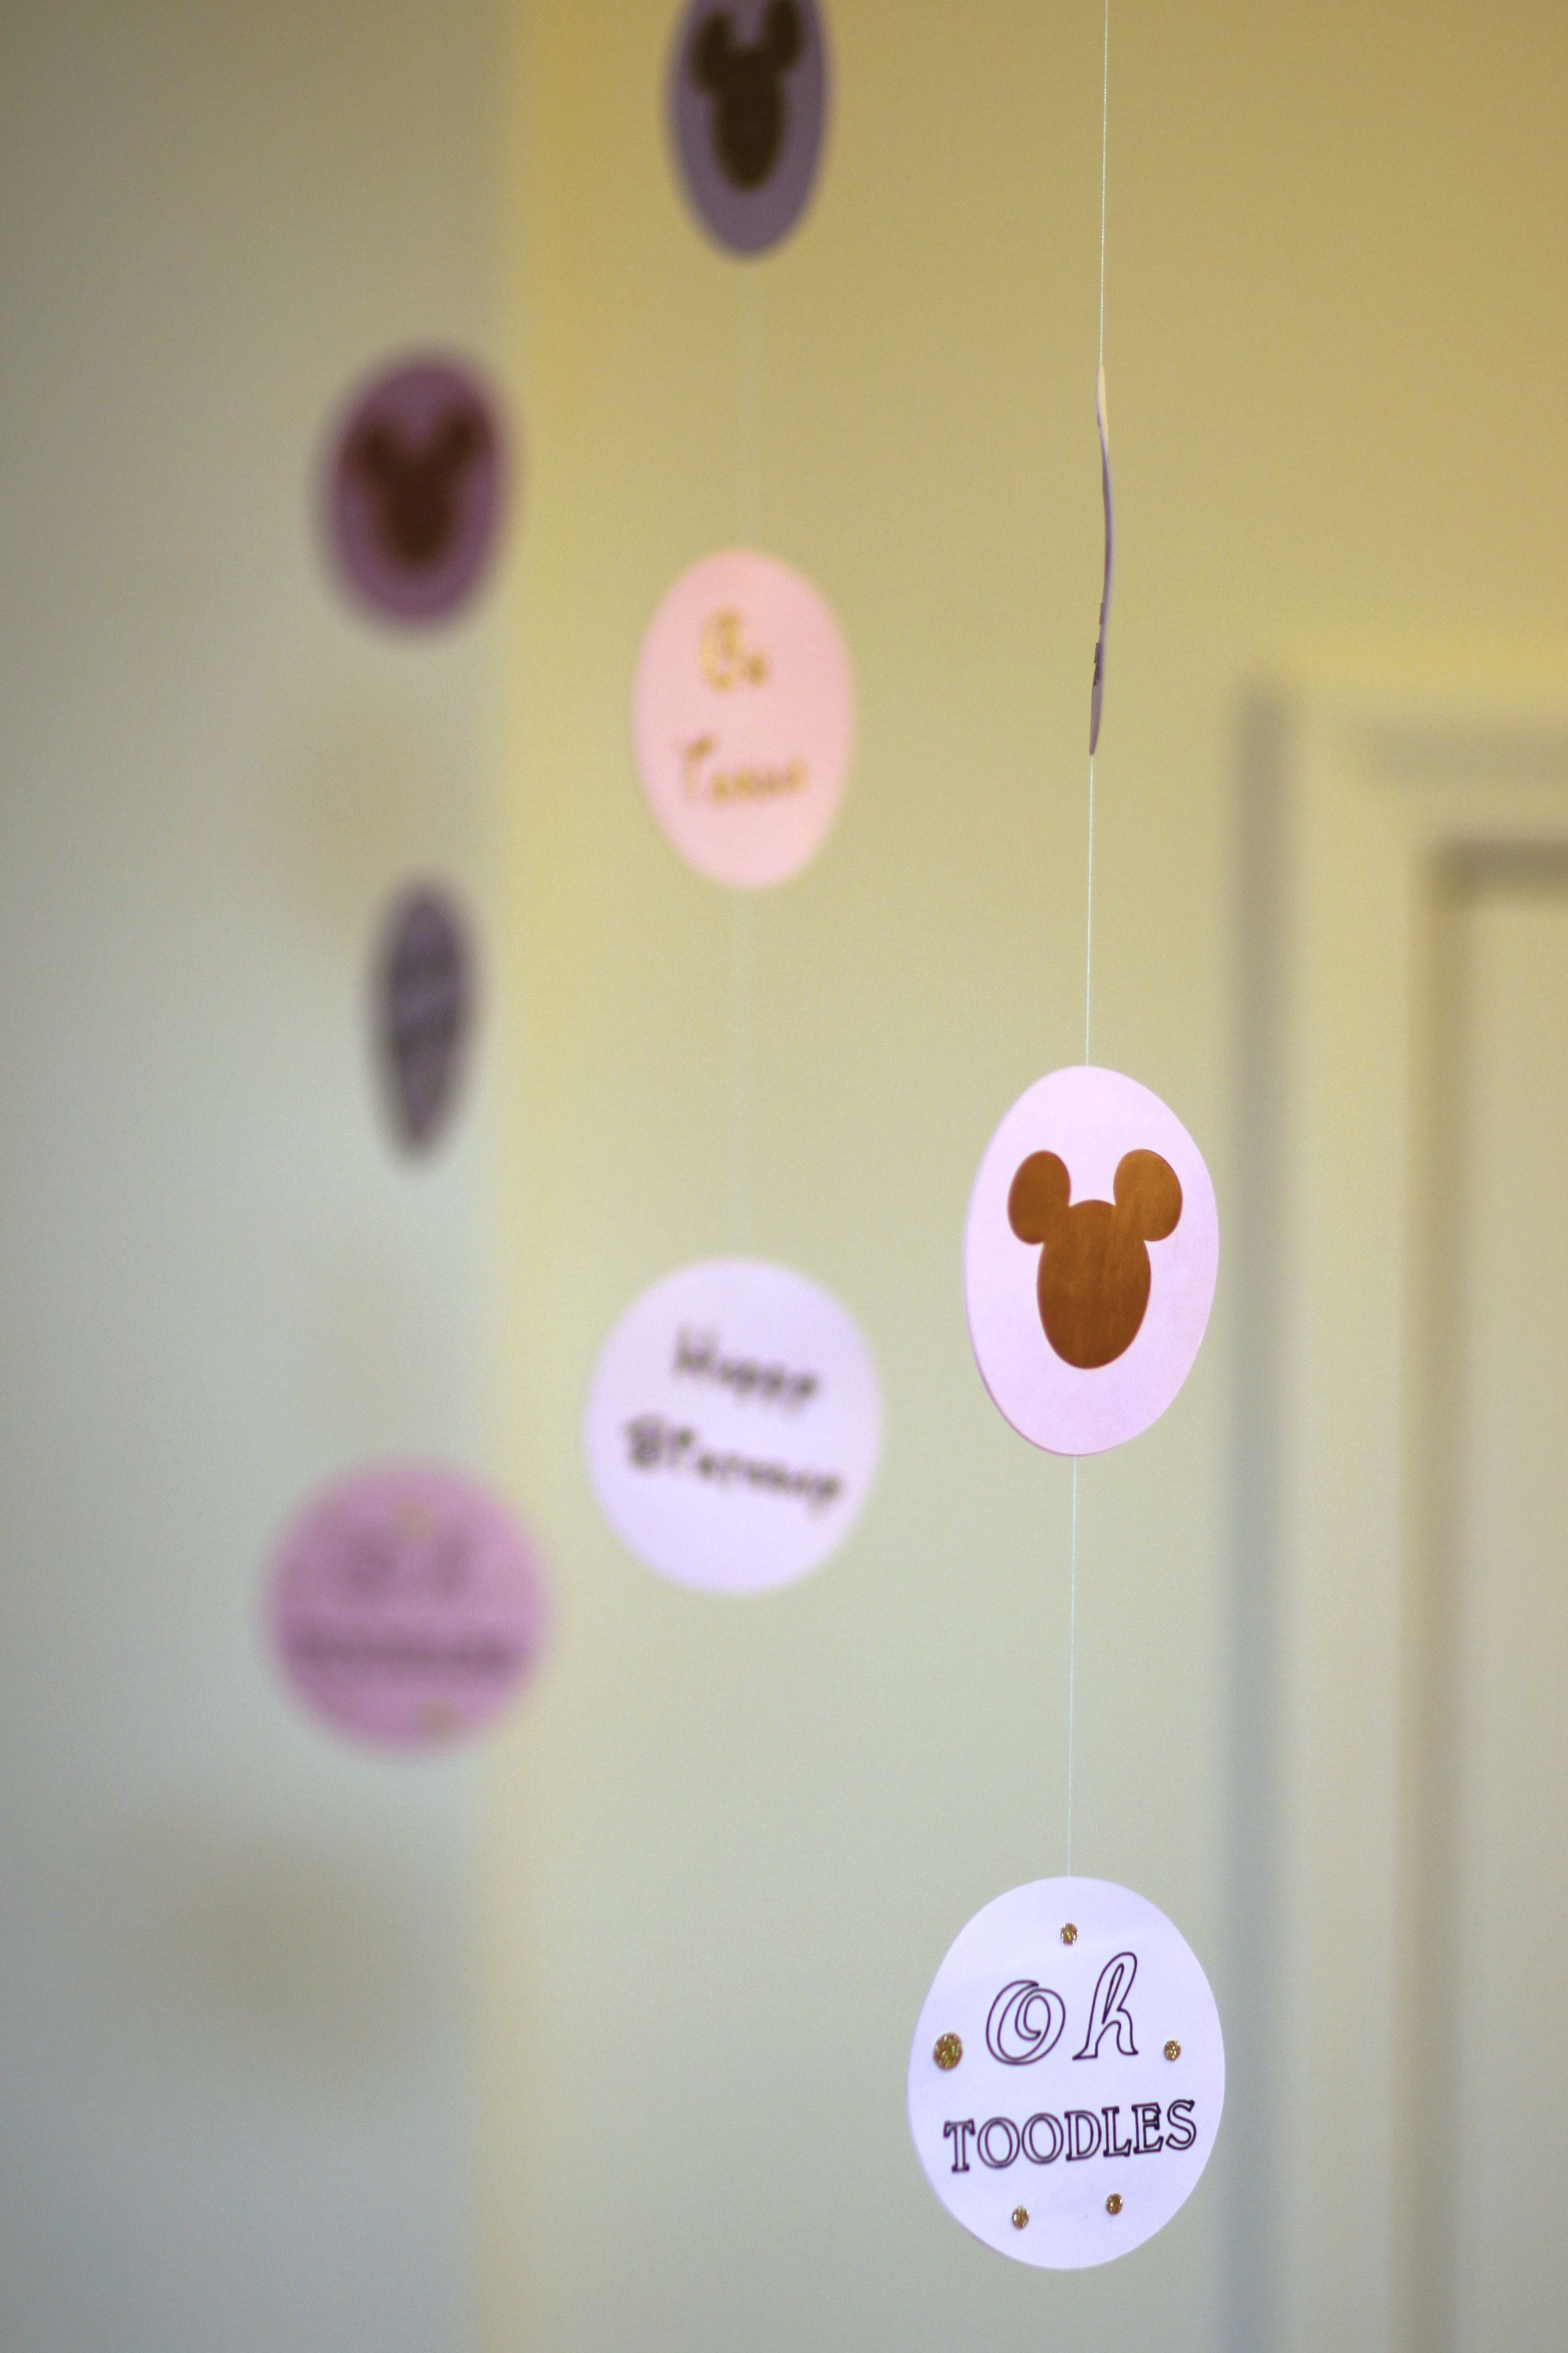
Here are a few pictures of my completed garland.
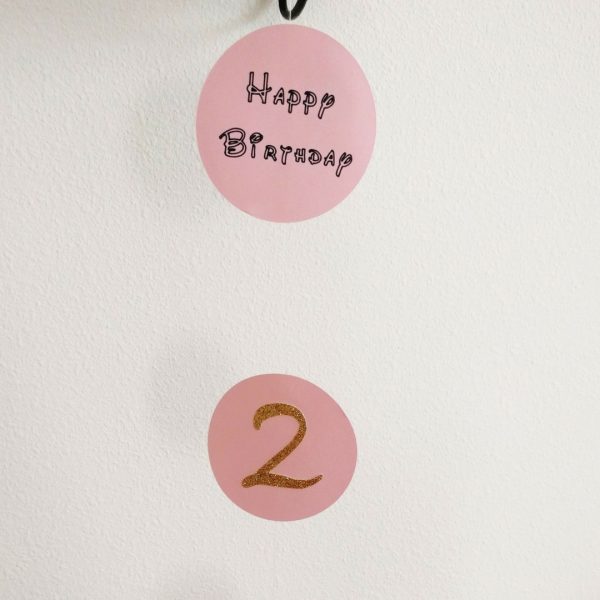
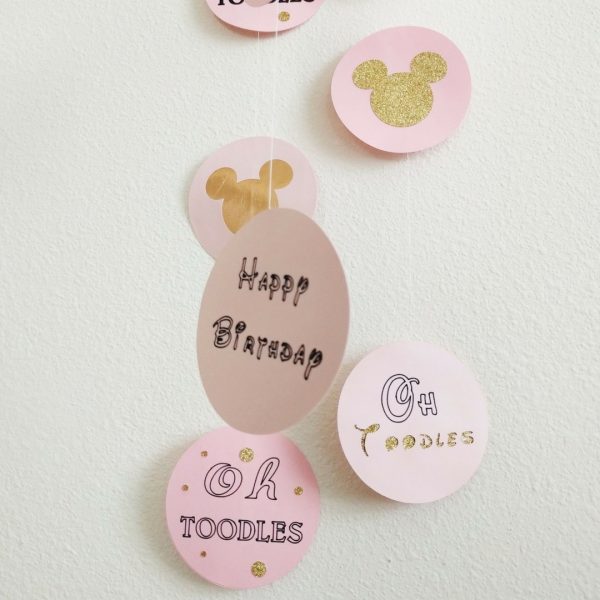
Here it is displayed at my daughter's birthday party.
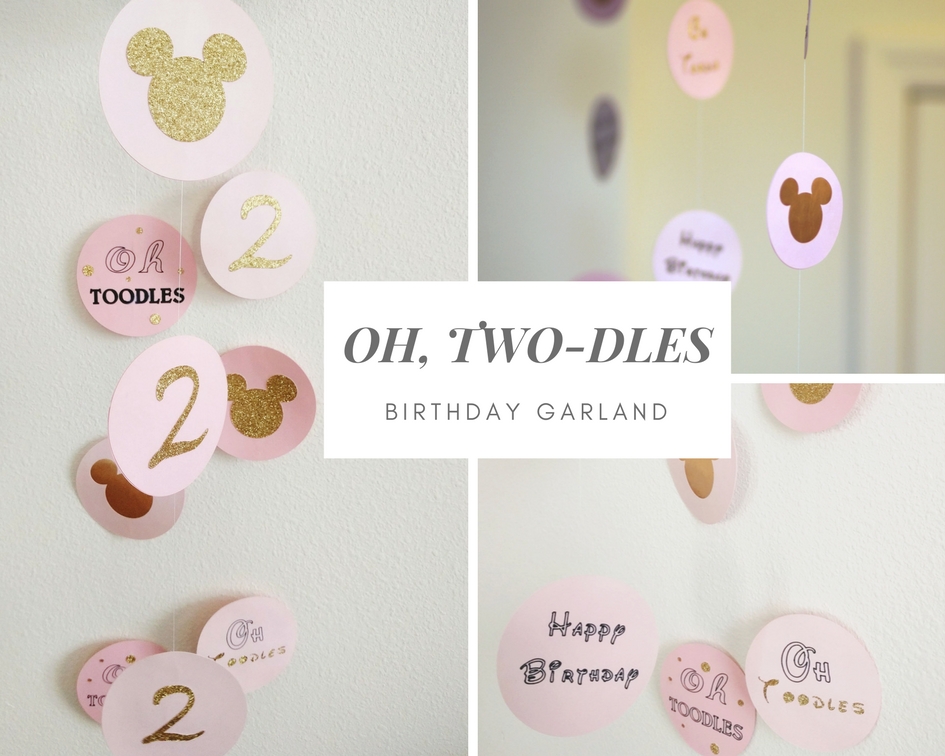
Isn't this garland just darling? I cannot wait to see what I come up with next year!!
Comments