
For the last 2 years we have been slowly working on giving our windows a beautiful new makeover. It is amazing that by adding some custom casing to any window can make a world of difference. We priced it out and it can cost anywhere from $40-75 per window, depending on the dimensions and or type of moulding you choose. Of course, if you tackle a few windows at once you can cut some costs and buy more wood in bulk and save a little.
Materials Needed:
- Choice of moulding trim
- If you are framing the whole window you will need a side moulding and a top and bottom style moulding.
- Miter saw
- Nail gun (you could use Liquid Nails too). My husband prefers to use the nail gun, because he says my taste will probably change, meaning he will be doing new window trim eventually.
- Rubber mallet
- Scraper (for removing the caulk)
- White caulk
- Liquid Nails (for gluing down the wood window sill)
- Tape measure
- Level
- Jig saw
- Paint brushes
- High gloss paint
- Primer (only if you moulding is not primed, ours was)
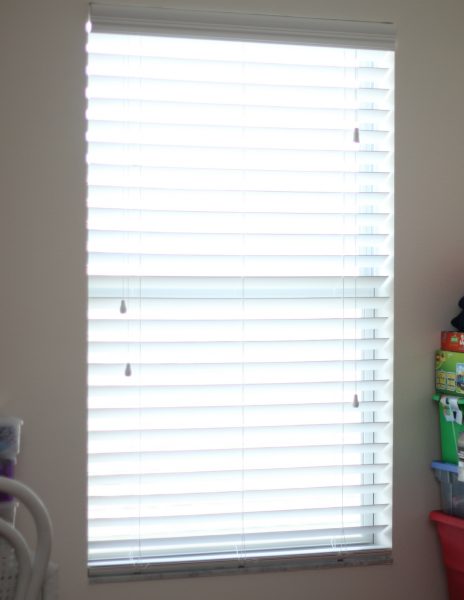
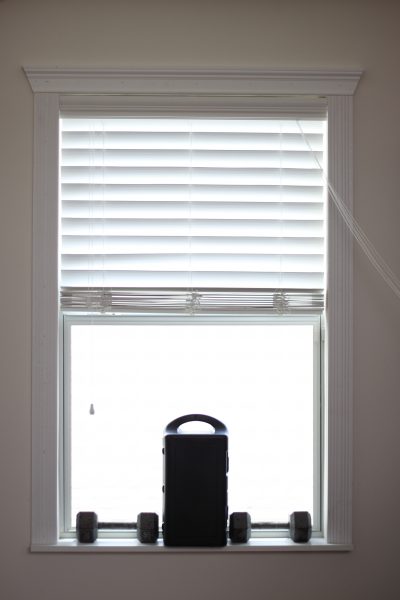
Here is the before picture of the window, you can see the marble window sill that will be removed in this photo. (Sorry the picture is so bright- you can still see by the looks of the window that it is nothing special)
Step by Step:
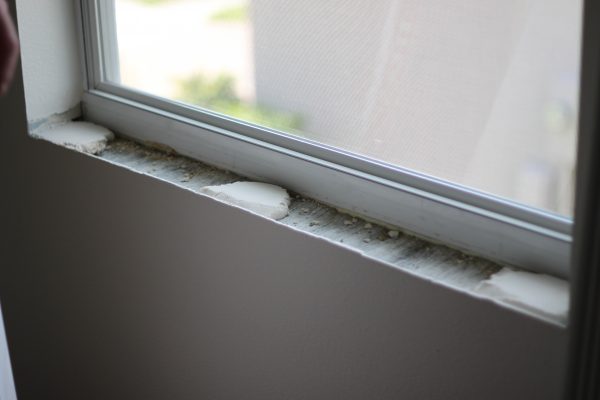
First, you will need to remove the window ledge. First, we used a scraper to remove the caulk around the window sill. Then we used the rubber mallet to slowly pry the marble sill up. The new window sills are going to consist of wood. So the next step is to measure the depth of the sill so that you can determine what size your new sill needs to be.
Since we had no use for the old marble sills we ended up donating all the sills to Habitat for Humanity Restore.
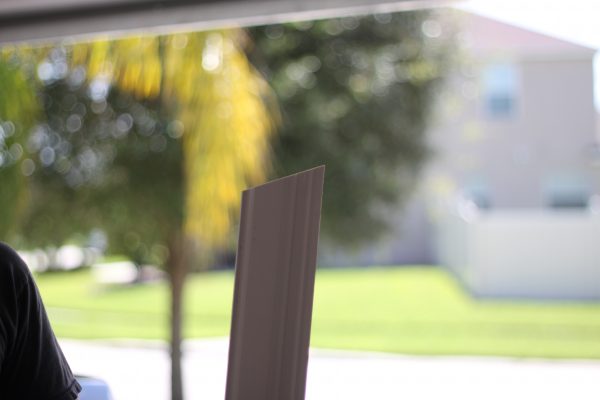
Next, we measured the window sill depth and how far we wanted the sill to come out on both sides of the window.
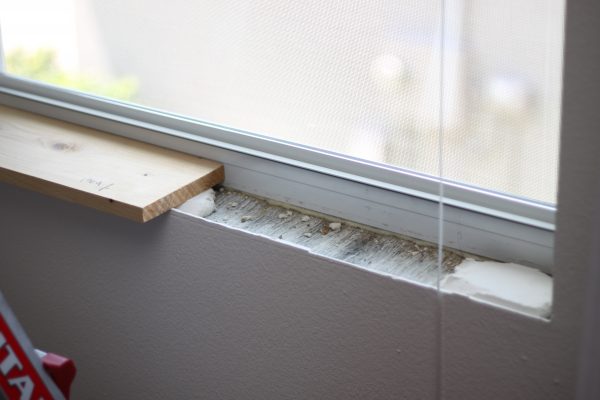
Here we measured out the custom fit for the window sill. Since the sill is hollow, we are not able to use a nail gun to set the sill how we like. We used Liquid Nails which is an adhesive, and this will give it the secure fit that we need.
Pictured below: For our downstairs windows we laid down a cement base to raise up the window sill, and level it.
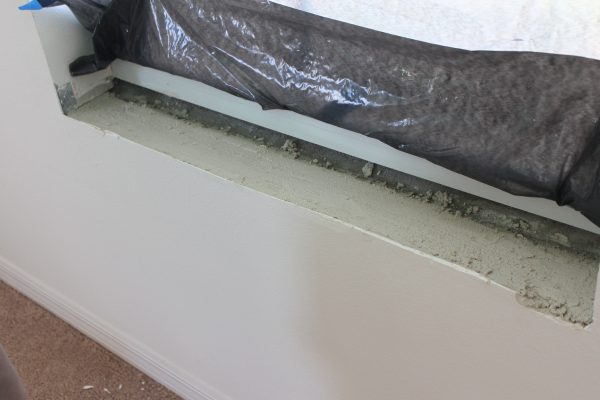
Now it is time to fit the new sill into the window frame.
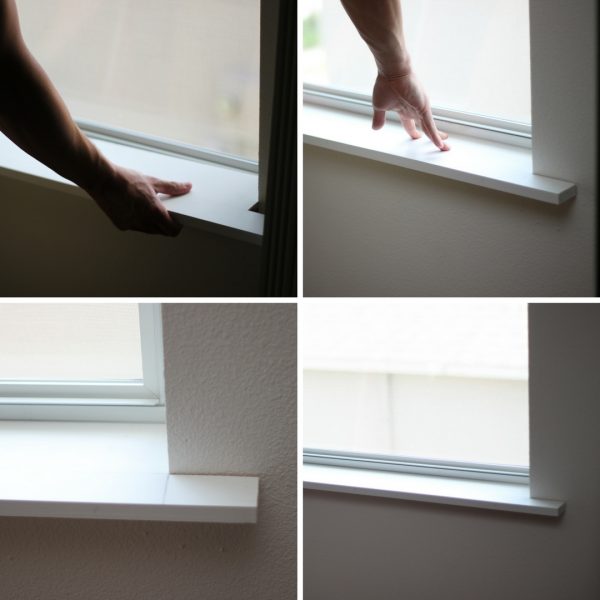
We were able to get a pretty good fit, the small gaps between the wall and sill will be caulked. We set some weights in the window sill to help the glue set in well to the sill.
Next, it is time to measure for the top crown moulding. Remember, your moulding will be cut at an angle, so its always good to measure a little more than you need to. That way you can shave off just hairs of measurements (if you need to.)

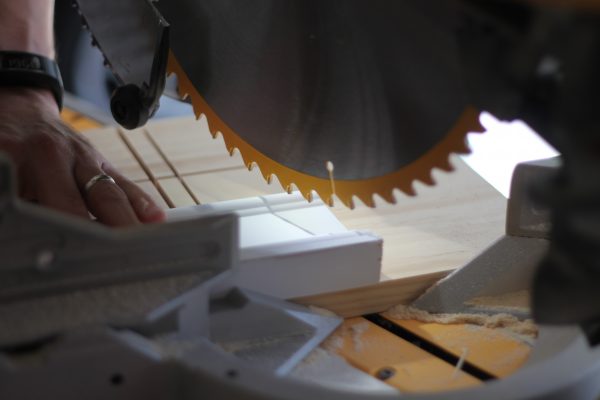
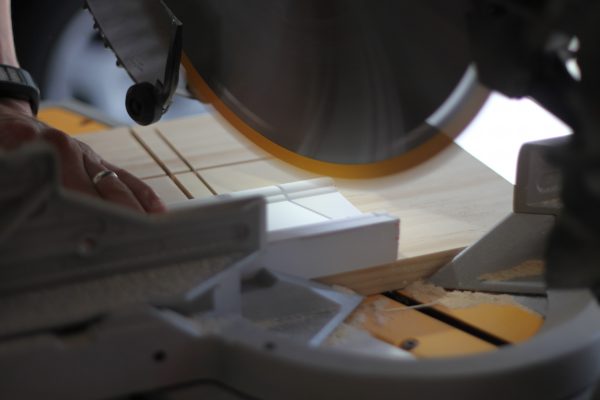
We cut the angle at 22.5°.
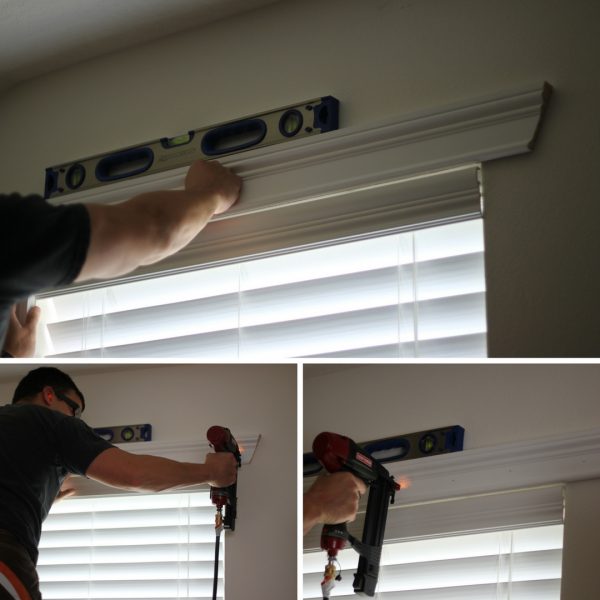
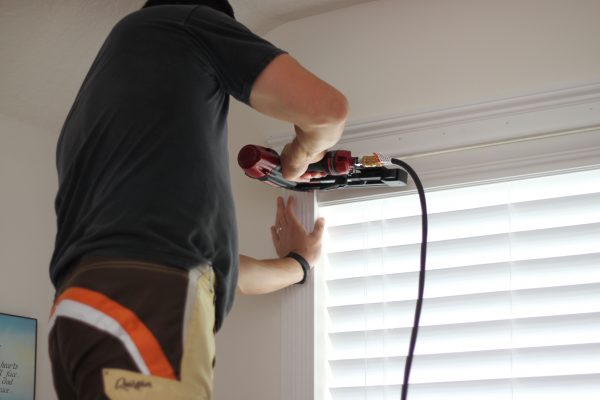
Now it's time to head on over to the window and make sure the top moulding piece is the correct measurement, and start nailing it to the wall.
You want to make sure that your top crown moulding piece is level. Once it is level, it's best to use the nail gun and nail one nail on the both sides of the moulding piece. This will just help keep it in place while you continue to nail the rest of the nails in.
Next, it's time to measure the side window casing. Believe it or not, both sides will never be the same measurement. It's always best to measure than assume.
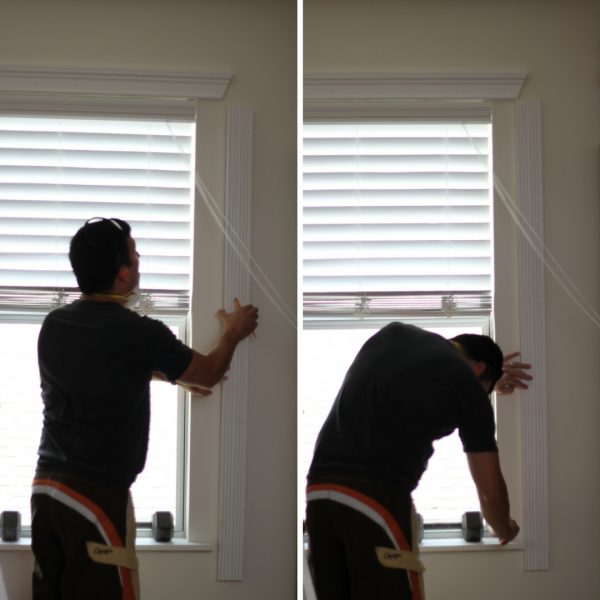
Once the side casing has been cut and measured along the window, it's time to begin nailing to the wall.
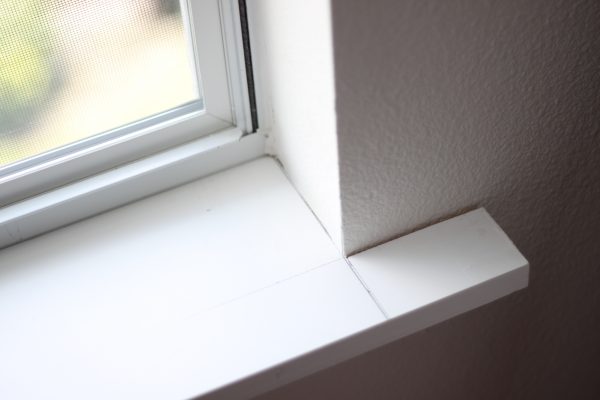
Here is what the window looks like after the top crown and side casing has been attached. Now it's time to measure the bottom piece. The bottom piece is going to be exactly like the top crown piece, just shorter.
Here is a closeup picture of the bottom moulding piece installed.

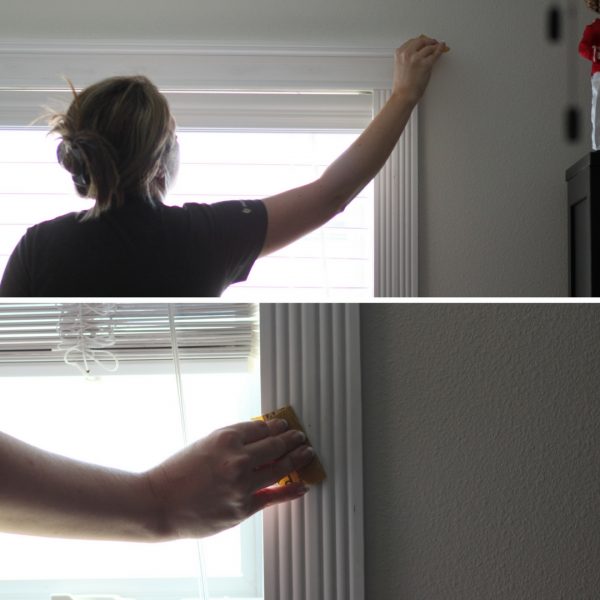
After all four pieces have been installed around your window, it's time to start caulking the gaps. I caulked everywhere around the window in which the wall meets the moulding. It gives it a nice finished look. I also caulked the spots where the nails were present.
Once it was to my liking, it was time to lightly sand the caulk to give it a nice smooth finish for painting.
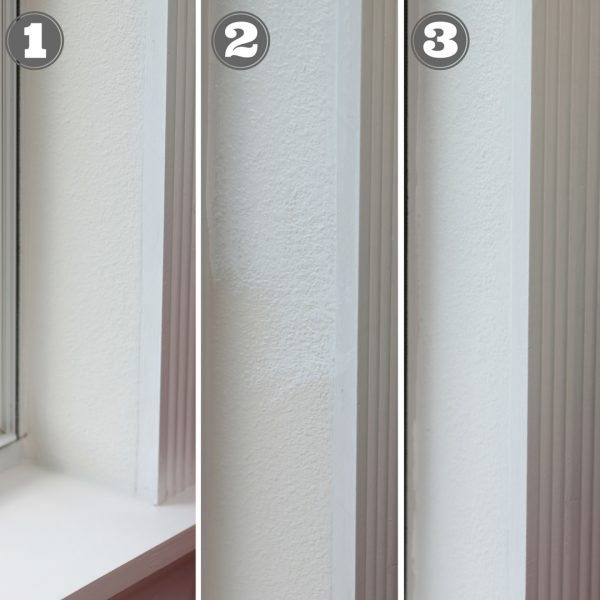
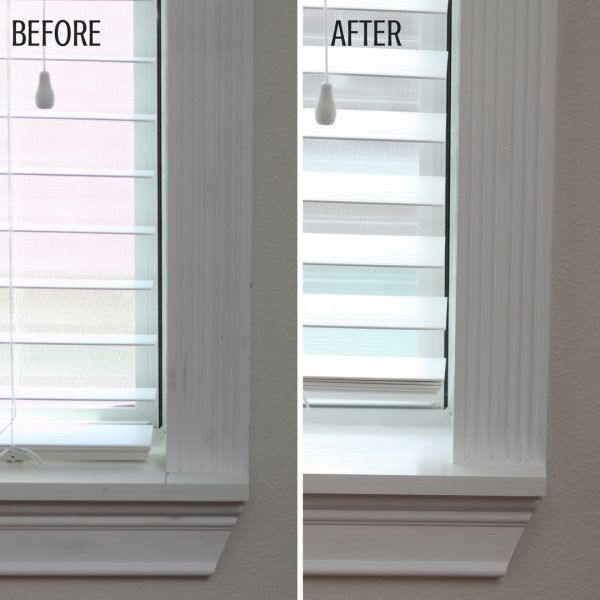
Now for the inside of the window frame. Inside the window frame is obviously the paint color of the room, which is an off white. We thought it might complete the look to use the same paint that we used to paint the moulding casing. You can see in this picture the following:
- The inside frame paint is the color of the walls- off white
- About half the inside frame is painted with the high gloss paint and the other half is the original wall paint.
- The inside frame is completely painted with white high gloss paint. What a difference it makes painting the interior of the window the same as the trim. It gives it a more finished look don't you think?
Next it was time to start painting the new casing around the window. Since this wood was purchased primed, we just had to add our final coat of paint. We used a high gloss white.
You can see by this picture what a difference the caulking and paint do for the overall look.
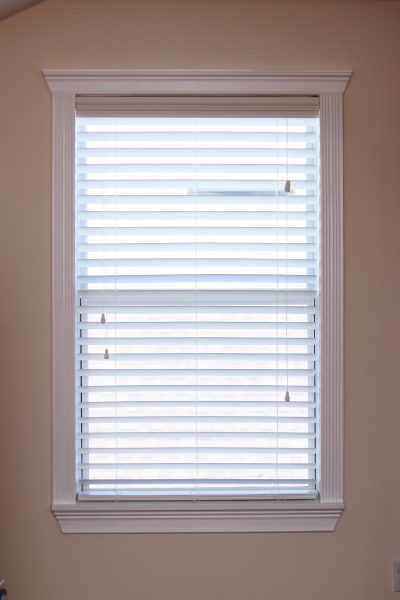
Here is the final picture of one of the most recent windows that we installed casing on.
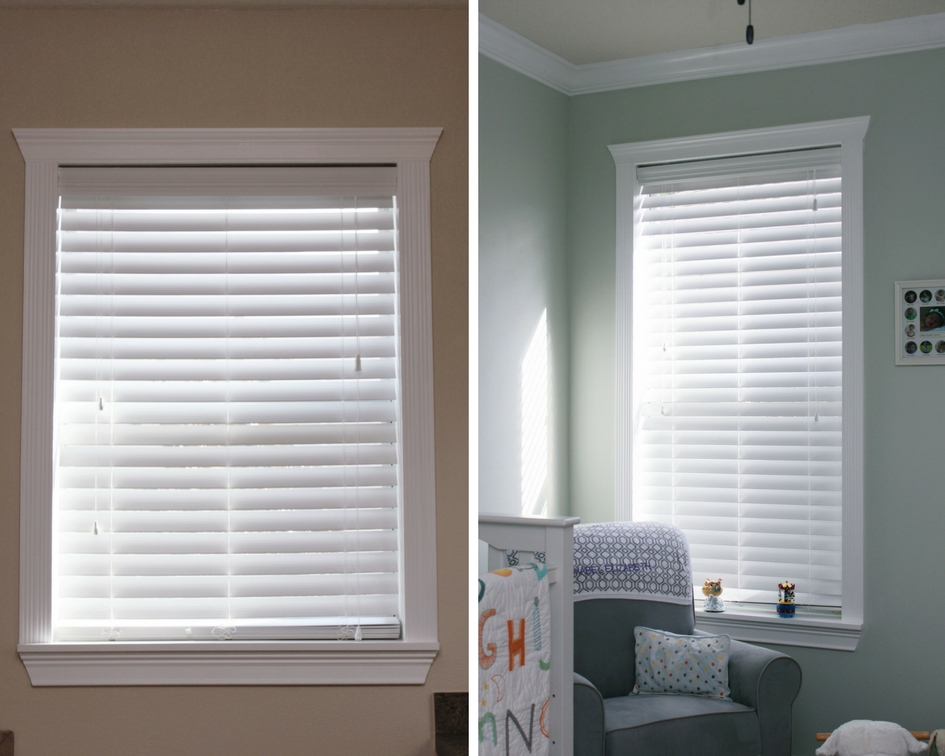
Here is a look at some other windows we have framed around the house. The moulding really gives the window a beautiful new look!
What do you think? Do you think you could tackle this DIY project yourself?
Comments