Welcome to week 1 of the Craft Stash Challenge! This week we are working with felt and fabric. I had to do some serious thinking on this one. I wanted to make something useful. I did not want to make something cute to stick it in the closet after a few months. I know that some of you can relate to that. So, I actually have to give my husband the credit for this one. He suggested that I make our little one some felt food. This is genius! Our little one should be getting into play food soon. I say "should be" because we have seen her take an interest in it at museums and at school, so why not get a head start and create some fun felt food for her!
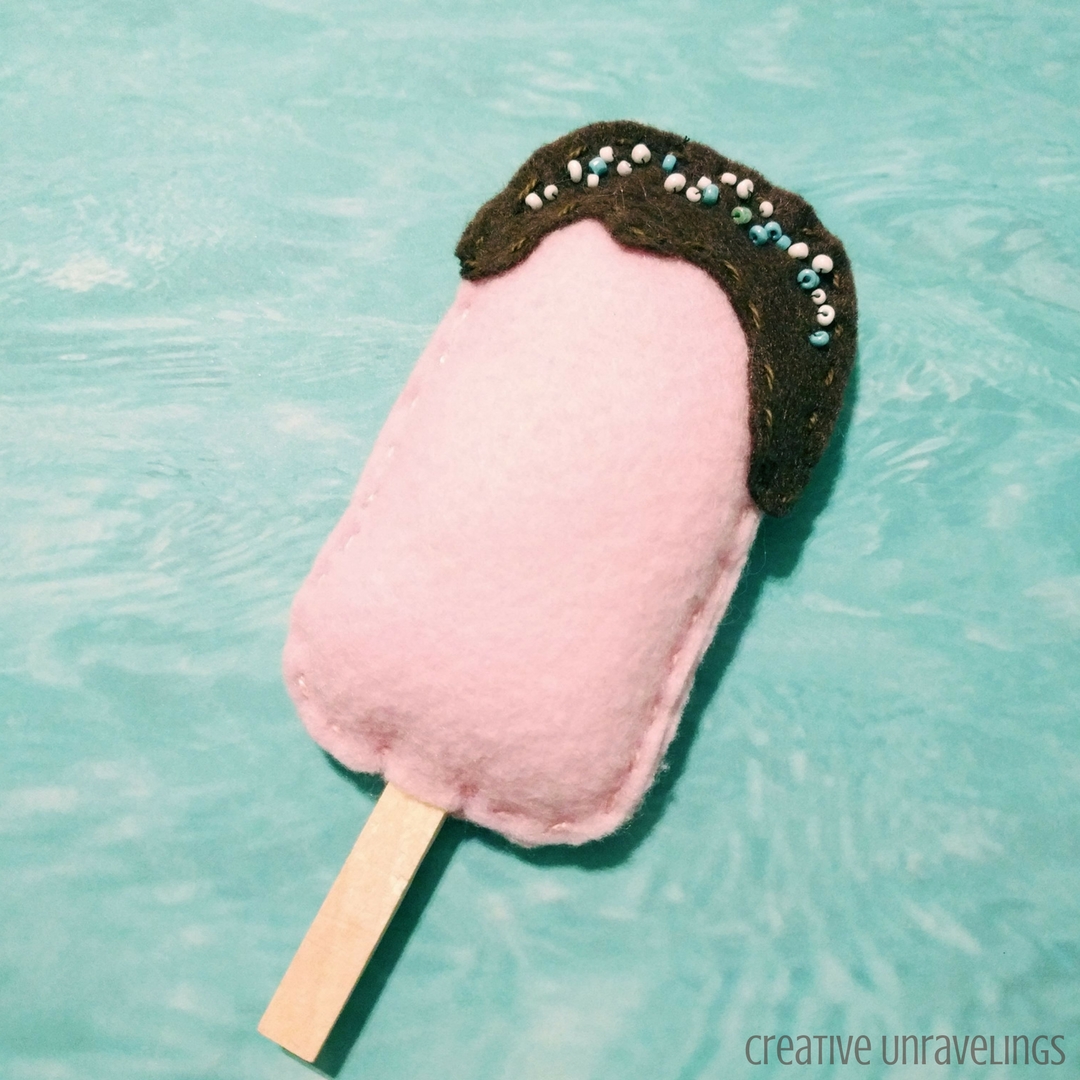
My first creation has to be something fun, that I know my little one will like. So, I was thinking the candy, ice cream and popsicle route. I came up with an ice cream popsicle dipped in chocolate with a touch of added sprinkles, that would attract any toddler right?
Materials Needed:
- Felt (your choice of colors, I used a light pink and dark brown felt)
- Needle
- Coordinating thread
- Embroidery thread
- Scissors
- Hot glue gun
- Glue stick
- Popsicle Stick/Clothes pin (clothes pin was what I had at home)
- Beads (to act as sprinkles)
- Polyester Fill
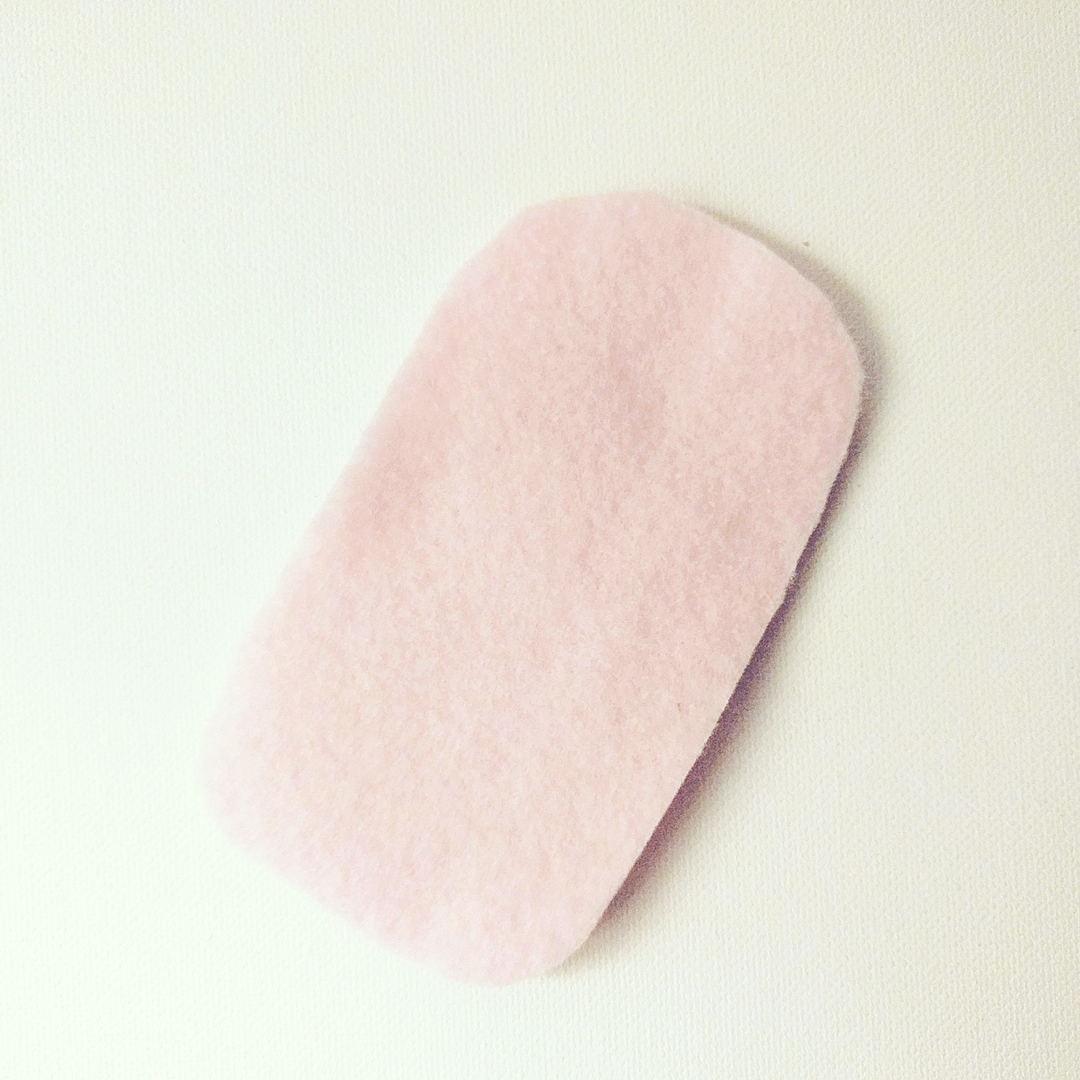
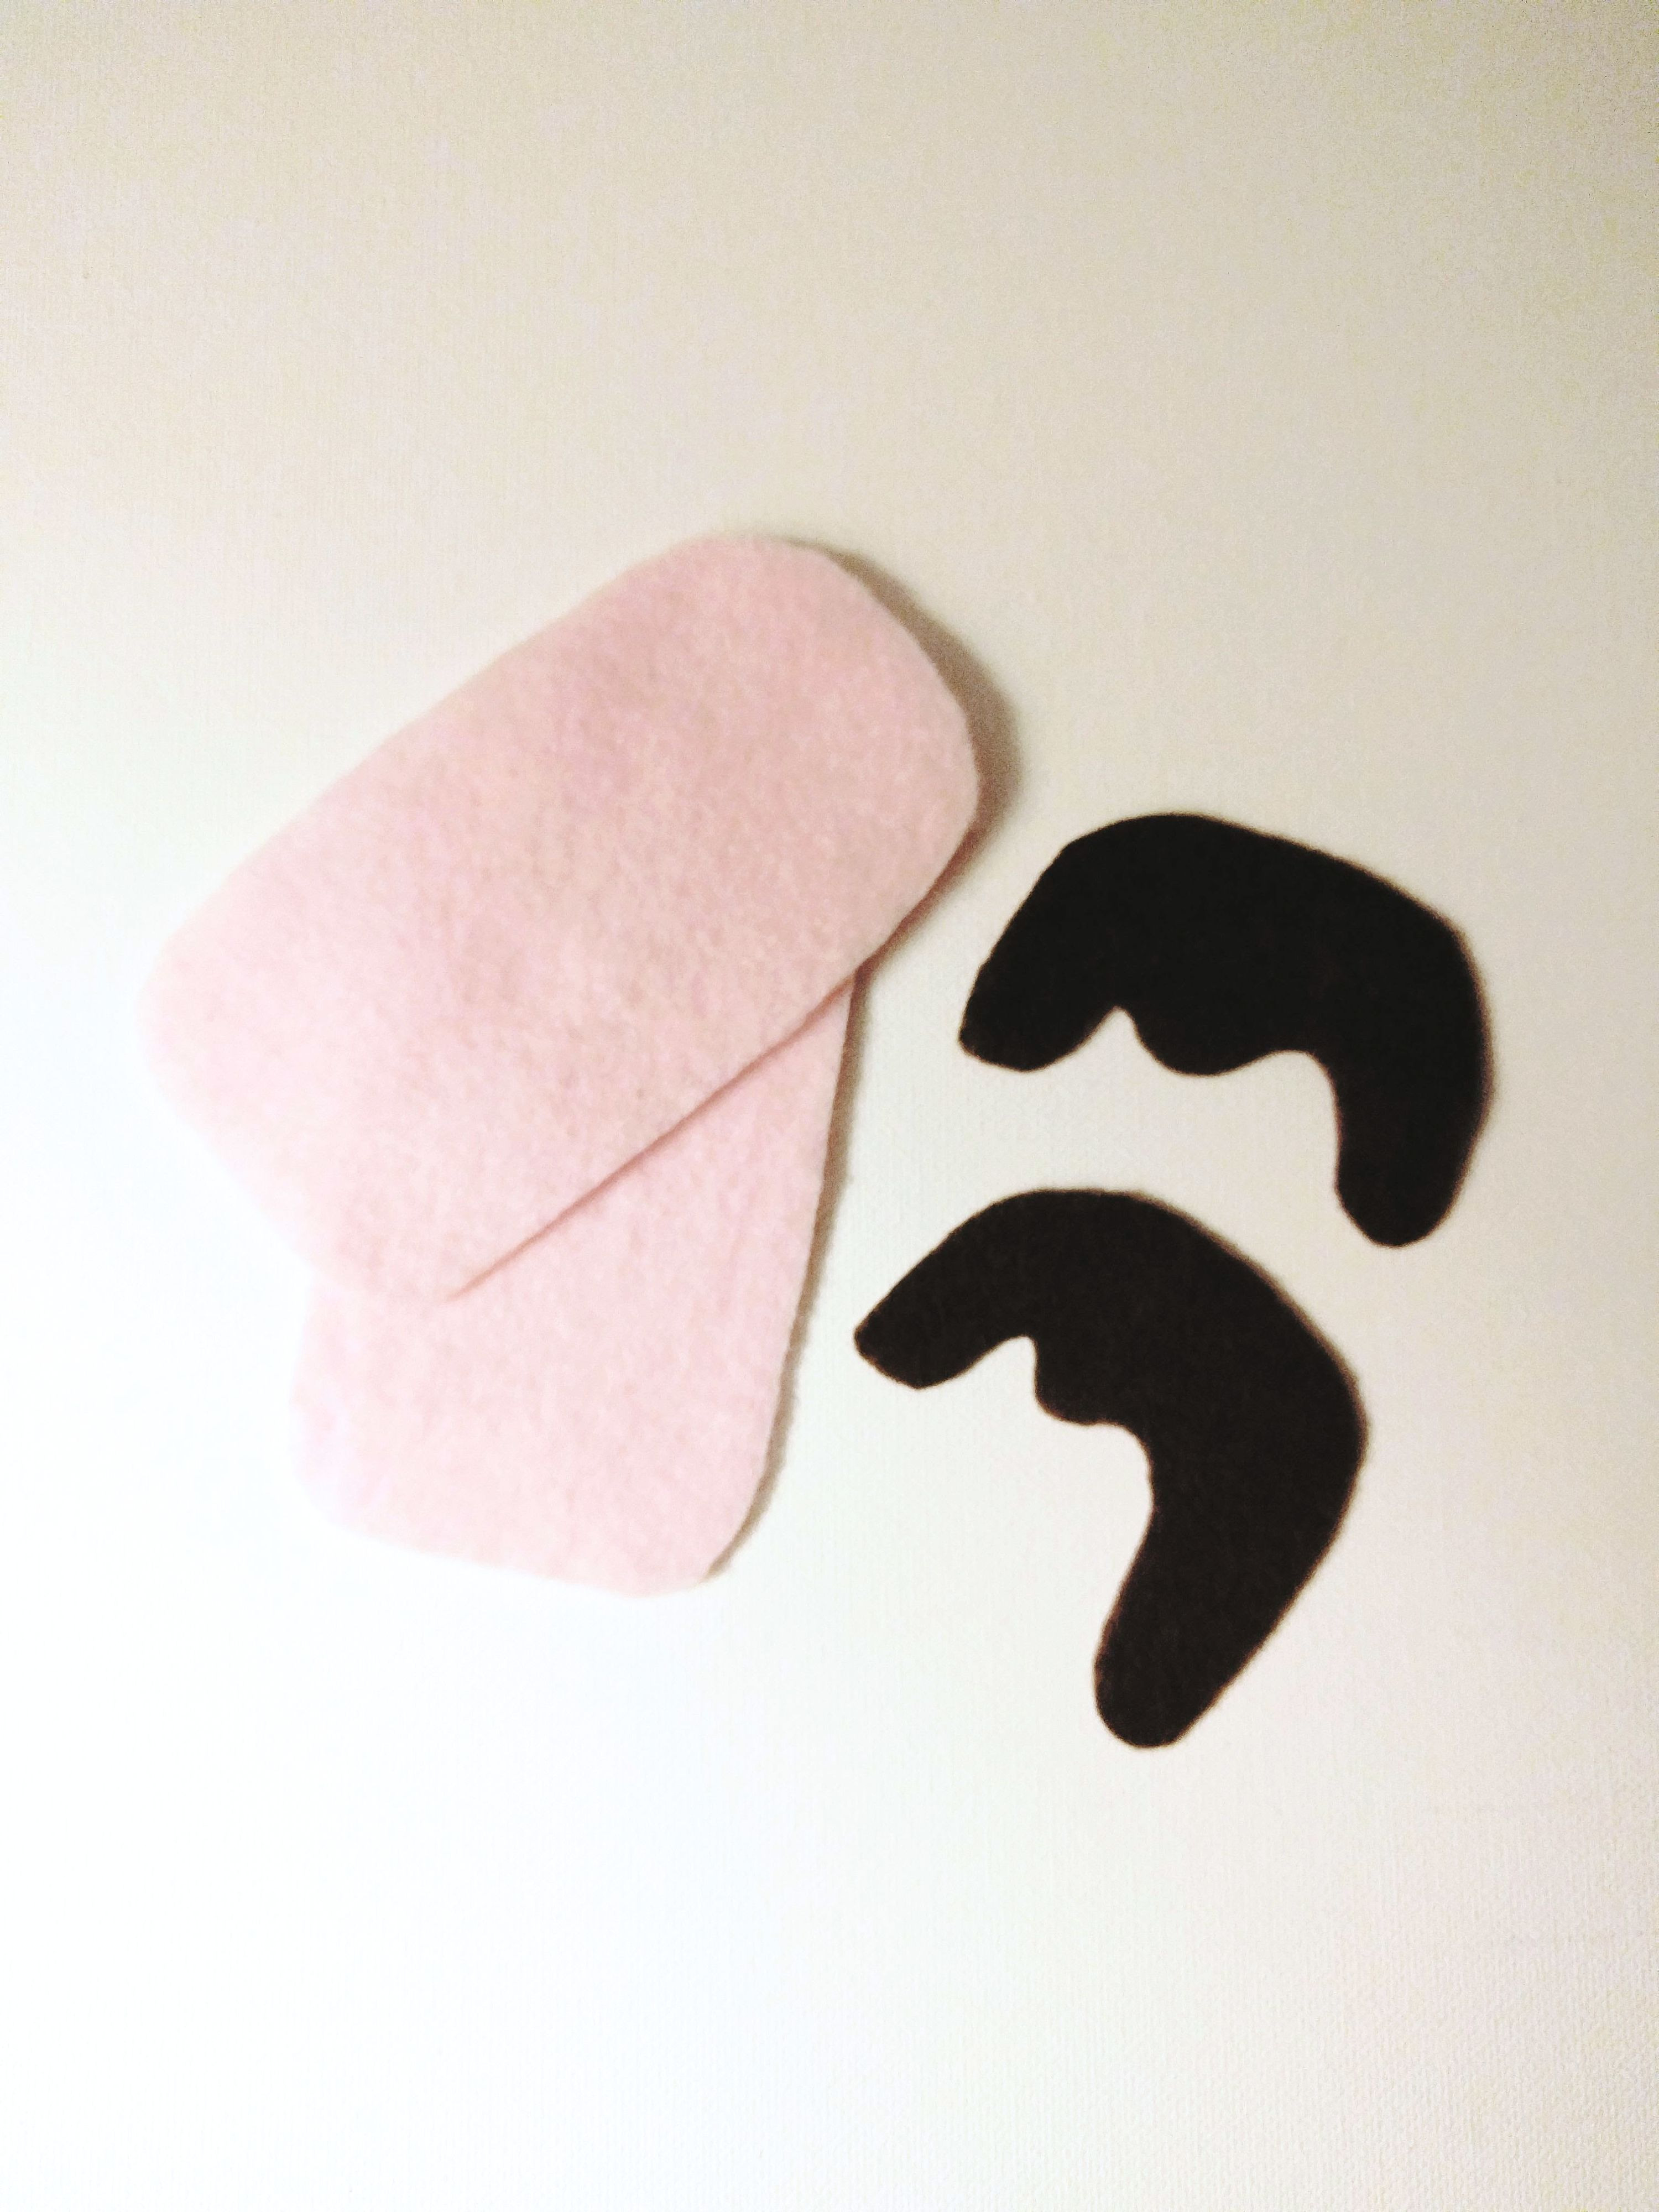
First step, cut out your popsicle design. I made mine a pretty standard size.
Next, I cut out what I would like to see as a chocolate drizzle for my popsicle. Tip: Cut your drizzle so that is is the exact width of the top of your popsicle.
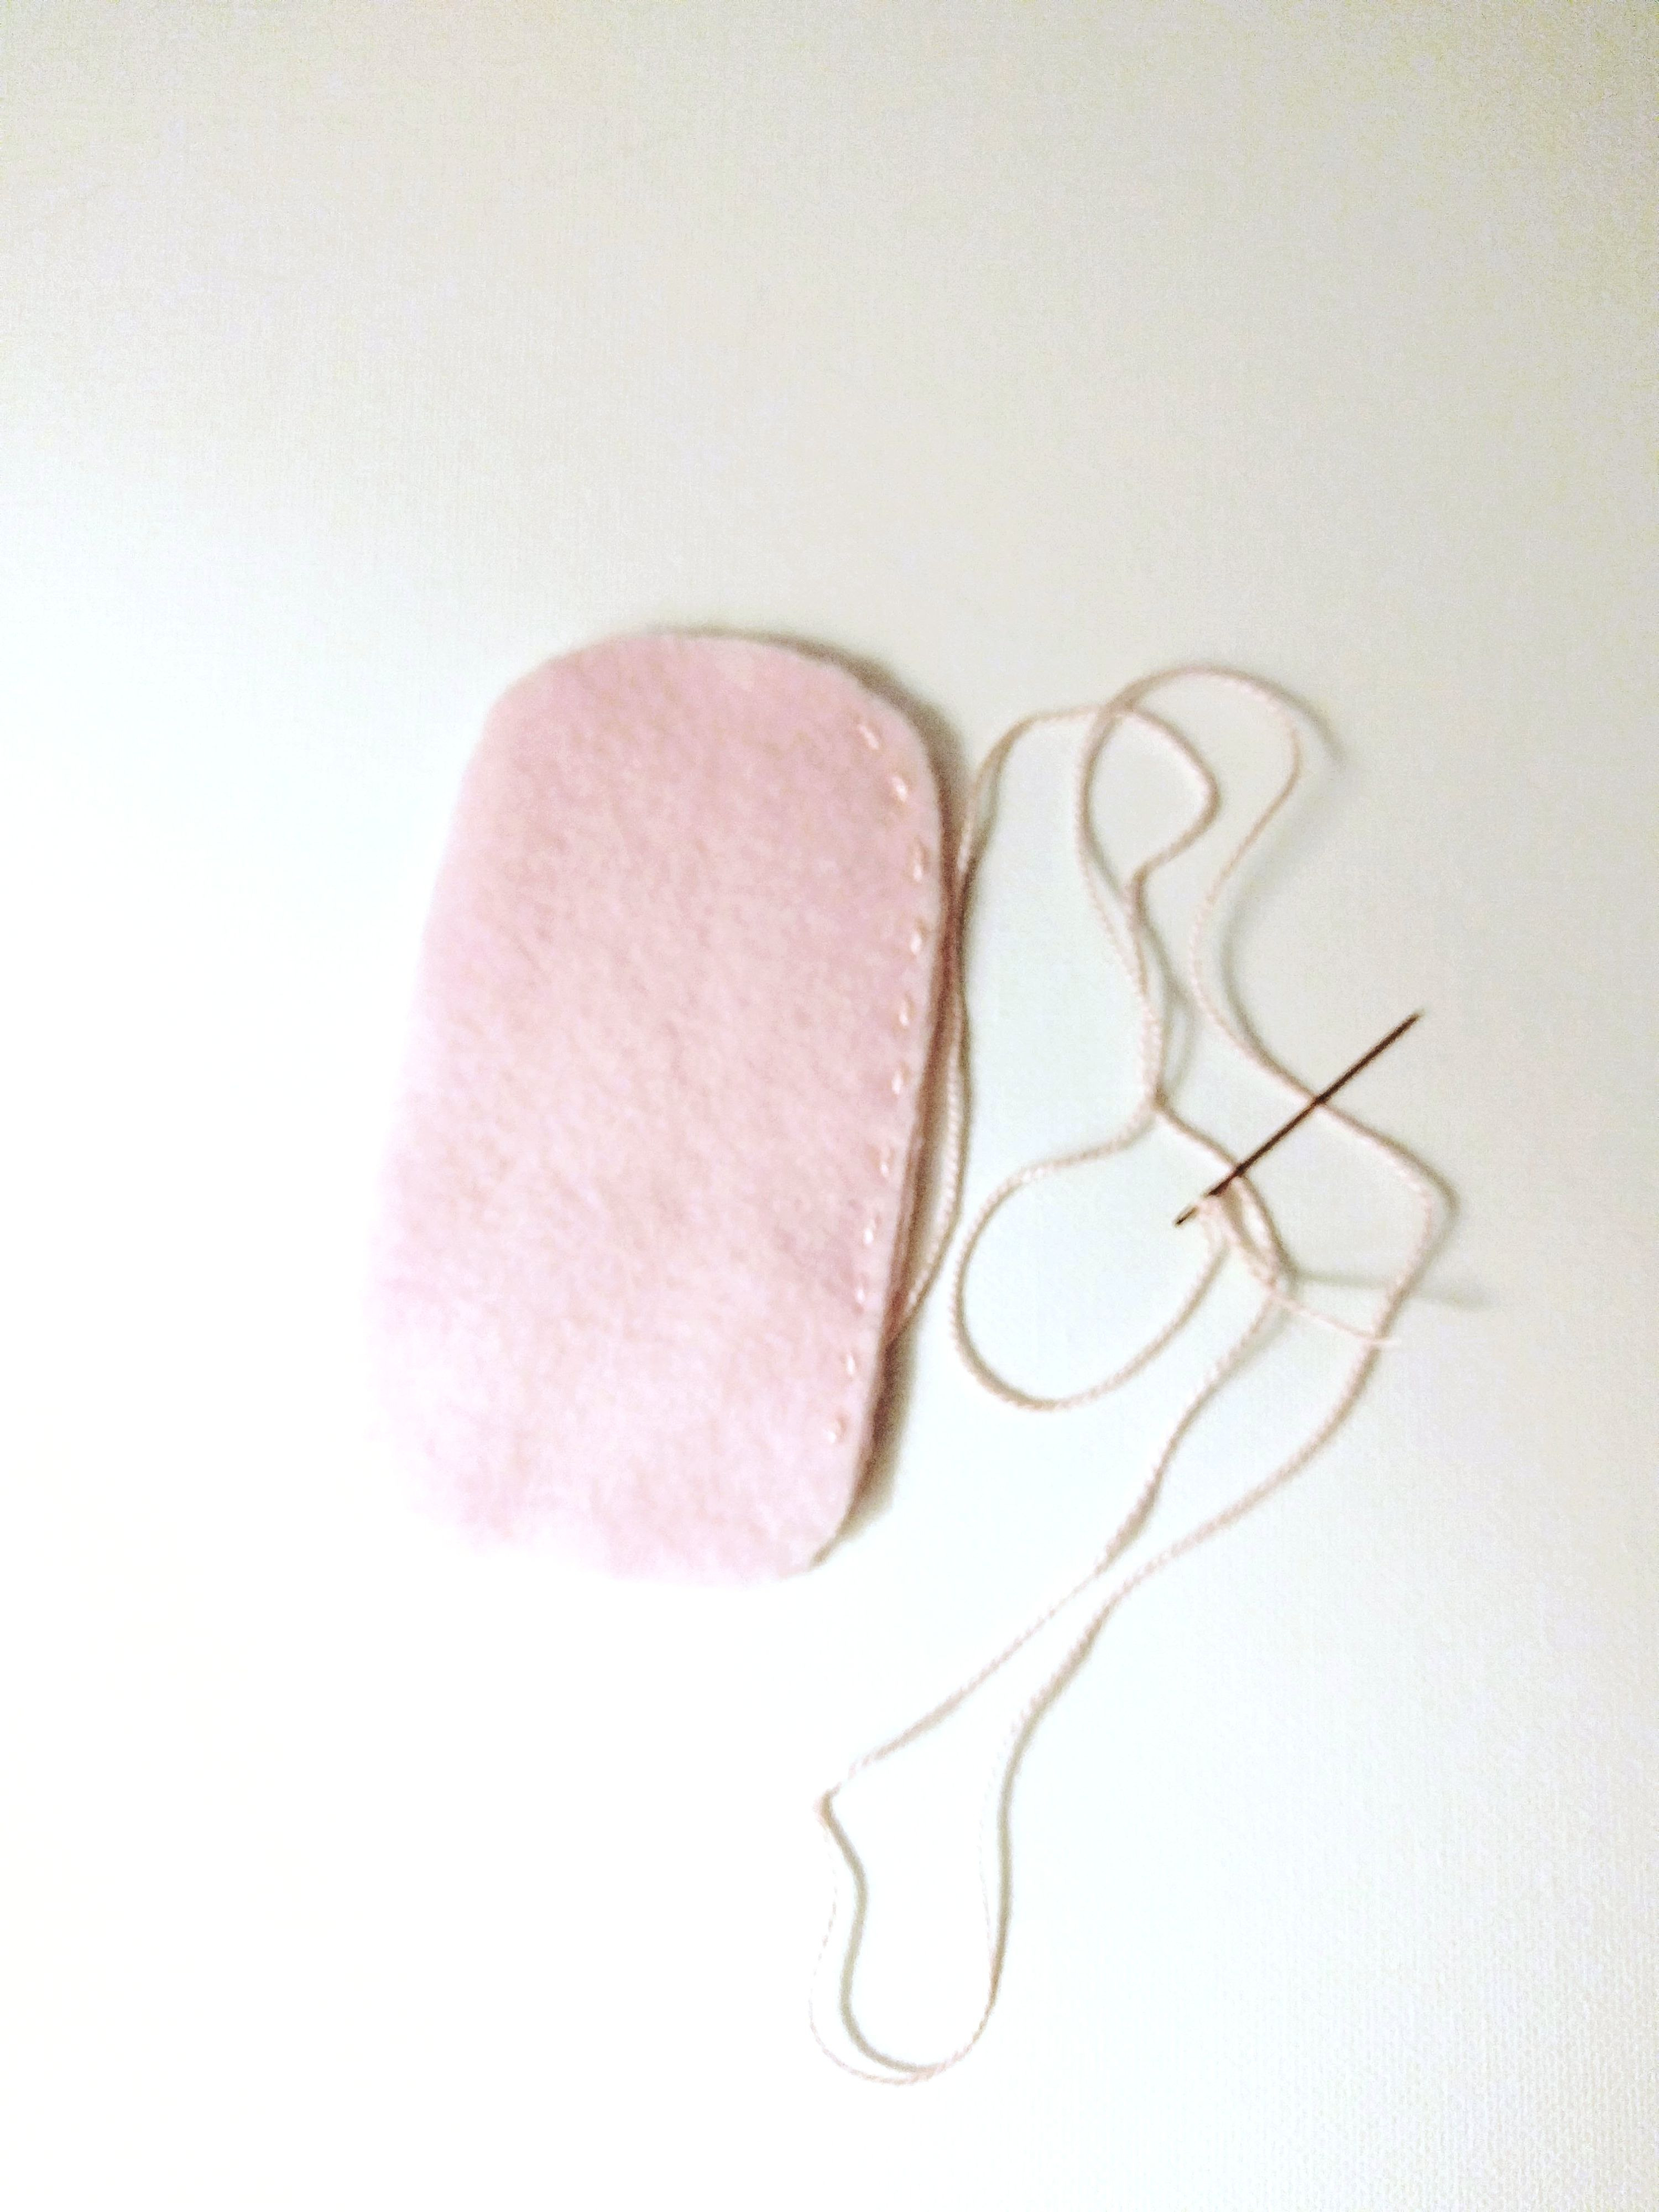
Begin to sew using your embroidery thread from top right of the popsicle and continue to sew clockwise until you reach the bottom middle of your popsicle. This is where you are going to be attaching the popsicle stick.
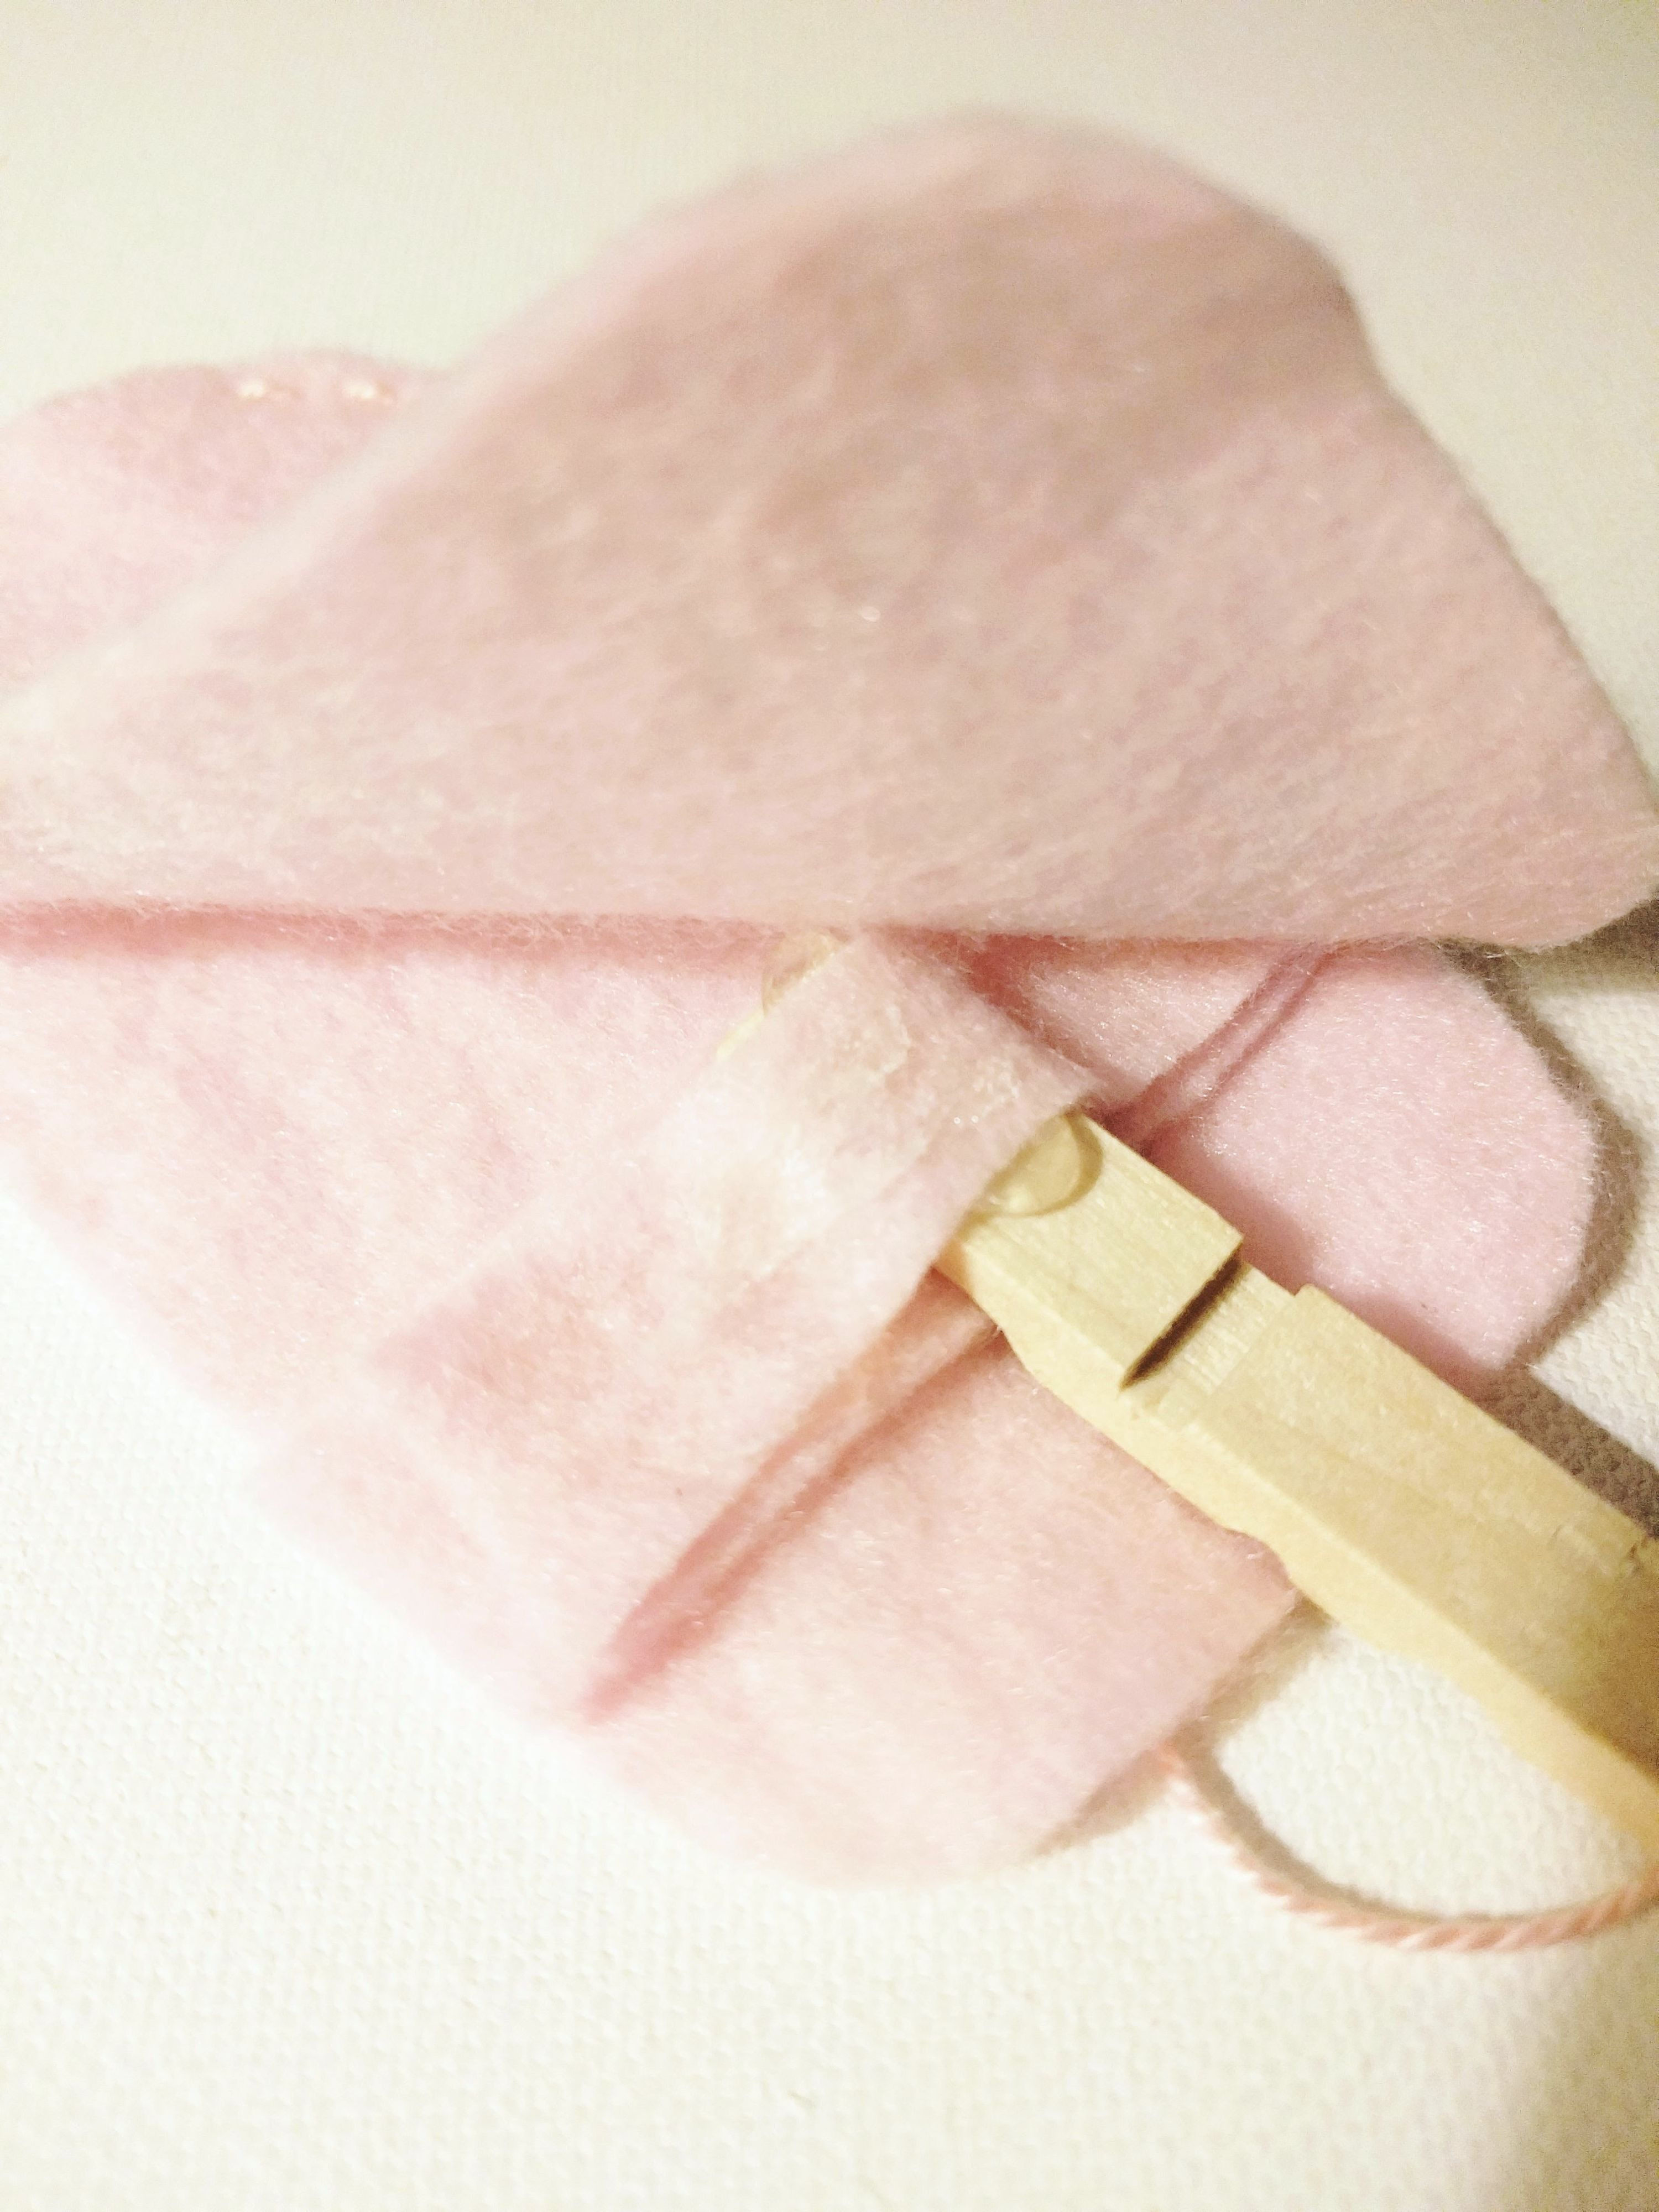
Now, it is time to glue and sew your popsicle stick to the inside of your popsicle. I actually used a clothes pin, because I did not have a popsicle stick. Remember, this is the #Craftstashchallenge and the goal is to use what you have at home. So a clothes pin it was!
I chose to glue part of the popsicle stick to a separate piece of felt. This is so that the glue would not been seen on the outside of the stick, we all know what a mess glue can look like on felt. I took the stick and I glued it in between two pieces of felt. Then, as I sewed around the popsicle I included the inner felt strips for some added security. You can see by the picture below on an inside view of the popsicle.
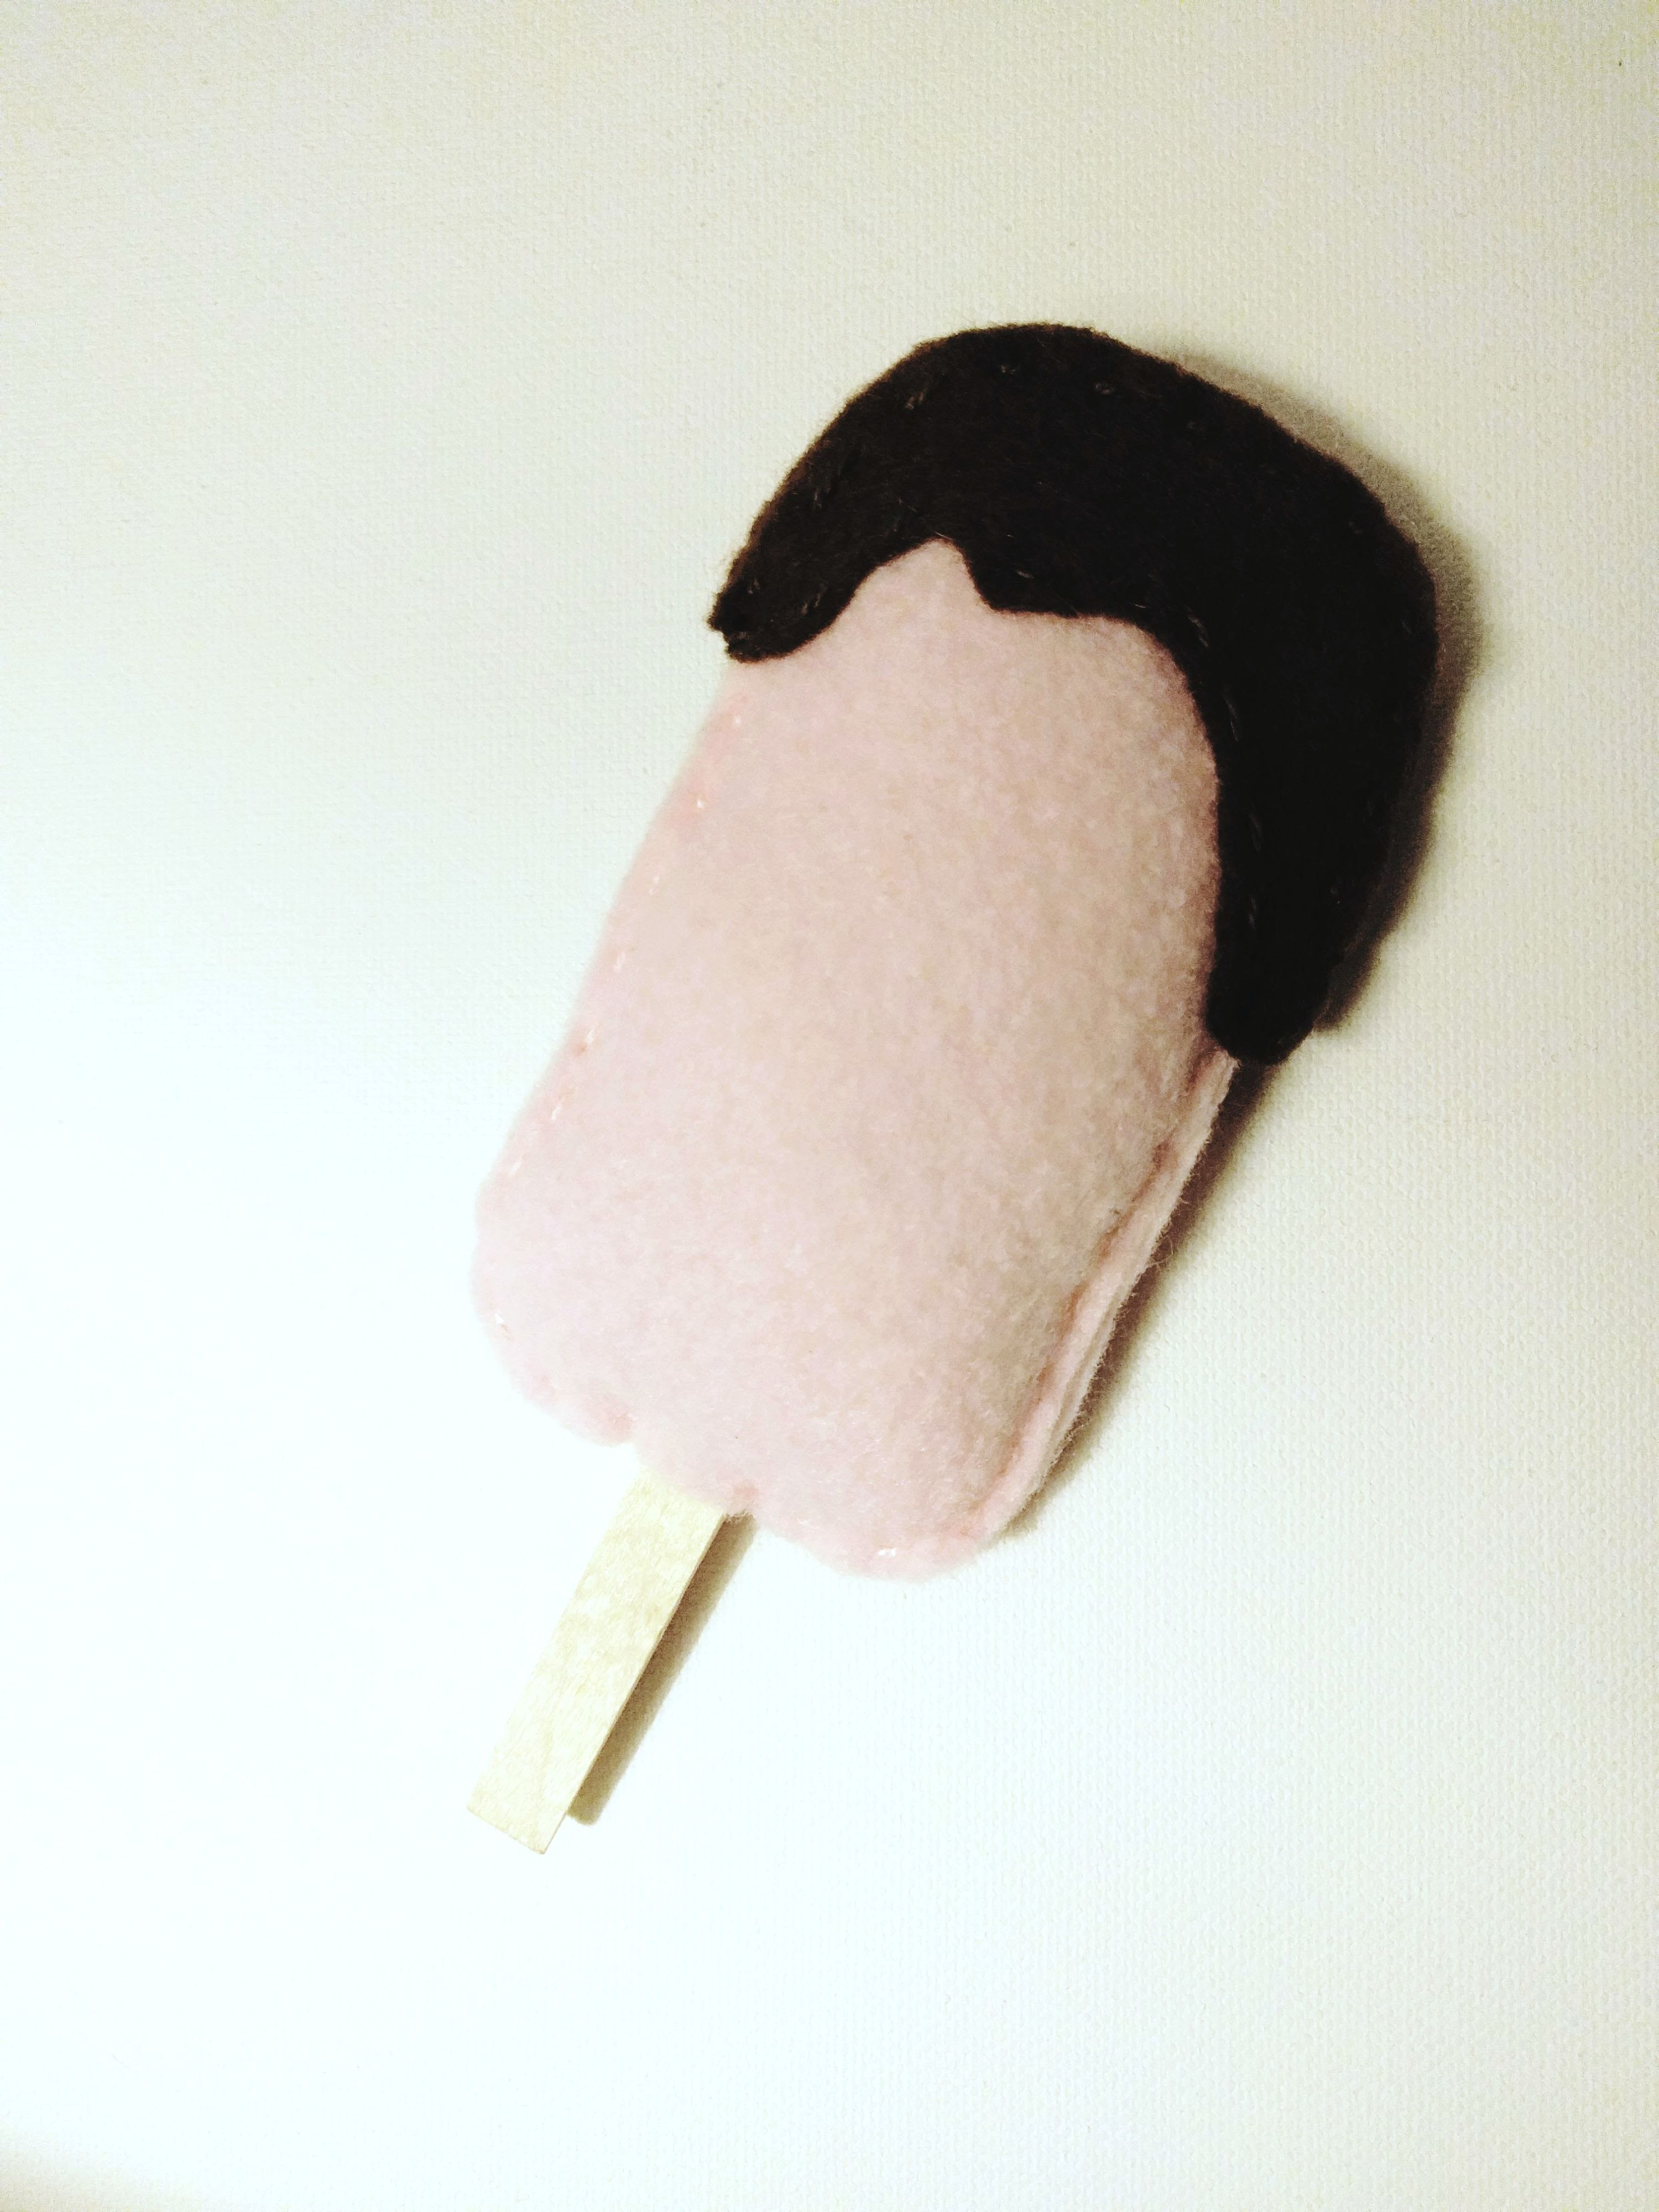
After your popsicle stick has been glued to the interior of the popsicle, you can now begin sewing around the rest of the popsicle. You will be working your way clockwise from the bottom middle to the top left. You want to leave a small portion on the top part of the popsicle open for now. This is so you can stuff the popsicle later.
Now, its time to sew the chocolate drizzle on the popsicle. I chose a brown coordinating thread to attach the drizzle to the popsicle.
After all the seams were sewn, it was time to stuff the popsicle with filling. I lightly stuffed it and kind of eye balled it, I didn't want to over stuff it and have it loose its shape. Once it was stuffed, it was time to sew up the hole at the top.
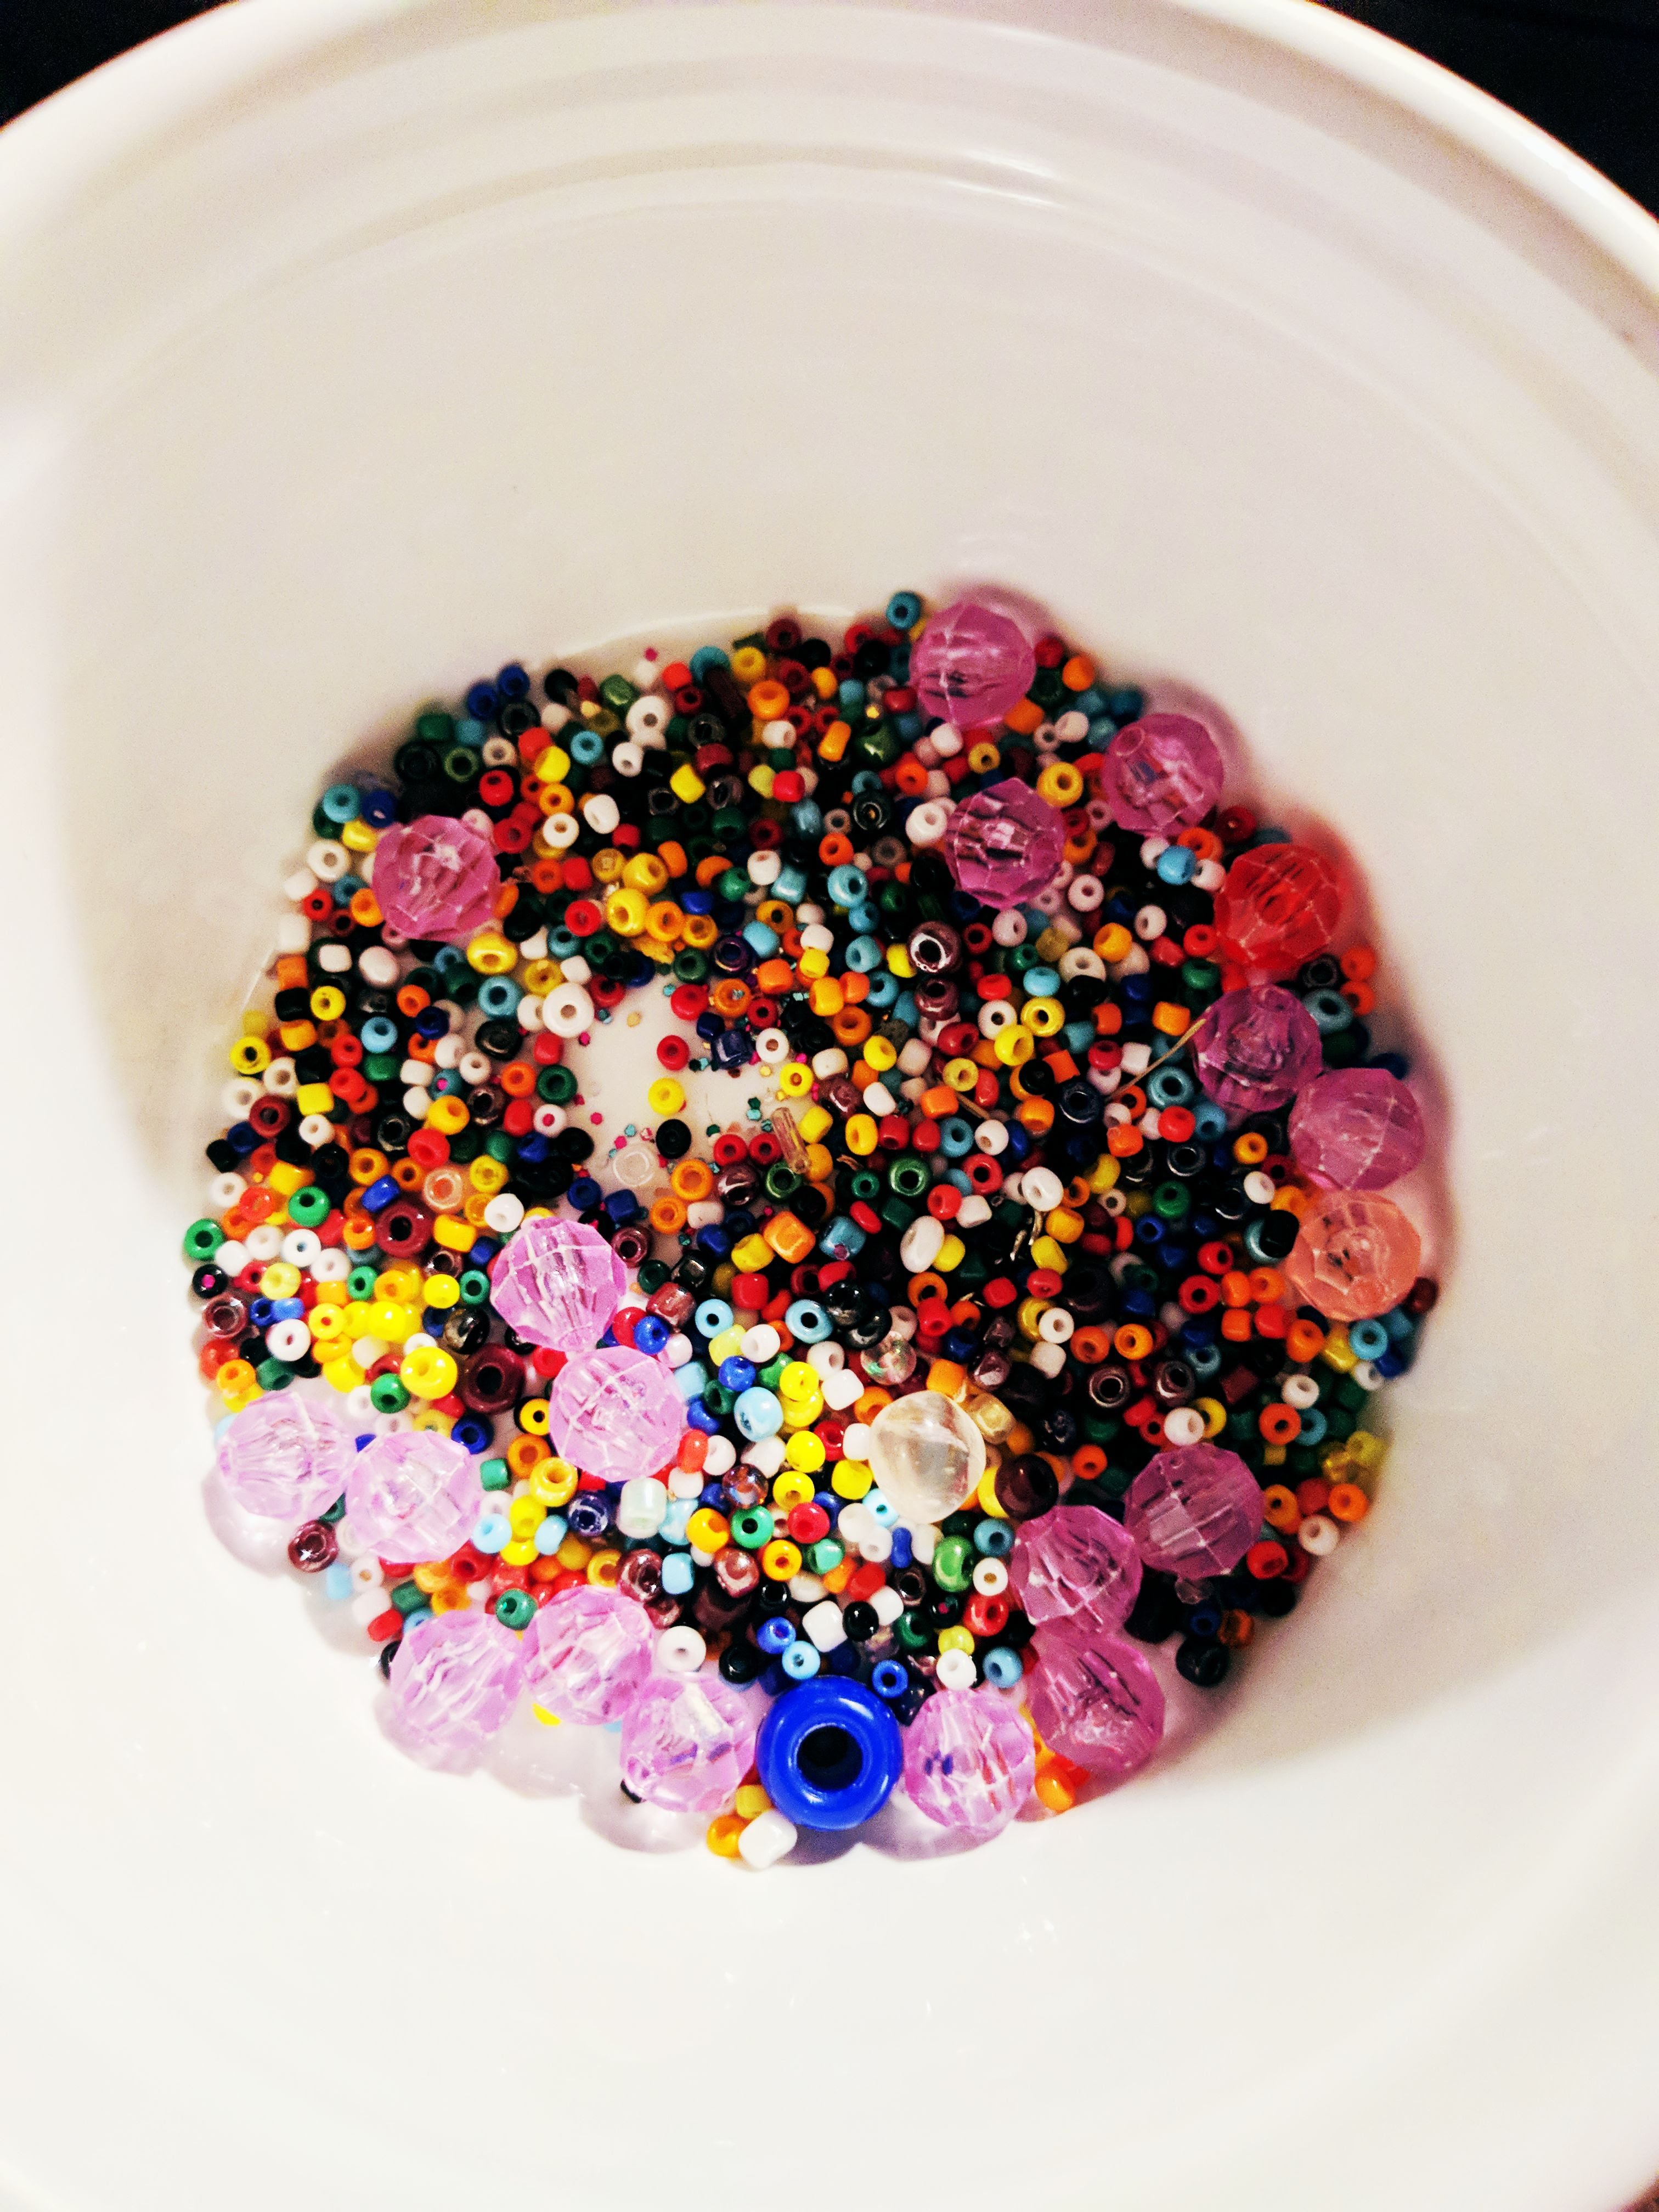
I dug real deep into my craft closet and pulled out beads from my good old school days. Yes, you heard me right. I have always been a little bit of a craft hoarder, so it was no surprise that I was able to find something that was over 20 years years old! Okay, maybe 25 years old.
I wanted to add a little touch of sprinkles on my popsicle, so these beads really came in handy!
I sewed a handful of beads on with coordinating thread to the "chocolate drizzle" part of the popsicle. I think it adds just the right touch!
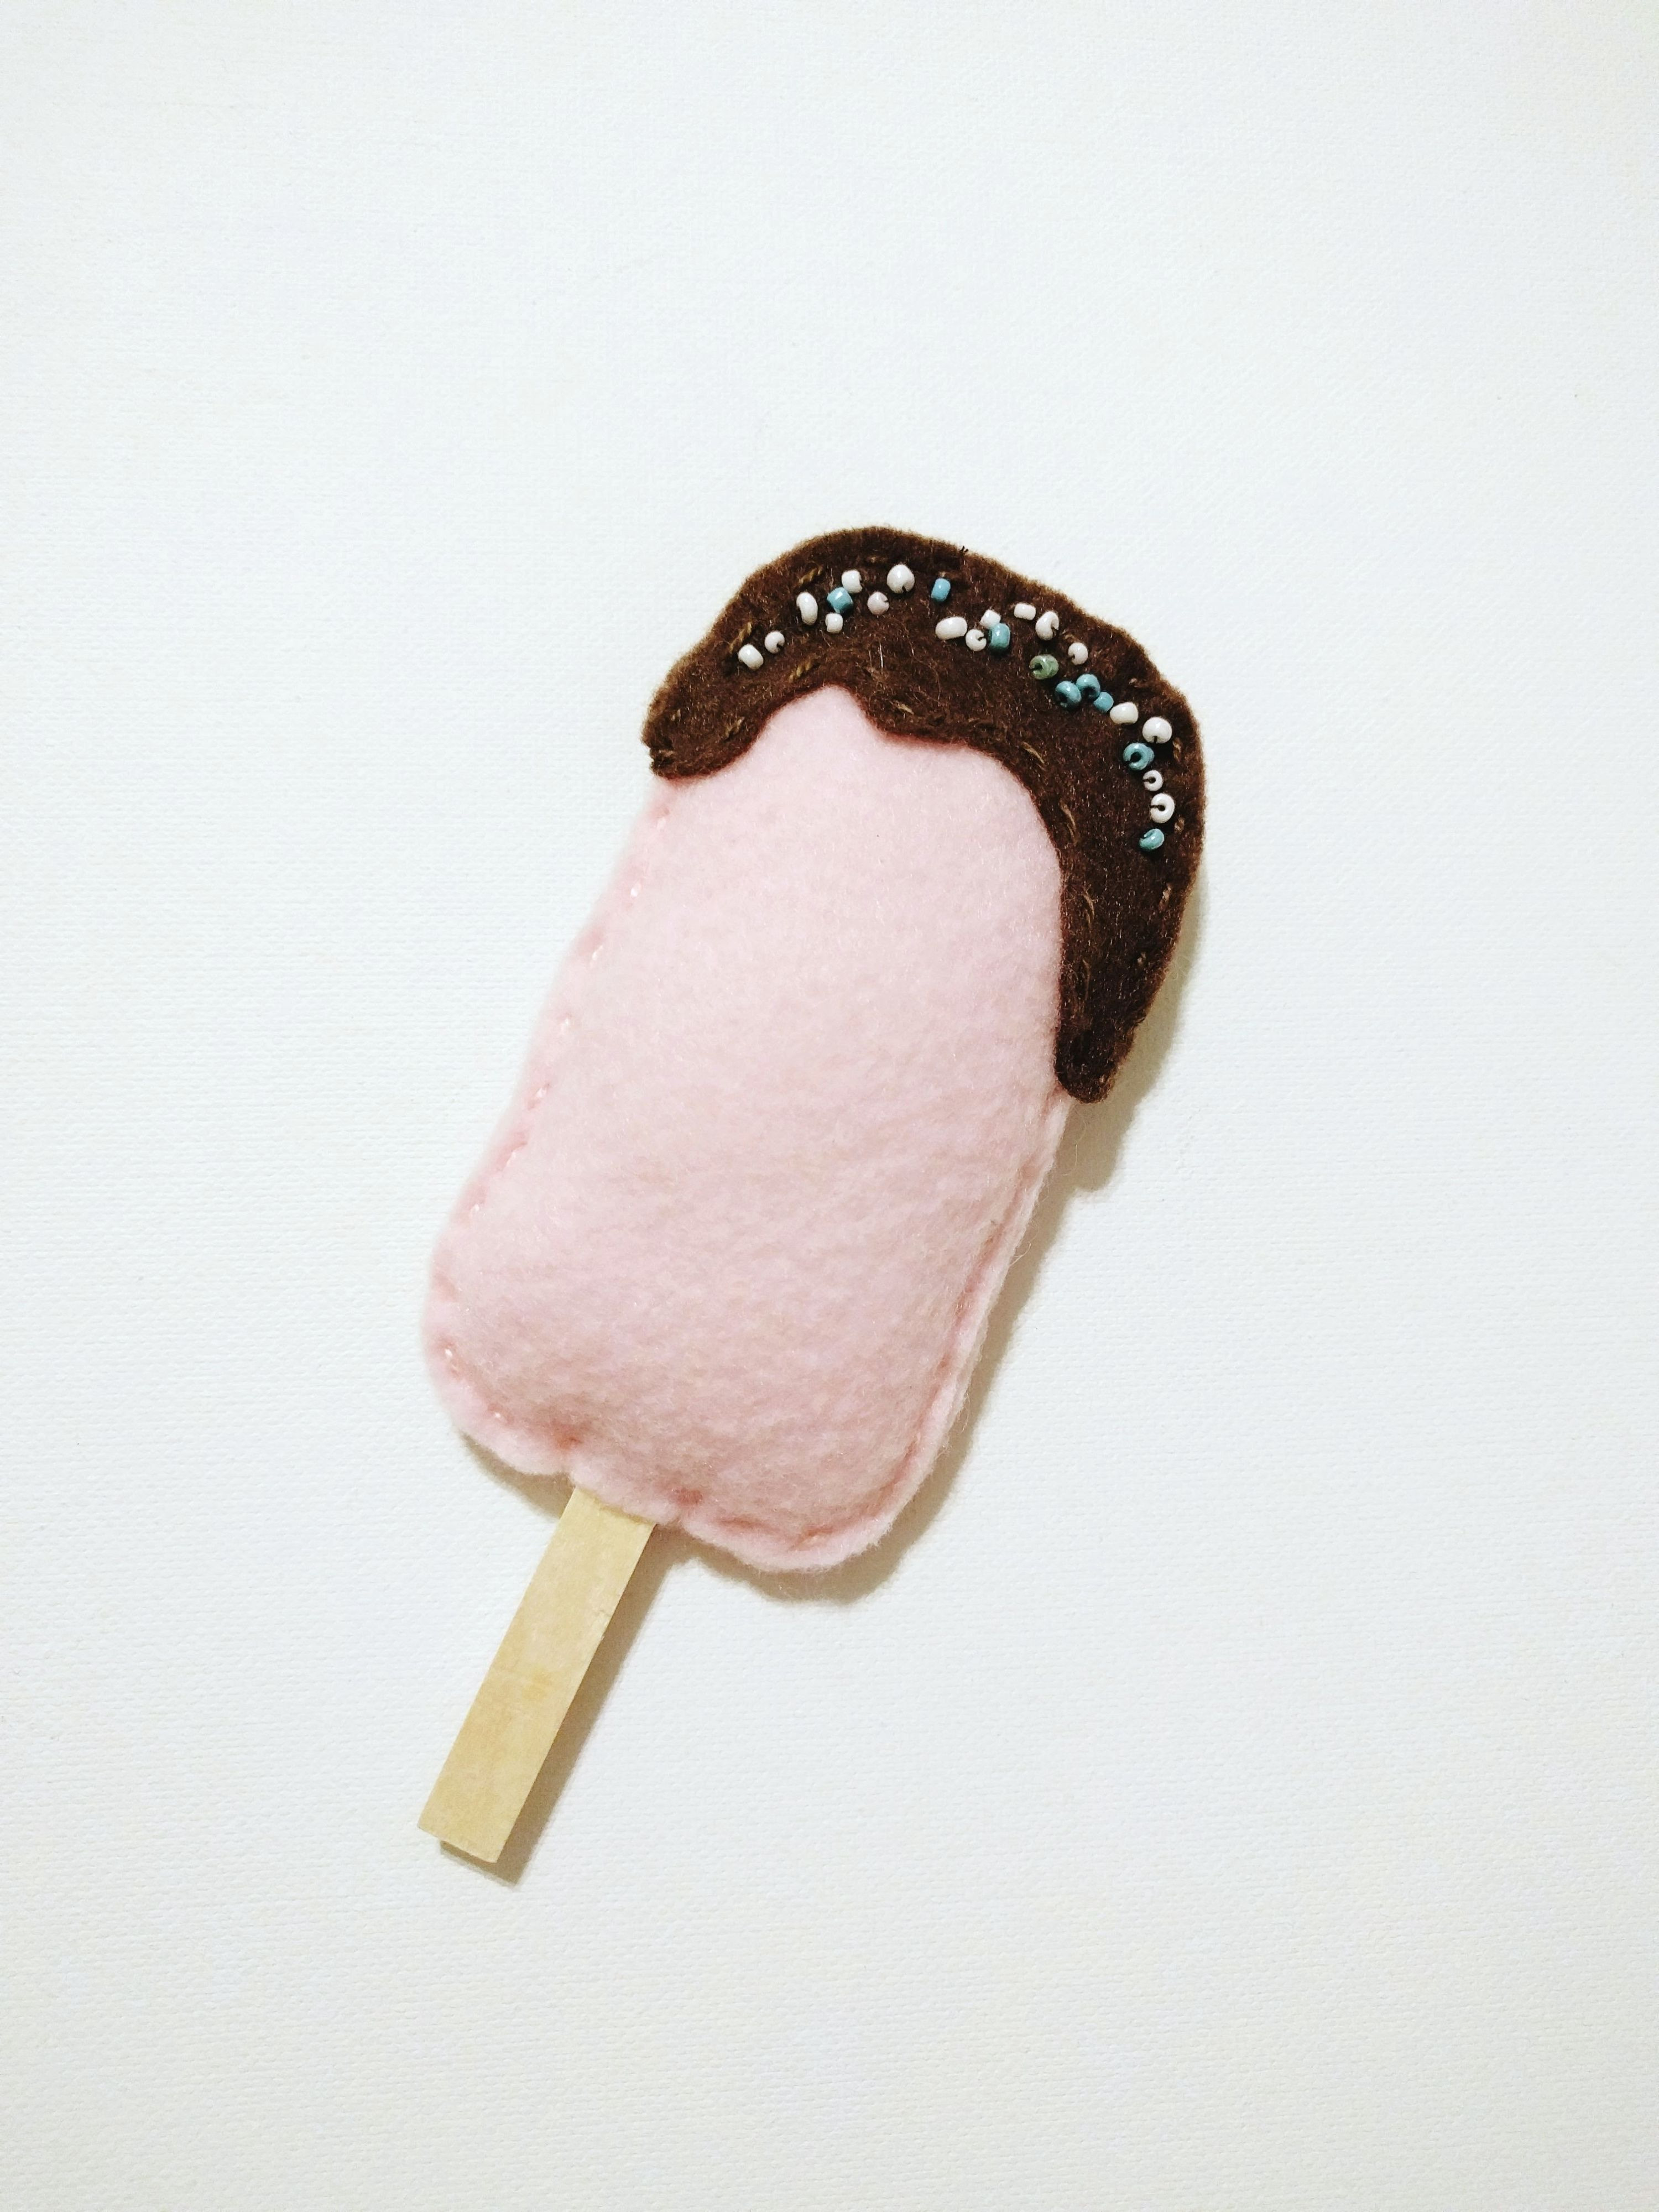
Here is my final product! What do you all think? I think I might try a few more felt play food ideas and see where it takes me!
Comments