I am enjoying the Cricut so much right now! I cannot believe how easy it is to use. I probably spend the most time on creating the designs. Being that I am a newbie, I also find myself performing test trials on the pieces before I use the final material. I am sure once I feel more confident the time I will spend crafting projects will be even less!
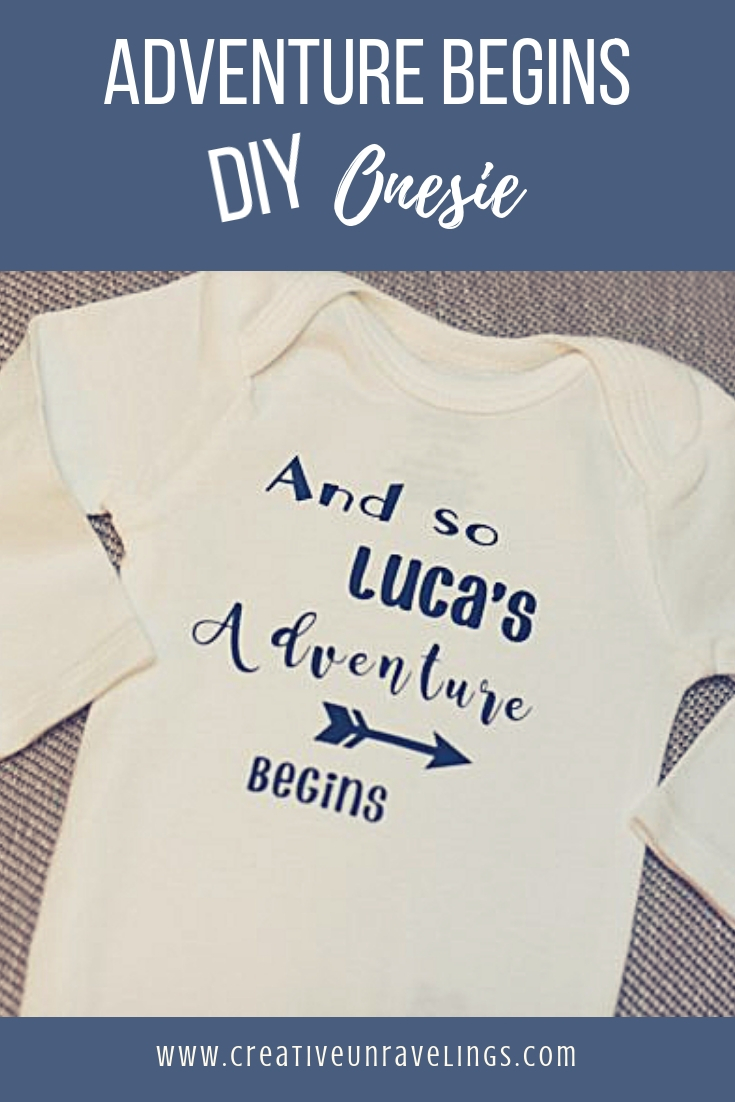
Today I am sharing a onesie I made for a friend who welcomed her new baby boy in January. I thought a handcrafted personalized onesie would be the perfect gift. Who doesn't love receiving a personalized gift? It stands alone and is so unique from all others.
Supplies:
- Cricut Explore Air 2
- Cricut Design Studio
- 12 x 12 Cricut Mat
- Cricut Tools
- Cricut Iron-On - I used navy
- Iron or heat press
- Onesie (I used 0-3 months)
- Cloth
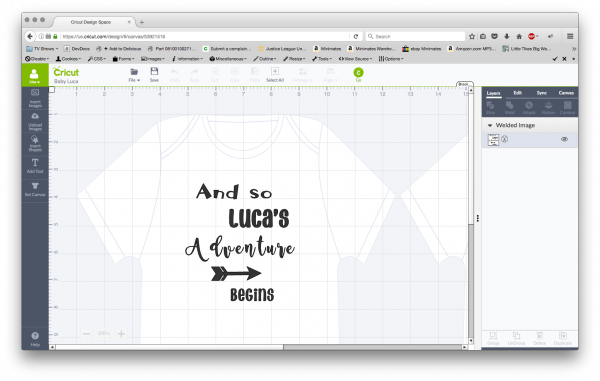
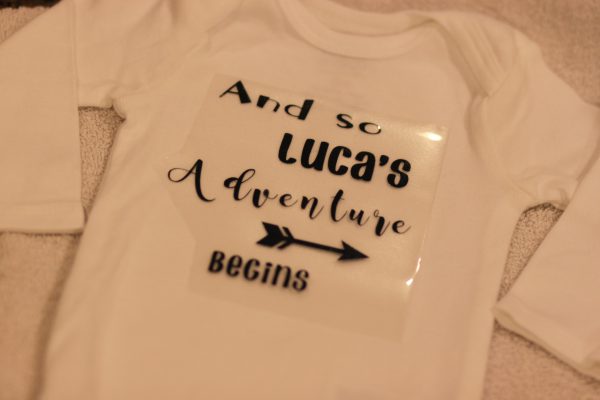
In the Cricut Design Studio, I first started out by creating the phrase that I wanted on the onesie. Little boys are adventurist right? So I thought lets go the adventure route. The other thing I wanted to incorporate was his name, I thought it would add a nice touch. So I went with "And So Luca's Adventure Begins." I was able to find an "arrow" in the design studio so I was all set. I tried keeping it pretty simple, because you have to remember all the "weeding" that needs to be done once the image is cut. I used a few different fonts on this onesie (Magnolia Sky, Go Canada, Don Juan.)
Once all my words and art was setup the way that I liked, it was time to make it one piece. I "selected all" and then attached all the layers together (the text and arrow.) The next step was to "weld" the image, this is done to make sure that the image is cut correctly. Now it was time to begin cutting!
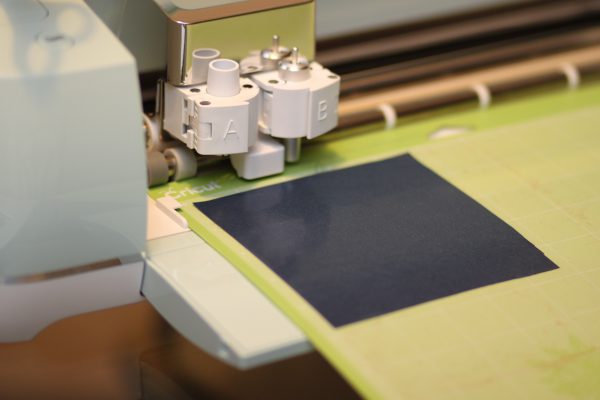
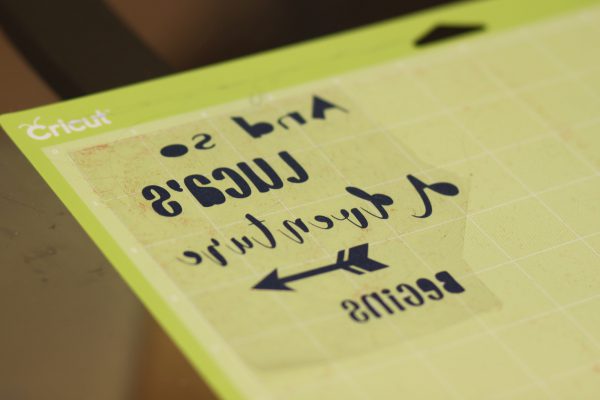
 Remember when you are cutting "iron on" material, you need to place the shiny/liner side down and you also need to "mirror the image" before cutting.
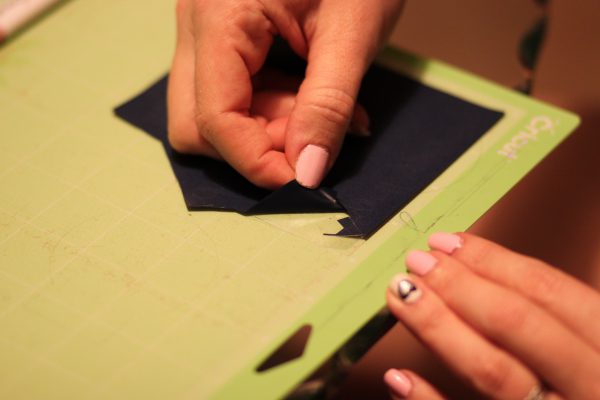 Once your product has been cut correctly, its now time to begin weeding. Make sure you get in between all the crevices when weeding your cursive. I missed a few little spots and I had to go over it a few times. One thing that helps me is to hold the piece up to a light and really study the image and compare it to the image in the design studio. If your fonts are not that intricate than you should be fine.
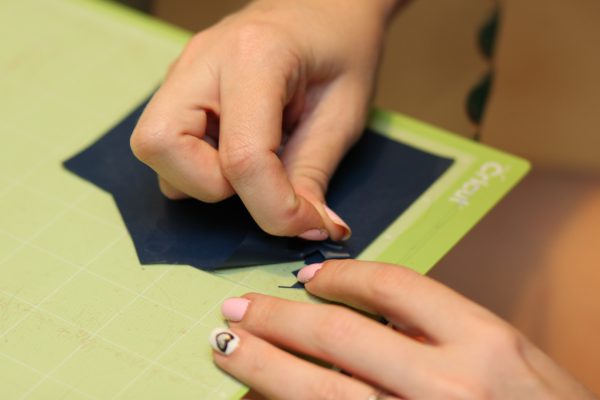
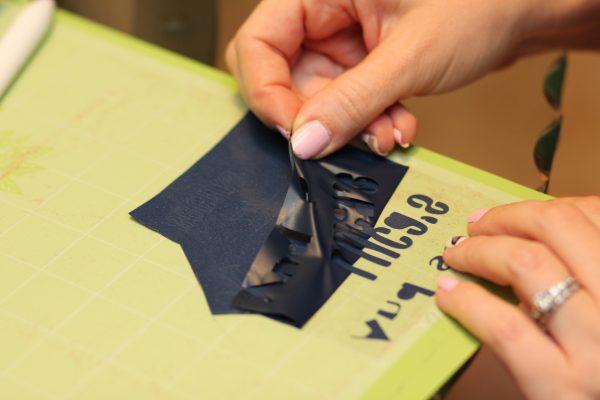
 Once your image has been weeded its now time to iron it on.
Preheat you iron to the highest setting but make sure the steam is turned off. Next, place the image on how you would like it to appear on your onesie. Mine was centered.
 After the image placement is to your liking, its time to iron on the image. Place a cloth over your image and press your iron down firmly on the cloth. Be careful not to move the iron around on the cloth, this might cause misplacement of the image settling. I found that I had to press the iron down for 25 seconds and then checking to see if it still peels up or if it looks firmly attached. It was not attached so I continued the 25 seconds in increments of 3. After you see that your image is attached well, you can peel up the liner.
And here is my finished product! I am so pleased as to how it came out!
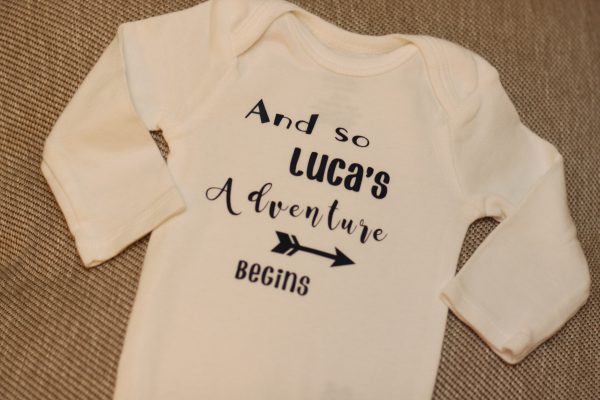 And most of all Luca's Mommy just loved it!
Comments