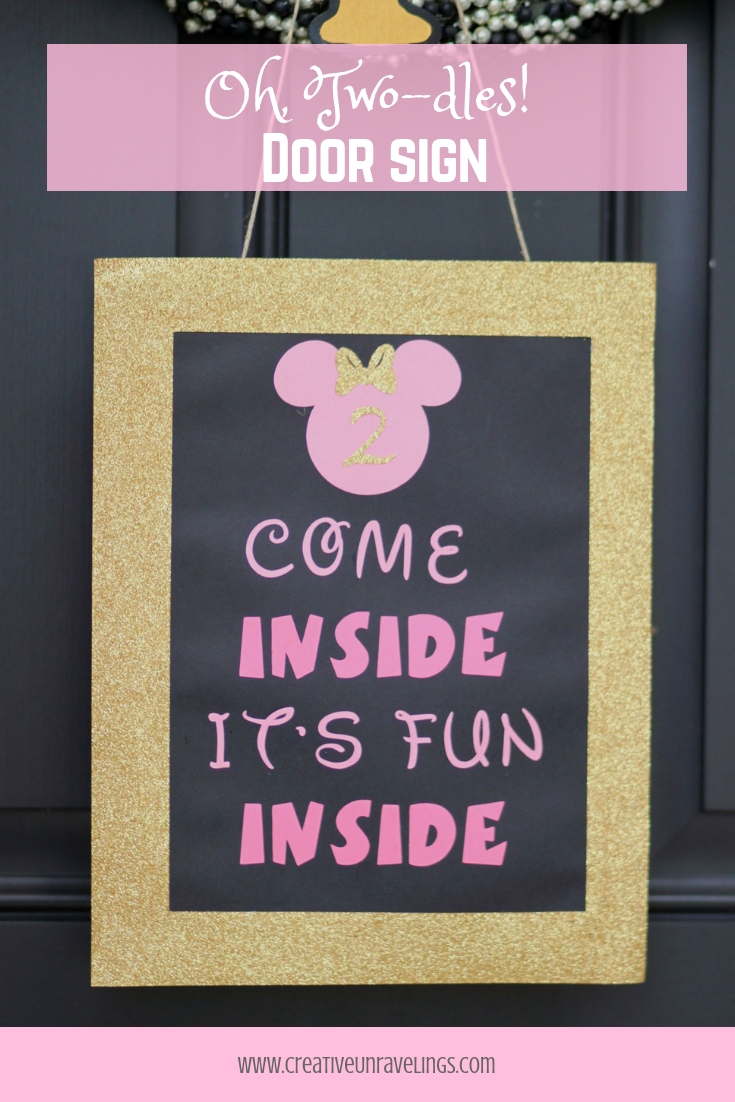
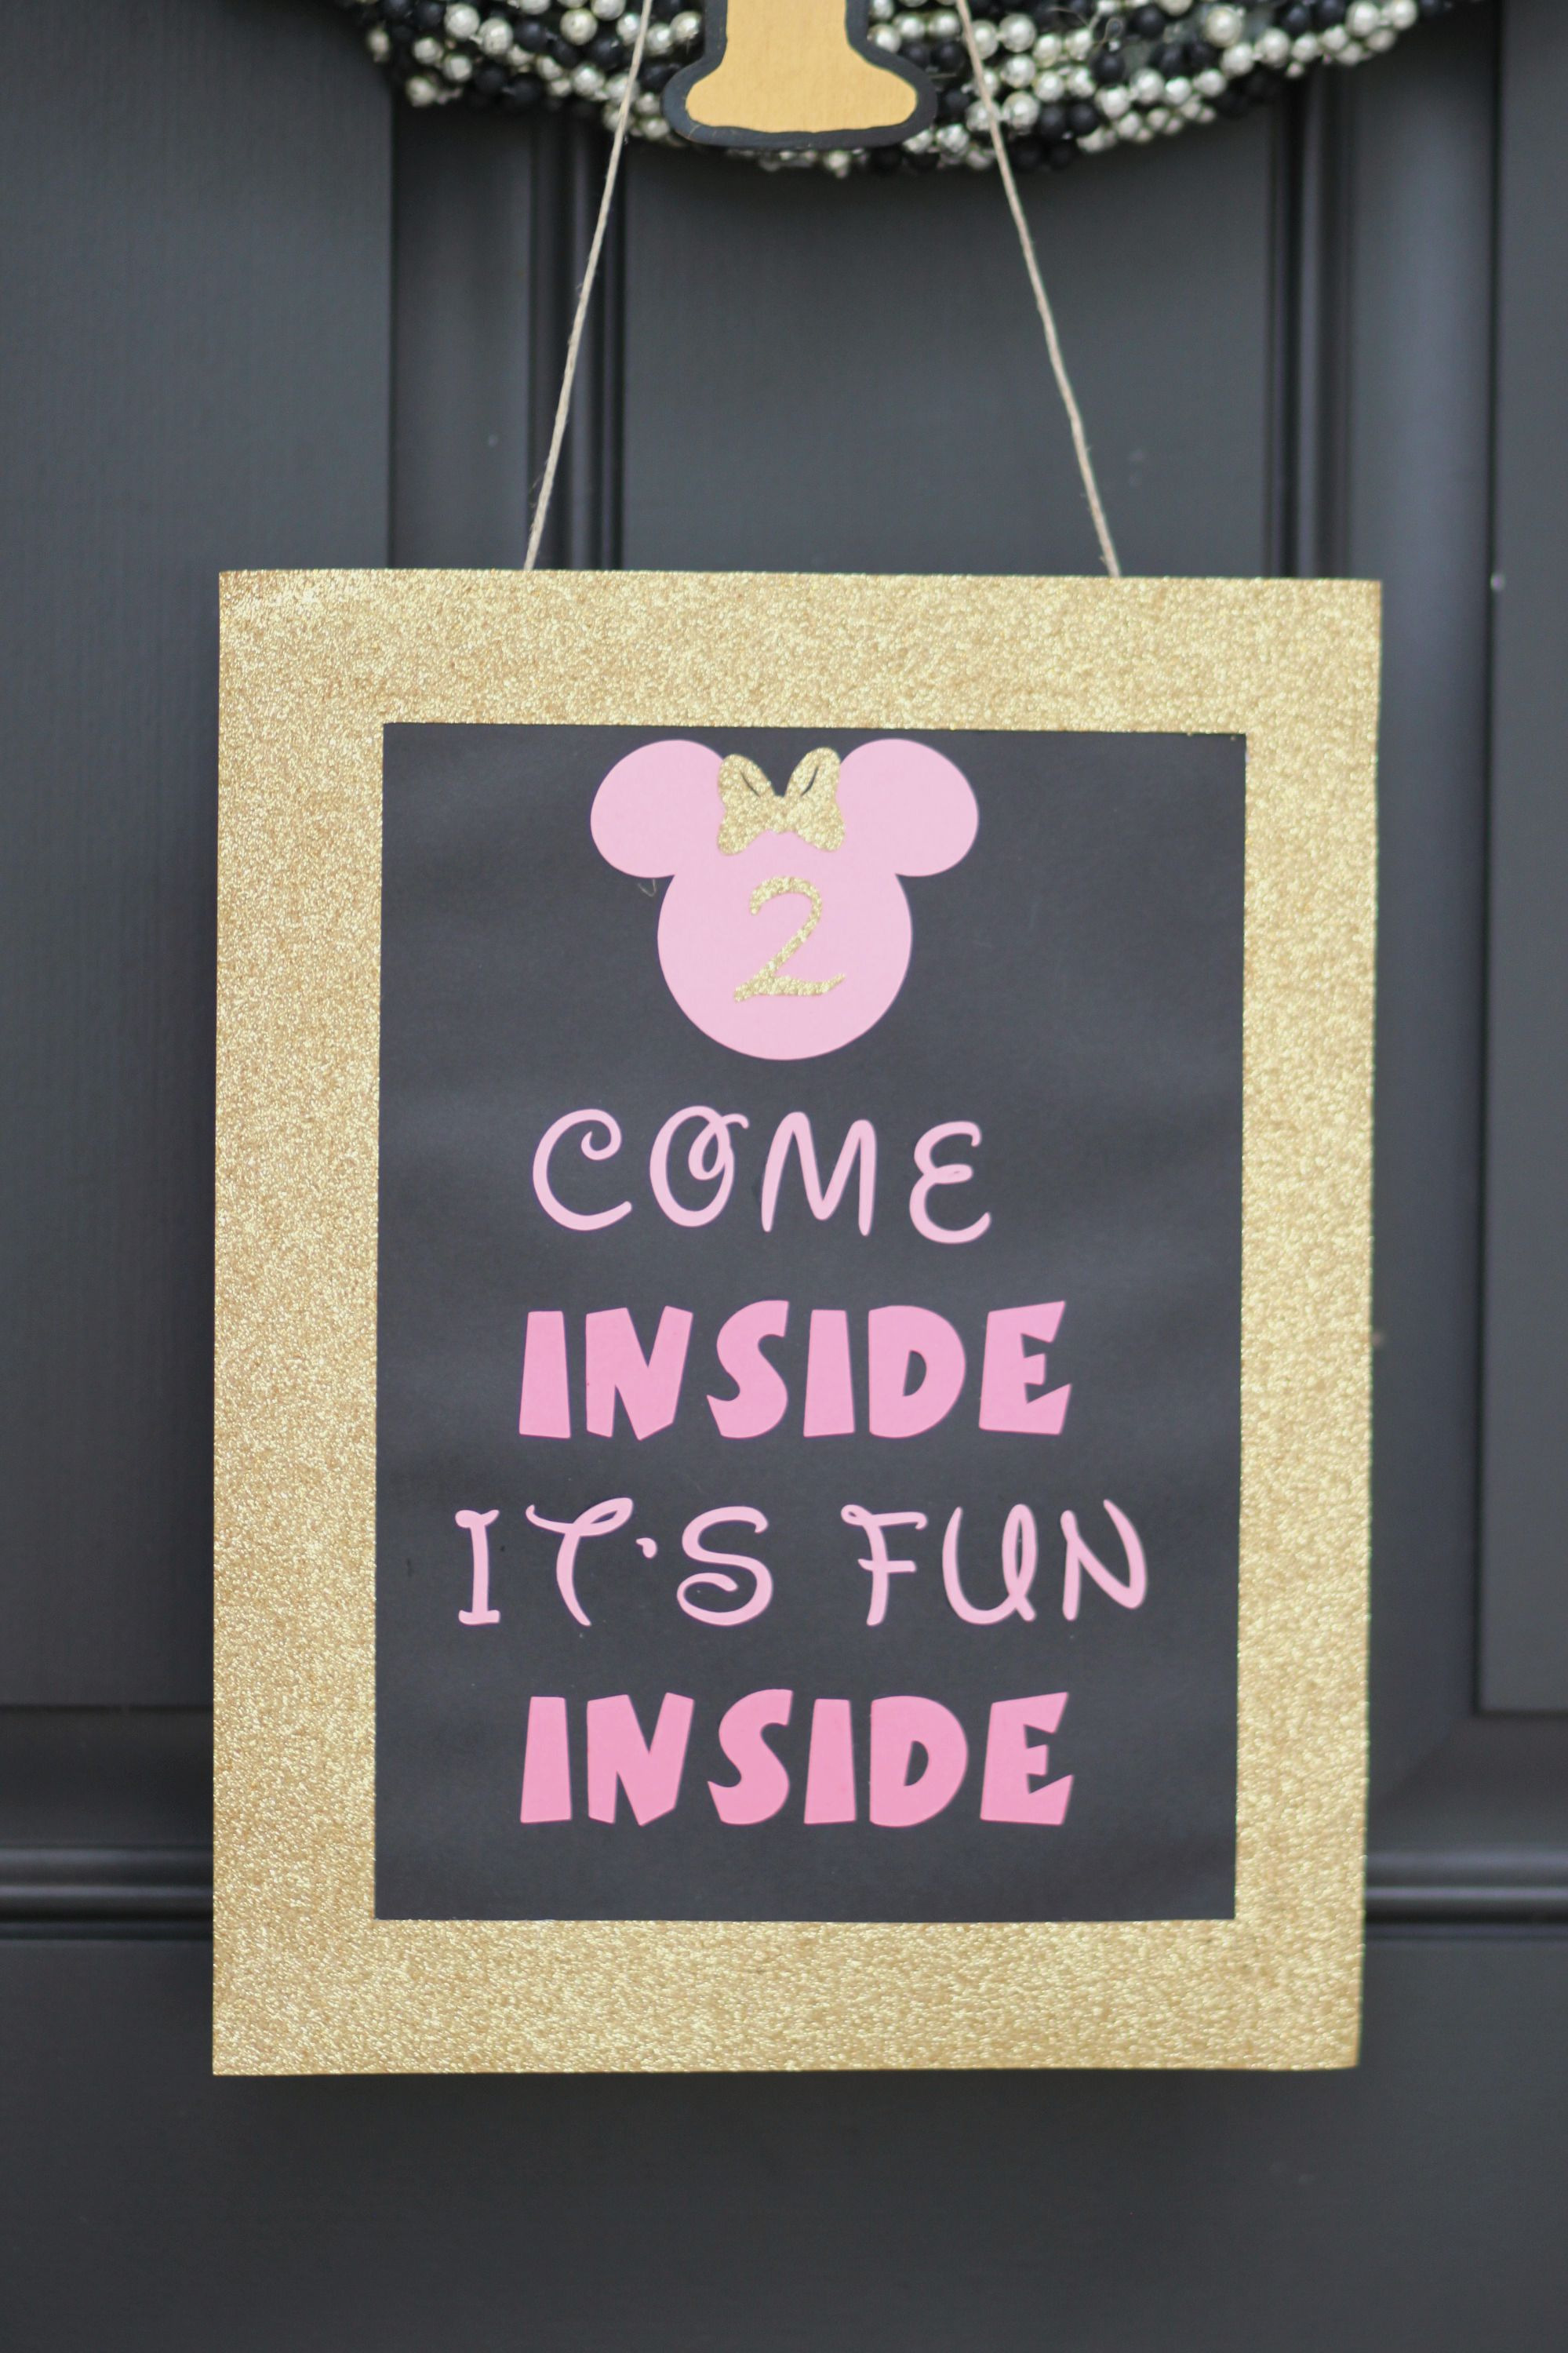
Your party is not complete without a welcome sign! From Mickey's clubhouse "Come Inside, its fun inside." How appropriate for a Minnie Mouse themed birthday party!
For this project you will need the following:
- Cricut Explore Air 2
- Cricut Design Studio
- 12 x 12 Cricut Mat
- Cricut Tools
- Cardstock (for this project I used 4 different colors)
- Mod Podge ( I used gloss)
- My Cricut Design Studio file "Oh, Two-dles Welcome Sign"
As I mentioned before, I was really steering clear of Black and hot pink. I actually love that color combination, but I see it a lot with Mickey Mouse themed parties and I wanted it to be different plus I wanted to keep it really girly. Then when I was taking pictures of my projects, I was using a black canvas and well I kinda fell in love with how the colors popped. So for the front door sign the colors I will be using is black, two shades of pink, and gold glitter card stock.
I am sharing the link to view and make my project for the Oh Two-dles Welcome Sign here. Please note there are images/fonts in this project that I had to purchase from Cricut.
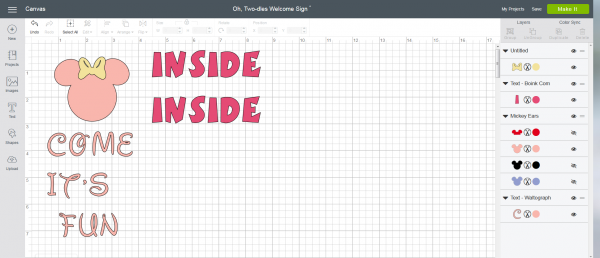
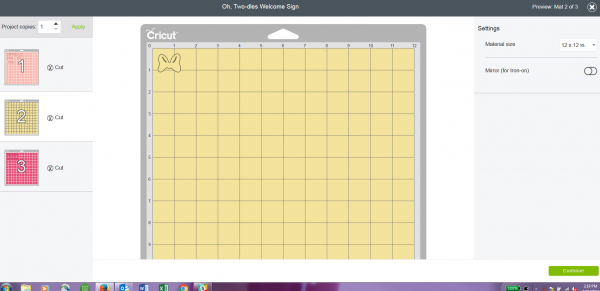
- Go to my project link in Cricut Design Studio- Oh, Two-dles Welcome Sign.
- For this project you will need to have 3 shades of card stock ready. I have my two shades of pink and my gold glitter card stock.
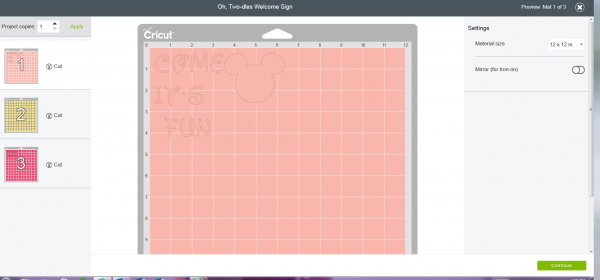
- Select "Make It" in the top right corner.
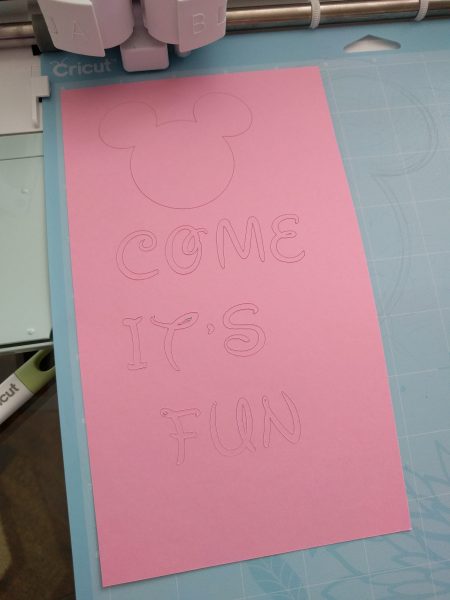
- Load your choice of color on the mat and then into the Cricut feed (my choice of color for this is light pink) This will be cutting the mouse ears and the text, "Come, its fun." Select "Continue" and watch the Cricut work its magic.
 5. Once your creation is complete, take your Cricut tools and begin weeding.
 6. Next up is the bow, load your next choice of color onto the mat and ready to go into the Cricut feeder. My choice of color was gold glitter card stock.

7. Last up is cutting "Inside" you will have two of them. My choice of card stock is a darker pink
8. Now all of your pieces for the sign have been cut. It is time to start assembling the door sign.
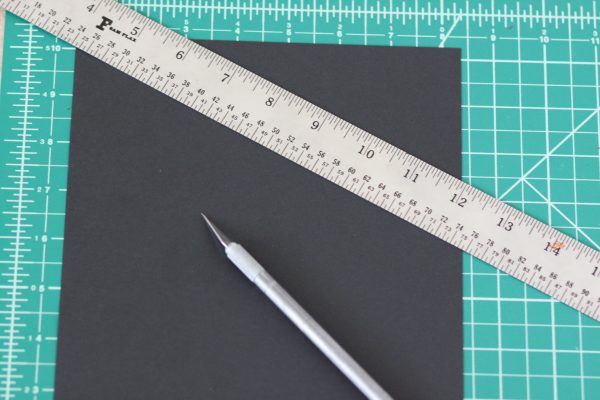
9. I chose to place my sign on black card stock, the card stock is 8.5 x 11 and I decided to cut off about an inch on both sides. I am going to put an extra backing on this to make it a little sturdier and add a touch more of color.
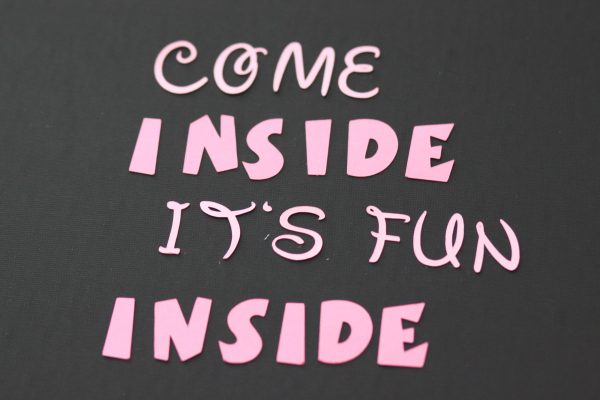
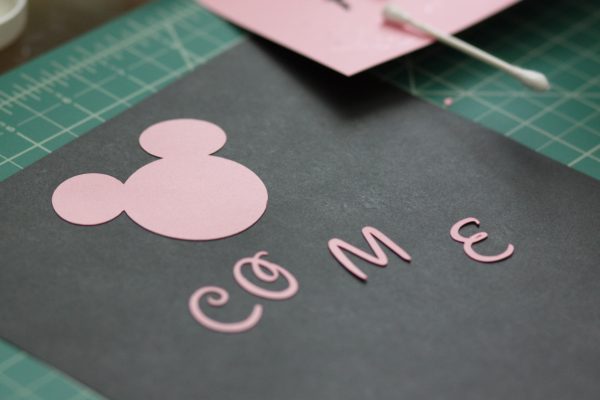
 10. You want to be sure that you lay our your pieces in the order that you would like it to appear on your project. This is how I intend to place the lettering. The "its fun" is a little too far to the right in this picture, but you get the idea.
 Now its time to start gluing. I use mod podge (gloss) and a Q-tip to apply my glue in a neat fashion to the card stock pieces. I see a lot less "bubbling" when using this product.
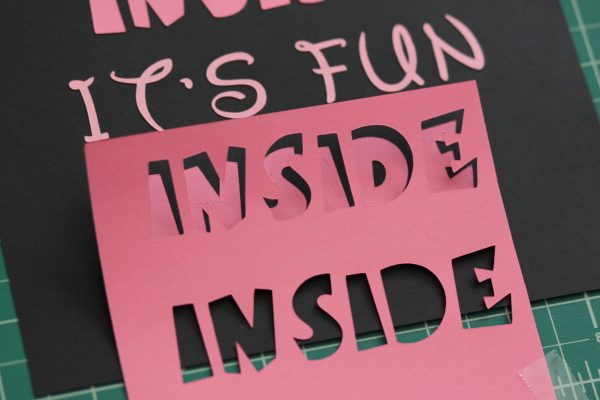
 When it was time to glue the "Inside" lettering. I ended up using the same piece of paper that they were cut from. I used the piece of paper like a stencil and placed the lettering inside it. This allowed me to one, make sure the lettering was straight and two, make sure the lettering was being placed correctly. Here is a visual so you can see what I am referring to.
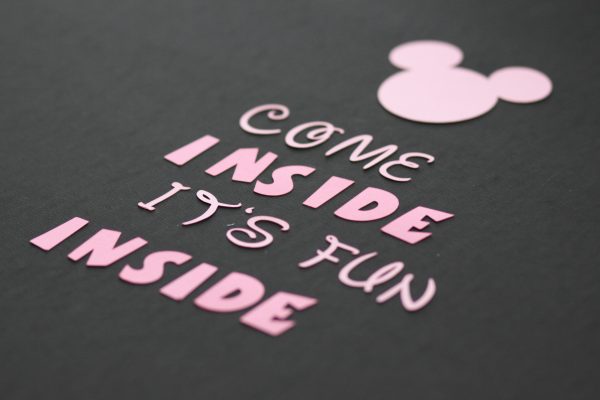
 Then, I added the little gold glitter bow to the Mickey ears. Then to spruce up the sign a little more I added some back layers of card stock. It makes it a little more heavy duty to hang on the door.
I love how my final product came out! What do you all think?
Comments