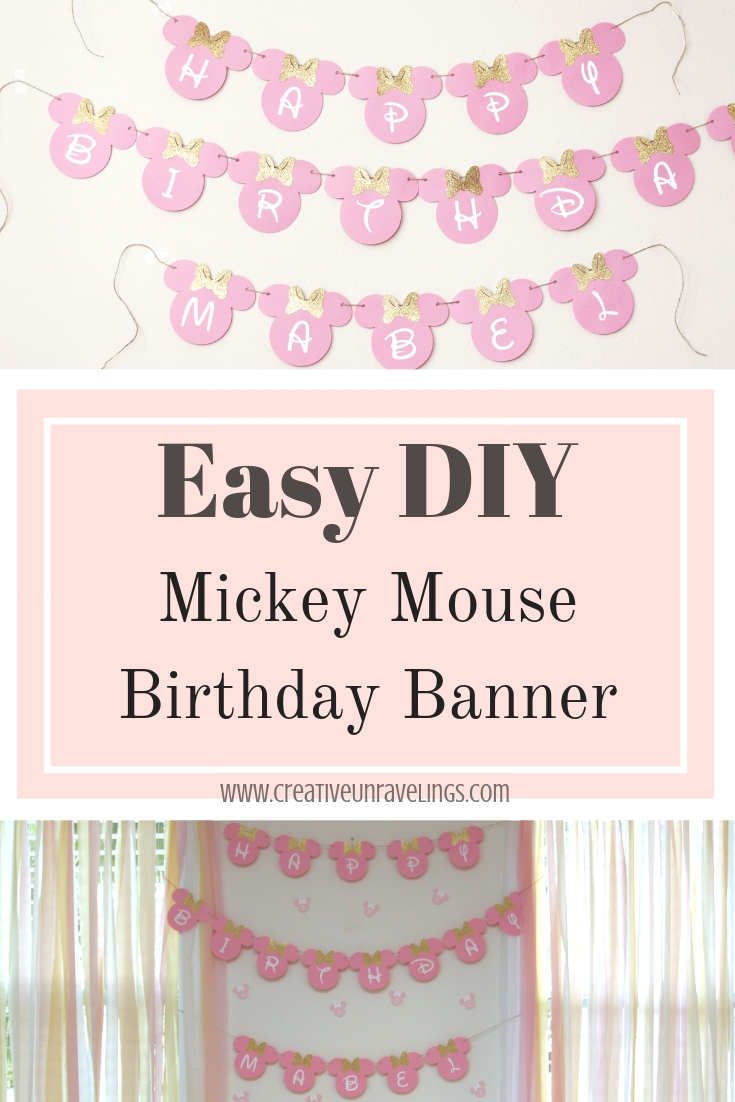
Today I will be sharing with you my Mickey Mouse birthday banner that I created to go along with my "Oh Two-dles" Minnie Mouse themed birthday party. I wanted to keep it girly so my colors for the party are pink/gold and white.
For this project you will need the following:
- Cricut Explore Air 2
- Cricut Design Studio
- 12 x 12 Cricut Mat
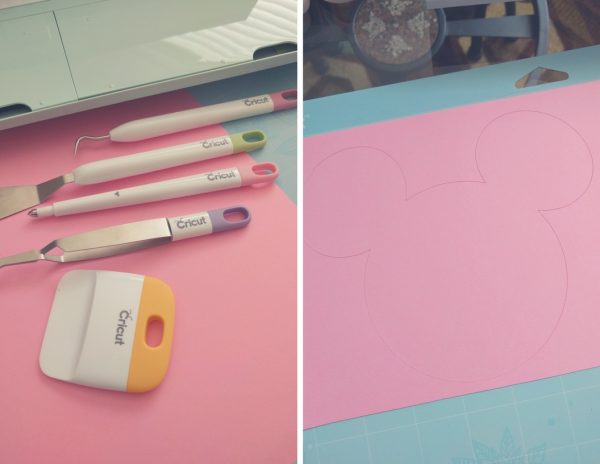
- Cricut Tools
- Cardstock (for this project I choose 3 shades, pink, white and glitter gold)
- Jute
- Hole puncher
- Mod Podge ( I used gloss)
- My Cricut Design Studio file "Mickey Mouse Birthday Banner"
This project was really easy to create on my own. I am sharing the link to view and make my project for the Mickey Mouse Birthday Banner here. Please note there are images/fonts in this project that I had to purchase from Cricut.
Cricut Design Studio File: Mickey Mouse Birthday Banner
If you are a Cricut expert you will figure out how to cut this. If you are a newbie I will help you out with these simple instructions.
- Go to my project link in Cricut Design Studio- Mickey Mouse Birthday Banner.
- You will see the "Mouse Ears" the "Bow" and the "Happy Birthday, Mabel" text.
- Change "Mabel" to your child's name.
- To break it down for you, I wanted this banner to incorporate 3 colors, the mouse ears were going to be pink, the lettering was going to be white, and the bow was going to be cut on gold glitter cardstock)
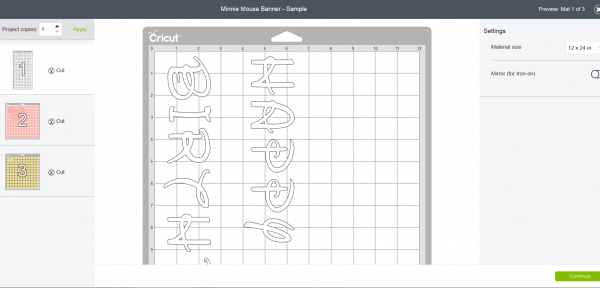
- Once you have changed the name of the child you will go to the green "Make it" button in the top right corner in the Cricut Design Studio.
- If you have a 12 x 24 mat then you are good to go. If you do not, you will need to finagle the lettering in the "cut preview" to ensure your lettering will fit within the red margins on your 12 x 12 mat.
- Place your white card stock on the Cricut mat and feed it onto the rollers of the Cricut. Make sure your card stock setting is selected. Select "Continue"
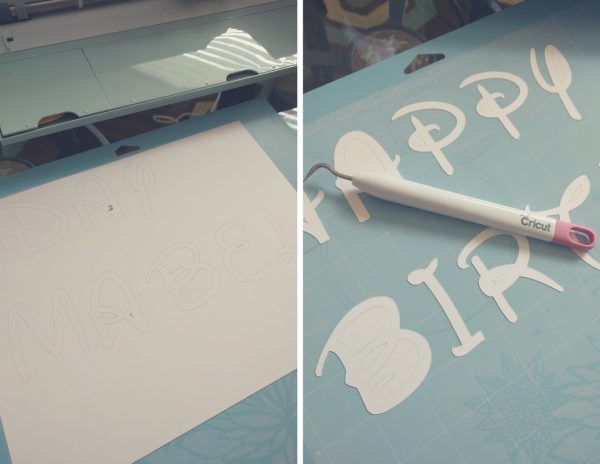
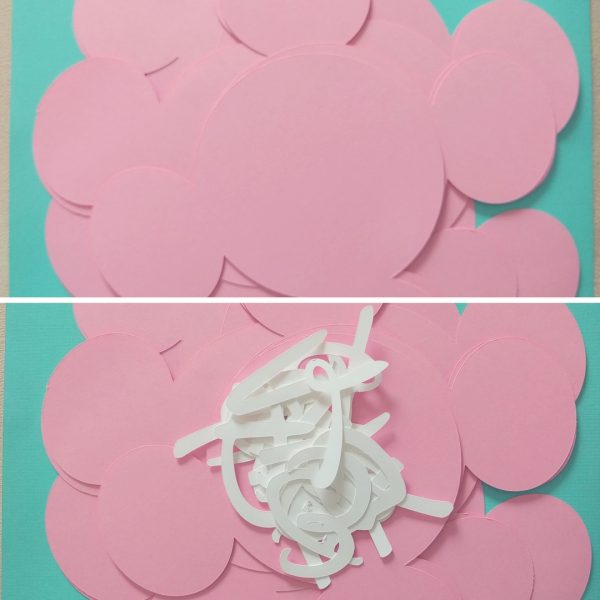
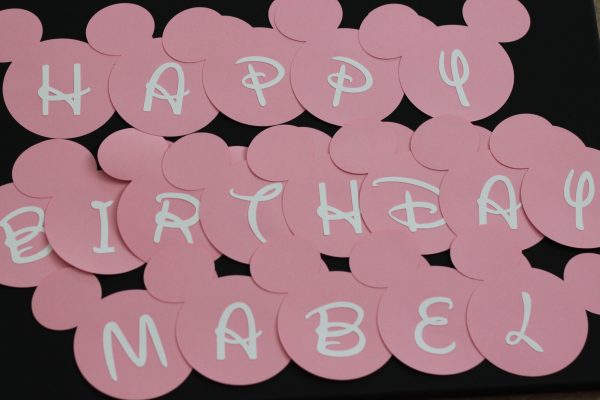
- Once your lettering has printed, you will need to weed it set aside. It is now time to load your pink card stock paper. For this one you will have to print 13 mouse ears for "Happy Birthday." If you want to include your child's name you will need to cut additional ears. I set my Cricut to cut 20 ears, I made a few extra's in case of any mistakes that I might make.
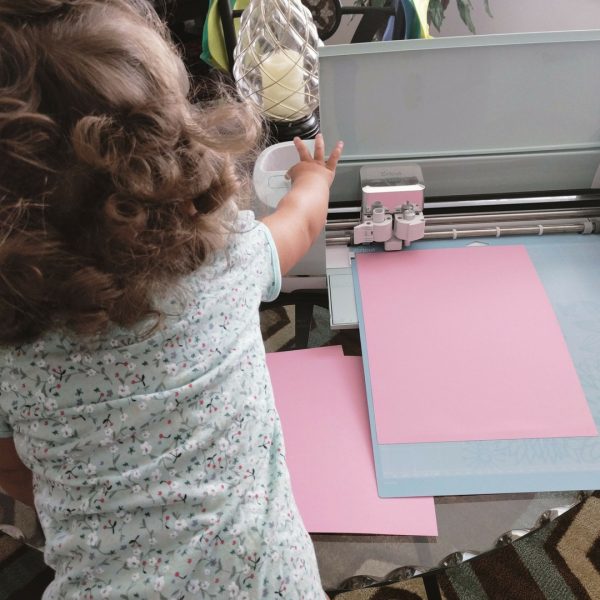 My little helper loves to watch the Cricut work its magic! AKA push the buttons and stop the machine.
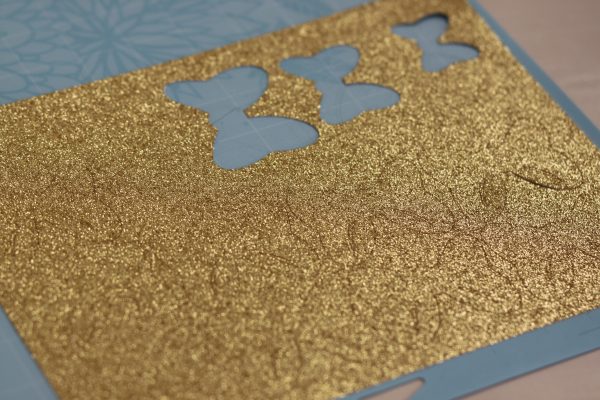
 9. After your Mickey ears have been cut and weeded its now time to load the gold glitter card stock into the Cricut. You will need to cut the same amount of bows as you did ears.
 And now everything has been cut and it is time to begin gluing everything together.
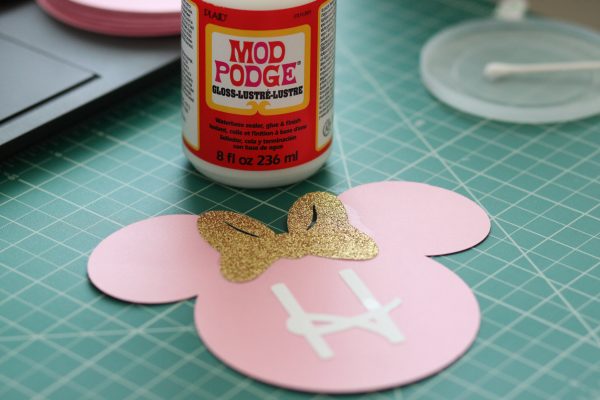
 Next step was to glue all the letters on the Mickey ears. I use Mod Podge. After using a few other glues I have found that this glue works the best on gluing card stock pieces together. I used a Q-tip to apply a small amount of mod podge to the pieces.
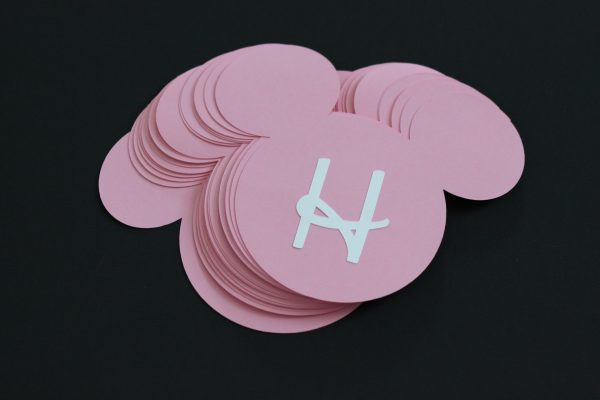
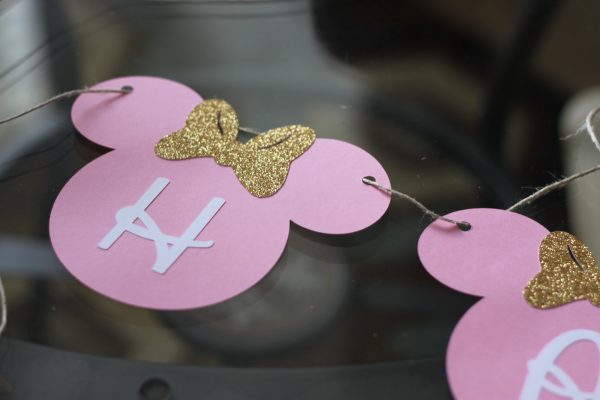
 I absolutely love how this came out!
 Now its time to add the gold glitter bows to the Mickey ears.
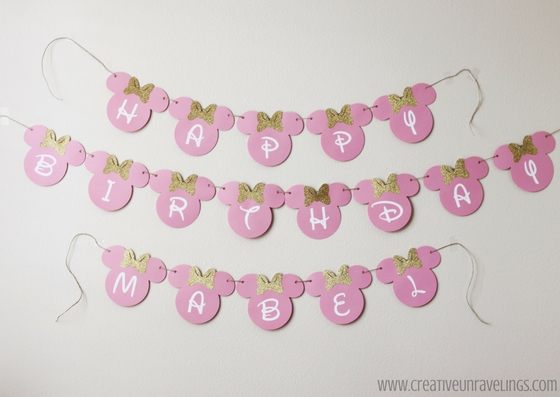
 For this project I am making 3 separate banners:
- "Happy"
- "Birthday"
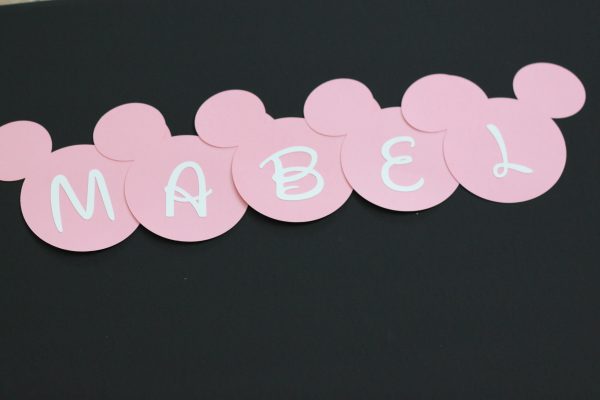
- "Mabel"
Some people wish to do "Happy Birthday" as one, but with where I will be placing the banner, this options works best for me.
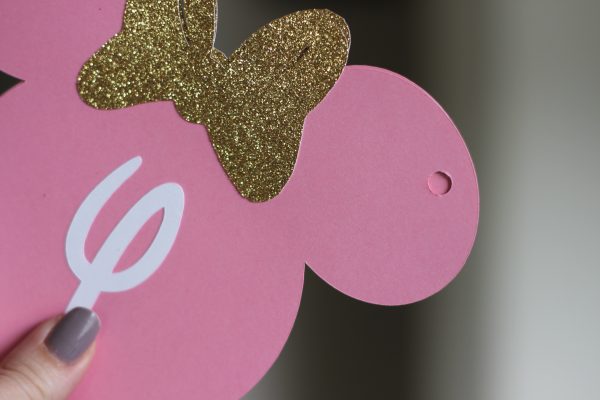
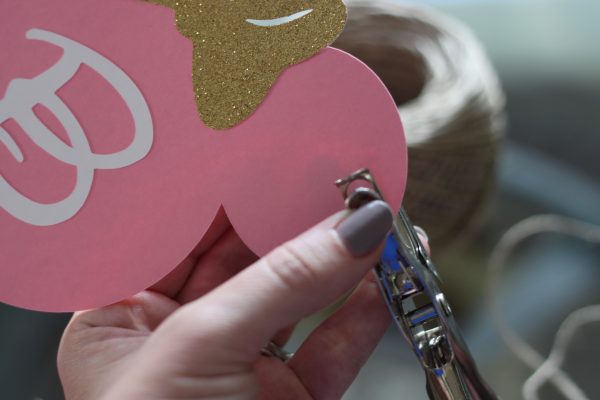
After the letters and bows were attached to the Mickey ears it was time to use the hole puncher. I chose a spot on each side of the ear and tried to make it level. Once I chose the spot I used the first Mickey ear that I punched as a guide for the rest of the ears.
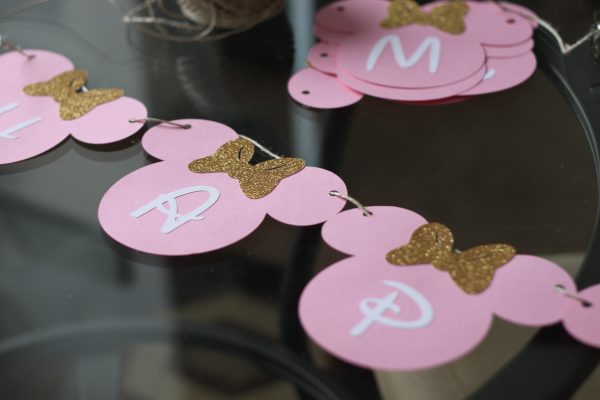
 Its time to start string the jute through the Mickey ears.
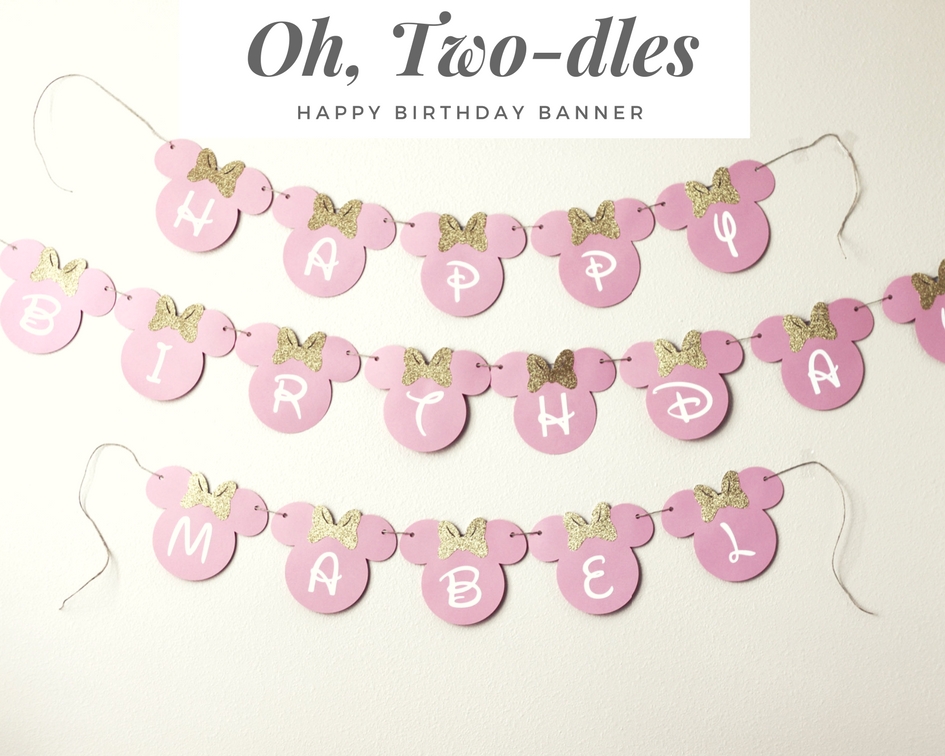
 Here is the finished product! I love am so in love with this birthday banner!
Total cost of project: $3.00! (This being that I only had to purchase pink card stock and gold glitter card stock- I had the jute and white card stock)
Here it is displayed at my daughter's party
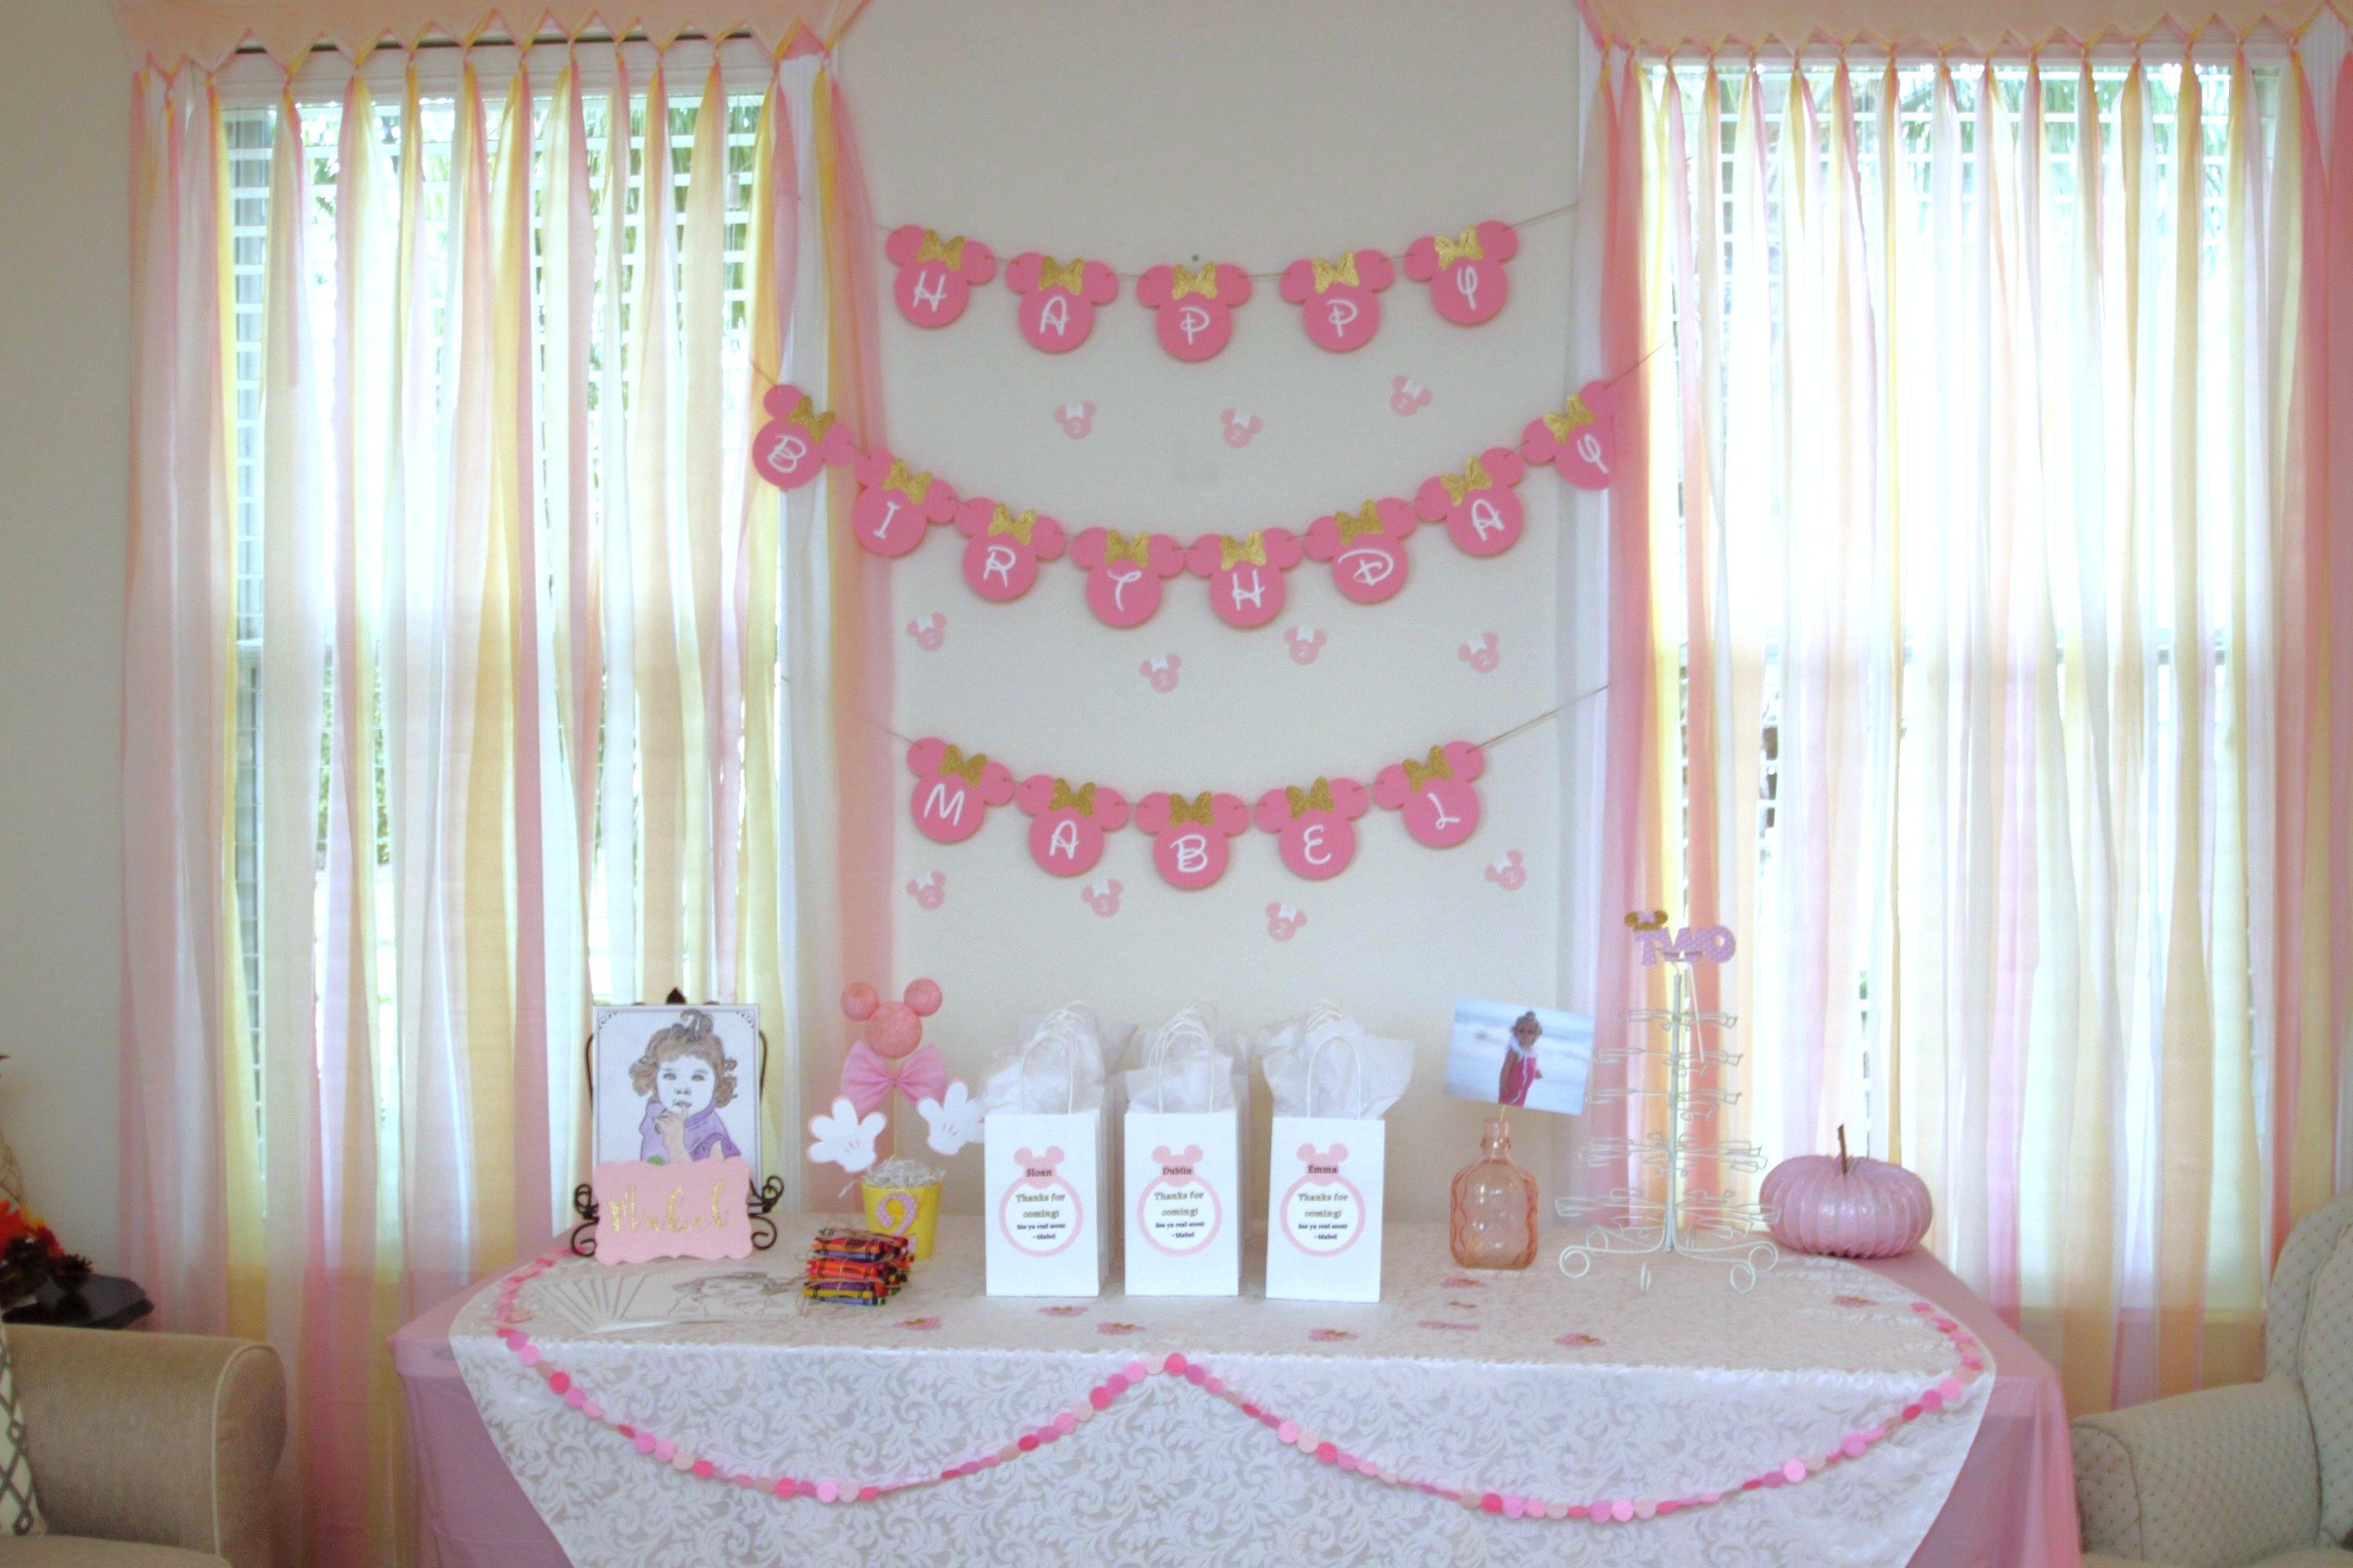
What do you all think of my daughter's custom birthday banner?
Comments