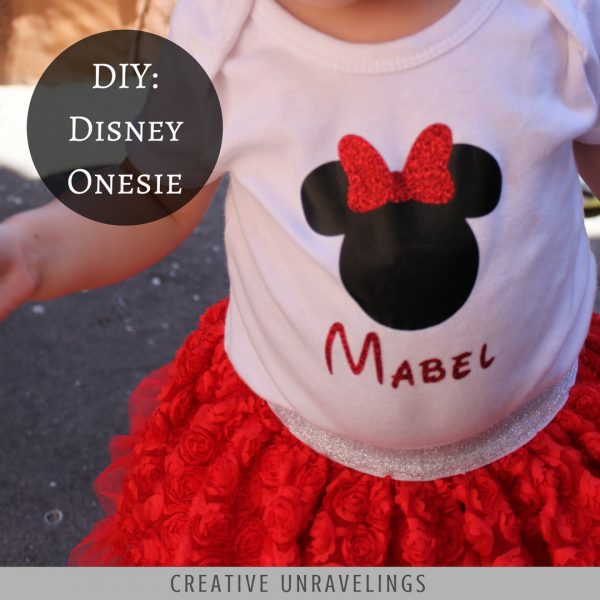
 My daughter had her first adventure at "Magic Kingdom." How could I resist not having a customized outfit for the day right? Especially since I own a Cricut. No excuses. Customized shirts really seem to be a thing now a days. When we were at the park we couldn't believe all the people walking around with them. You can find these custom outfits on shops like Etsy OR you can make your own.
Materials:
- Cricut Explore Air 2
- Cricut Design Studio
- 12 x 12 Cricut Mat
- Cricut Tools
- Cricut Iron-On Glitter, Red
- Cricut Iron-On Black
- Iron
- Onesie or t-shirt
- Cloth
I knew exactly what I wanted to do for this project. I wanted to keep it pretty simple. I went back and forth with the idea of creating a basic Disney outfit or gearing it more towards "first trip to Disney." Since I know we will be back soon, I went the basic route.
In the Cricut Design Studio I started out by purchasing the rights to the infamous "Disney Mickey Mouse head." It was only a $1.99, and once you purchase an image or font from Design Space then it will be permanently part of your account. The next step was finding a Disney font. I found "Waltograph" online and since I am not selling the product this is safe to download for free. Now its time to begin creating the magic!
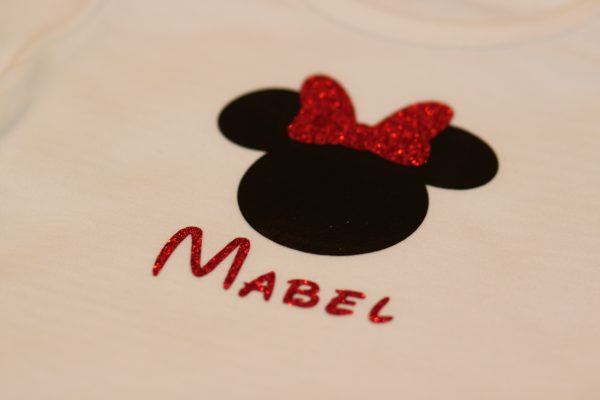
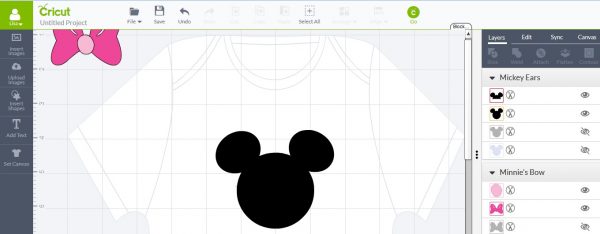 I wanted to create the basic "Mickey Mouse Ears" with my daughters name listed below. To gear this outfit more towards a little girl, I thought by adding a Minnie Mouse bow at the top would make the perfect finishing touches! I was able to find a generic bow that I thought was well suited for Minnie Mouse.
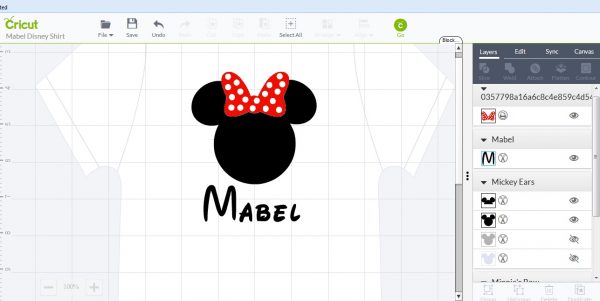 I changed the color of the bow (not like it matters) and added some polka dots. I did this so that I could see how it will all look when printed on the shirt.
Since this custom design is going to be in two layers. I had two different cutting sessions. One for the "Mickey Ears" (which will be in black) and other for the bow and "Mabel" which will be cut on my Red Glitter Iron on.
Its time to cut the Mickey silhouette...
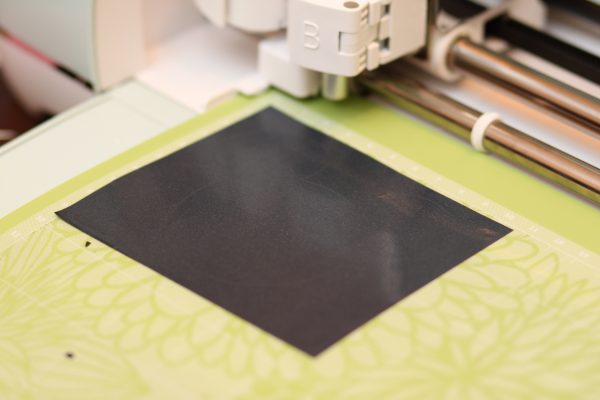 Now it is time to cut the bow and lettering.
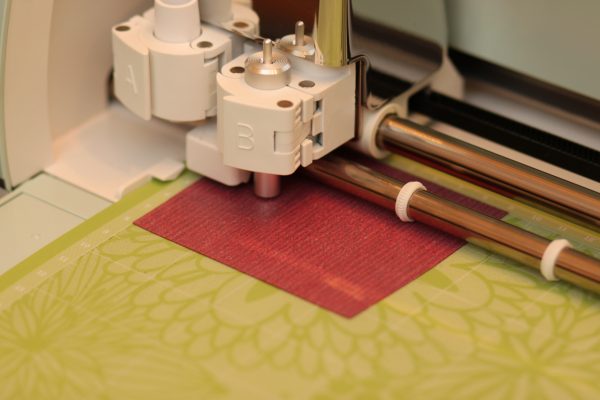 And now the weeding process begins...
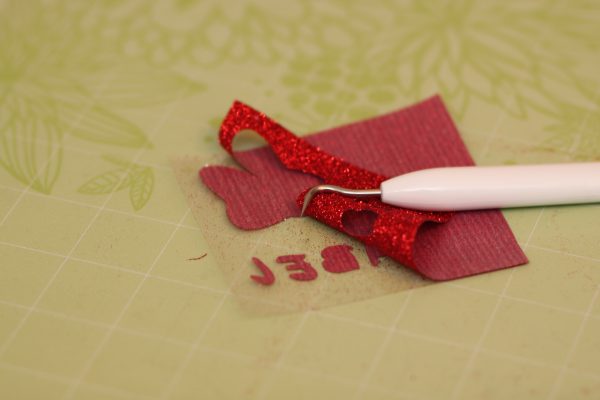 Here are my three pieces which are now ready for ironing onto the onesie.
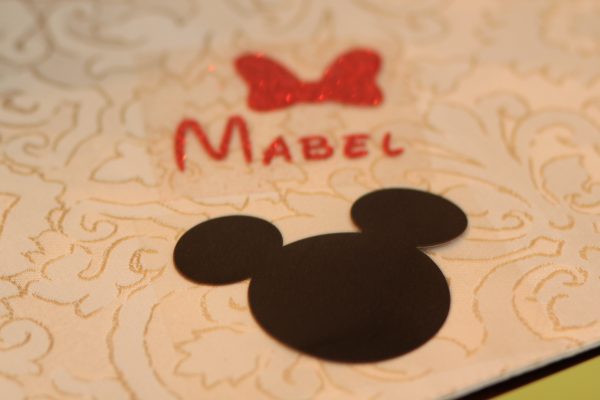 Always lay out your images to make sure they are even and line up. I ironed on each image one at a time.
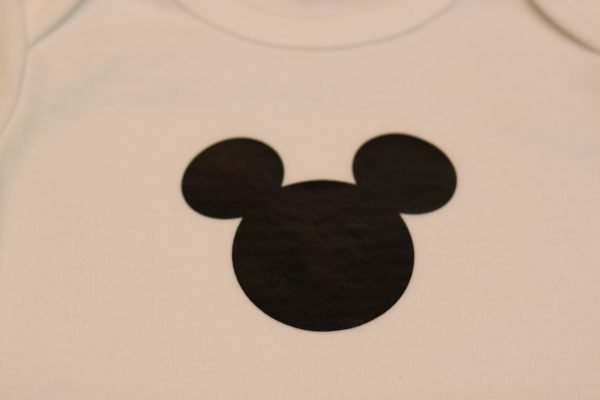
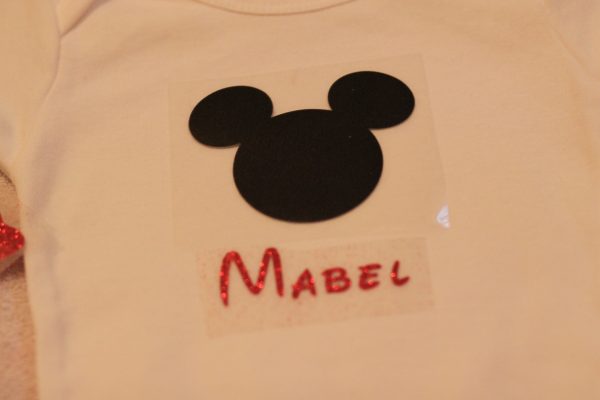 Here is the image ironed on the onesie!
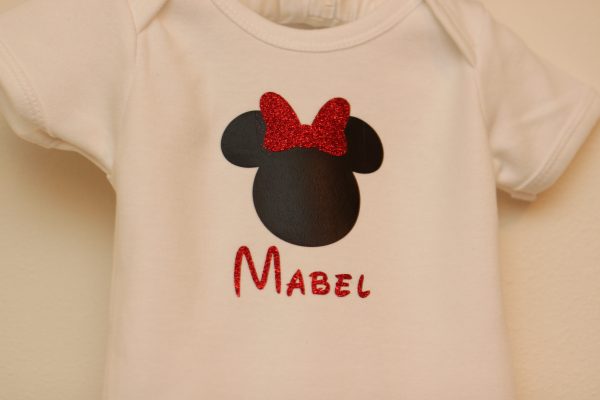
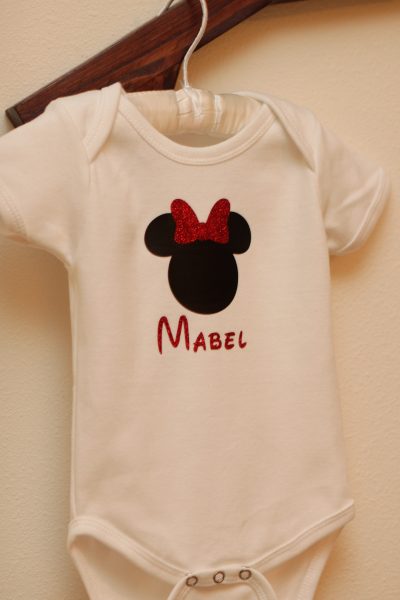 Then I got a little carried away and made this...with the Cricut. This took me less than 10 minutes to make. I used the same "Disney" Mouse ears but scaled it down to fit the size of the pacifier. I had to print these mouse ears on basic vinyl.
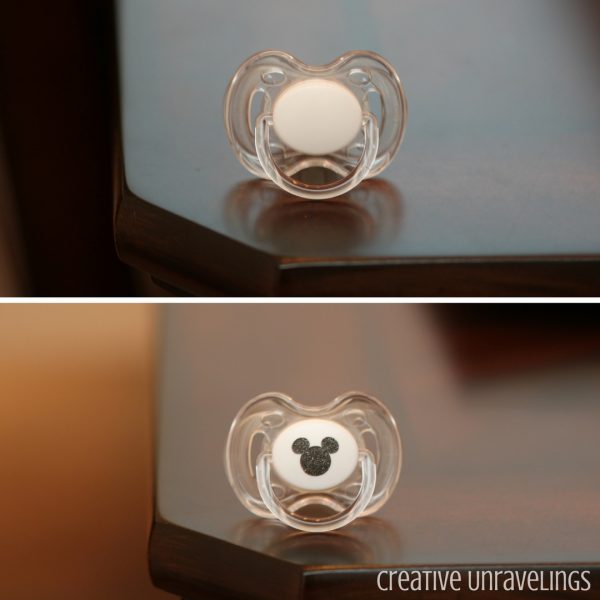 Back in August I added a personal touch to these Disney Mickey ears. Now I have two more Disney personalized products to add to the list of personalized Disney memorabilia. I think I have officially become a "Cricut Addict!"
Comments4
This is so cute! I recently got a Cricut and just need more time to play around with it!
Thank you Heather! I received mine late January and I am still intimidated by it. It can do so many things! I am going at a glacial pace in trying to learn how to do different things. I hope you enjoy your new Cricut and I hope wondrous creations come out of it! Thank you for stopping by!
You have always been creative and now you have Mabel to do your special projects for. The shirt is adorable. Nice job
Thank you! Yes, many more Mabel projects to come! I cannot wait until she is interested in helping out with the projects!