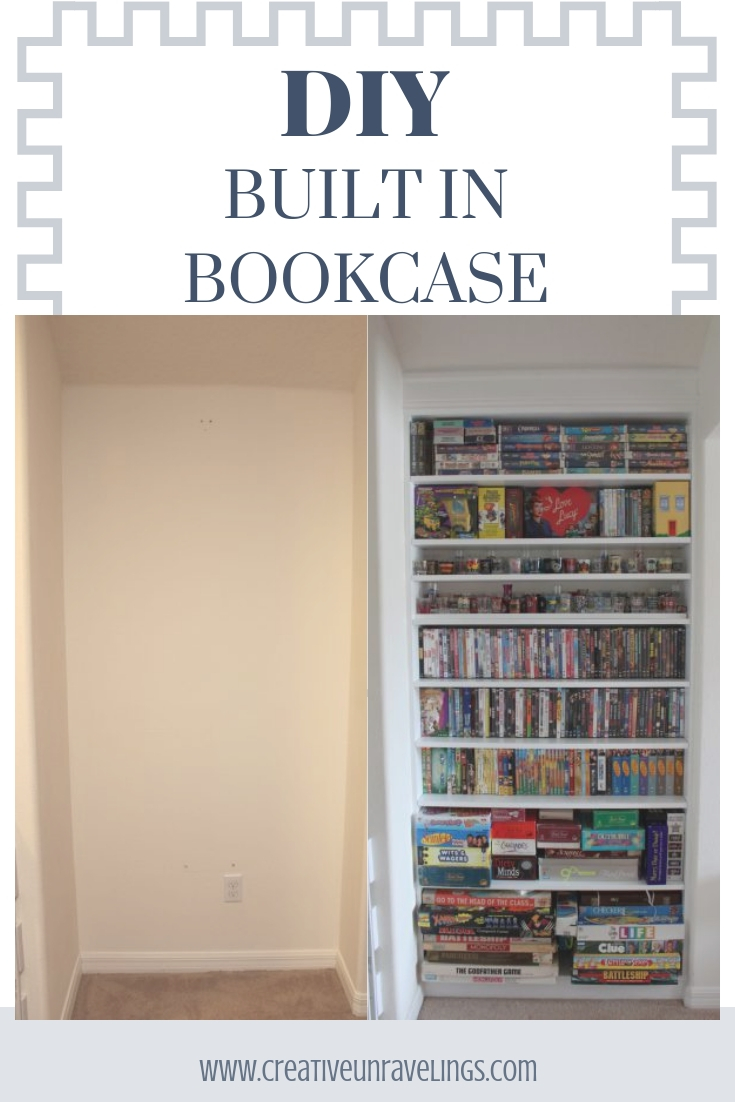
I have been so excited to share this project. We started it back in December and put the finishing touches on it by mid February.
My husband and I were talking about all the projects that we want to tackle in 2017. It just so happen we were upstairs and my husband pointed out a dead space area. He said "This would be a perfect area for a built-in, right?" Of course I did not disagree. My organizational mind kept thinking of all the possible items this thing could hold. Well, to break it down, we were able to eliminate two small (3 shelf) bookcases. Their main purpose was holding board games and old VHS that we cannot just bare to get rid of. We also eliminated a "stand alone DVD rack." We also eliminated a "shot glass cabinet" which was a really great place for it (out of the way.)
Supplies:
- 2- 1" x10"x10' Select Pine Wood
- 5- 1" x10"x10' Select Pine Wood (shelves)
- 1" x 3" x 8 Select Pine Wood
- Miter Saw
- Drill
- Clamps
- Kreg 90 degree Corner Clamp
- Sander
- Nail gun
- Speed Square
- pencil
- Eye Protection
- Dust Mask
- Hearing Protection
- Kreg 1 1/4″ pocket hole screws
- Kreg pocket hole Jig
- Kreg Shelf Pin Drilling jig
- 5mm shelf pins (4 per shelf)
- Level
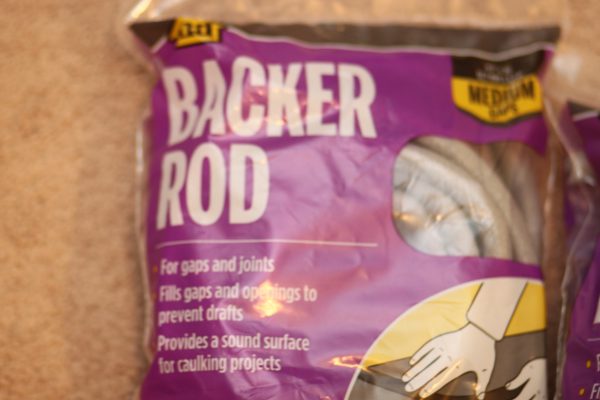
- Backer rod
- Primer Paint
- White Semi Gloss paint
- Paint brush/roller
So here is the space beforehand, it was the home of our infamous shot glass collection.

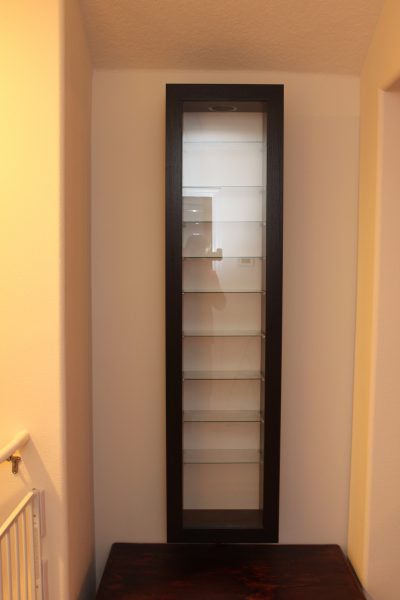 This will give you a better idea of the dead space that my hubby pointed out. Originally, we wanted to make an access door to our attic, but unfortunately this is where all the AC ducts meet together on the other side of the wall.
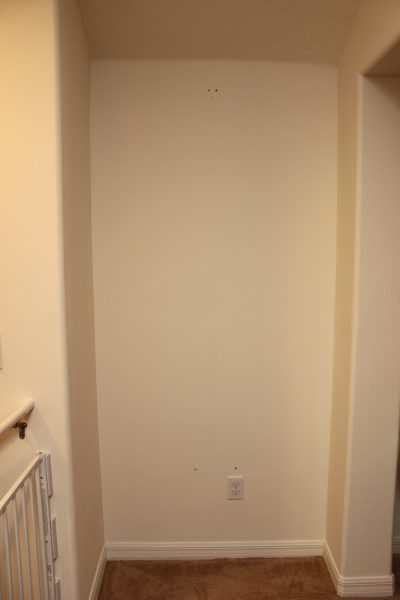 Here is the space cleared out, perfect area for a built-in right?
My husband drew up the plans himself for the built-it. He measured the area to figure out the size the unit had to be. We wanted it to fit perfectly flush in this alcove.
Step-by step:
We started by cutting the 4 sides of the built-in.
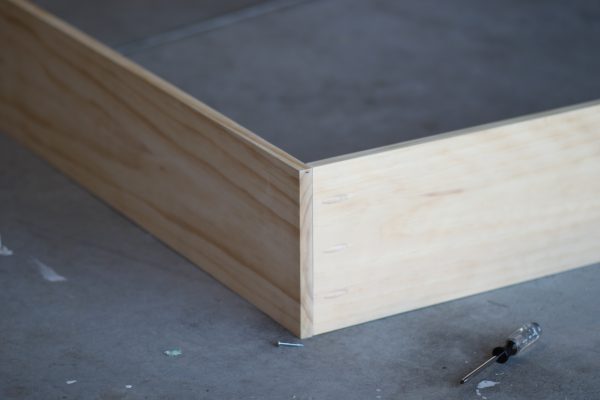
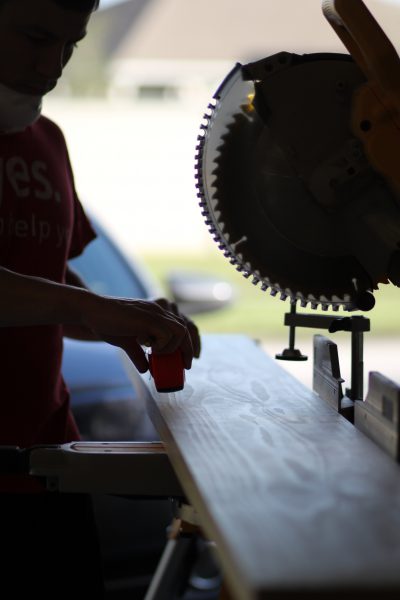 We used the Kreg R3 Jr. Pocket Hole Jig System for making the pocket holes. We use this tool a lot in most all our projects. It gives it a more professional look around the screws.
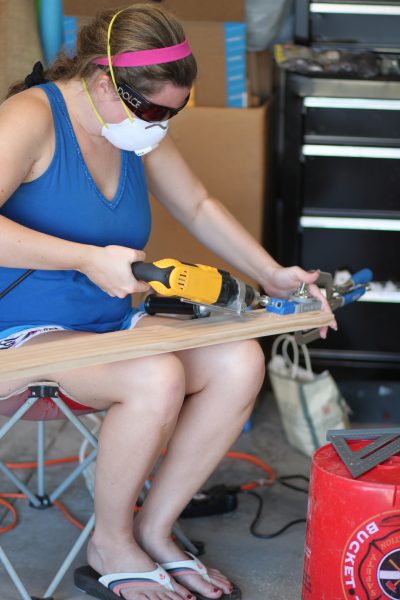
After each piece of wood was cut, I sanded each piece. The wood itself was not too rough, but we noticed a difference with our Pantry Renovation with sanding each piece of wood. When the painting was completed the wood was very smooth, with no blemishes.
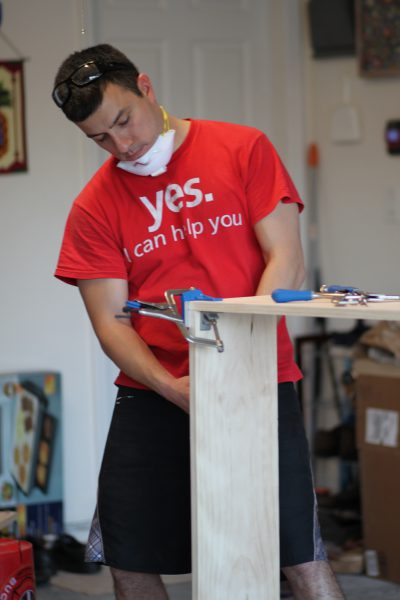
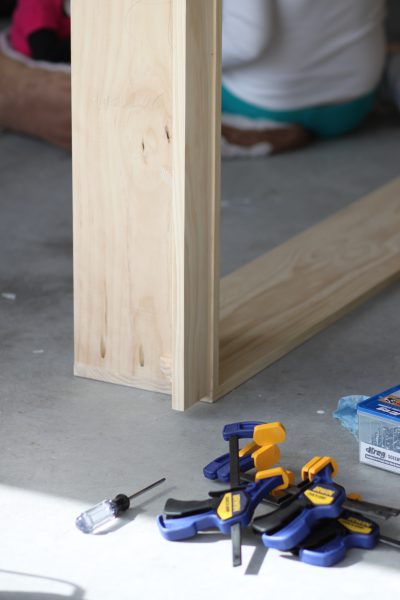
 Next, it was time to clamp the two pieces of wood together. So that we could screw the 4 boards together. We used the Kreg 90 degree Corner Clamp, it really helps with aligning the wood and making sure it is even. Note, when we clamp it, we usually test it out with a level to make sure it is level before we screw it together. The clamp helps keep the wood together while you are putting the screws in.
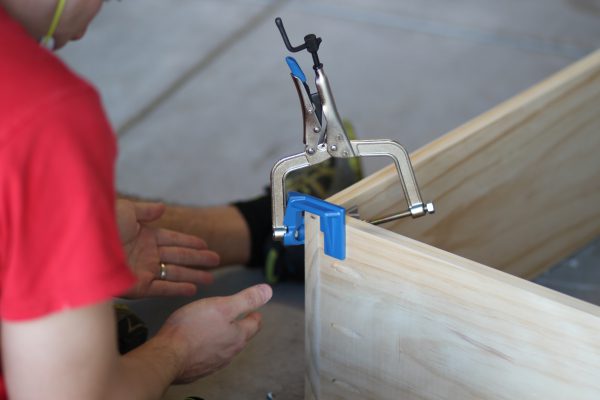 Once the piece was level, we started screwing it together
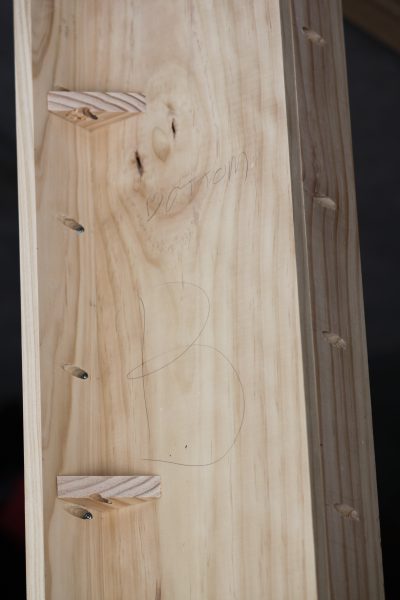
 Next step was installing a base frame, this is so that all the support would not be put on the walls but it allows the unit to sit on the floor. My husband also added small triangle cut outs and placed them along the bottom of the unit. This would give the bottom of the unit casing a little more support.
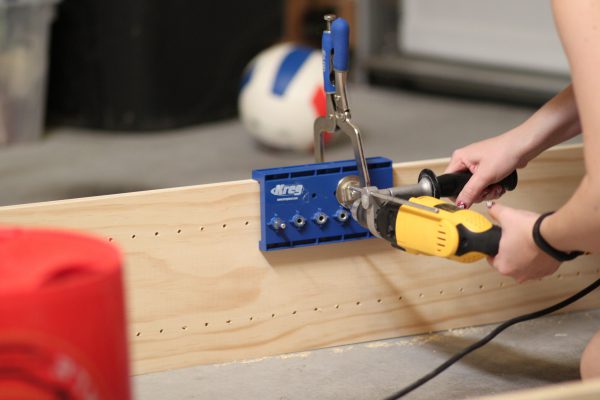
 Once the unit was put together, it was time to add the pin holes for the shelving that would be eventually placed in the unit. We used the KREG KMA3200 Shelf Pin Drilling Jig. Highly recommend this product, it seriously makes your life so much easier. Instead of measuring out (on your own) where all the holes should be, this tool does the whole job for you.
 Now, it was time to test the unit upstairs, this was a lot of fun trying to get it upstairs and hoping that the unit would fit. If it did not, we would have to take the top and base off and shave the wood down for the perfect fit. Fingers and toes were crossed!
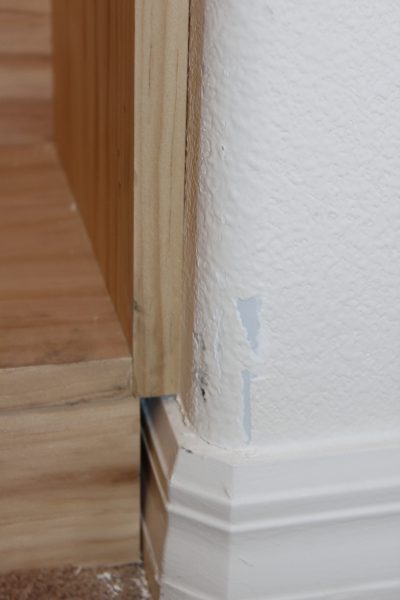
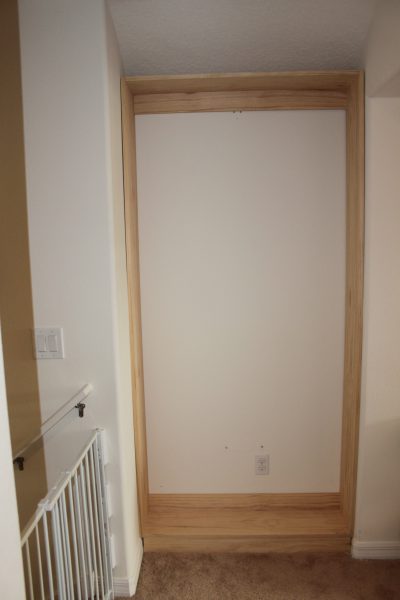 It fit!!! You can see how tight of a fit it was by the picture below. We scuffed up the walls a little but thankfully the unit fit perfectly.
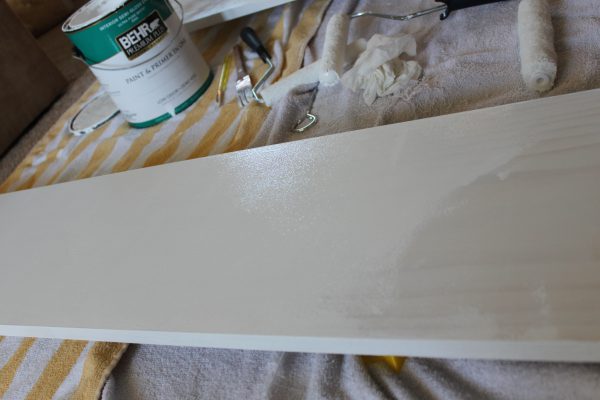
 Next step, we had to paint the unit, first with a base coat of primer and then with the semi-gloss as the finishing paint. It required 2 coats of semi-gloss. It is starting to look more like a built in from here!
 Next step was cutting the shelves. We originally thought that we would need 6 shelves. So I painted (base coat and 2 coats of semi) to all 6 shelves.
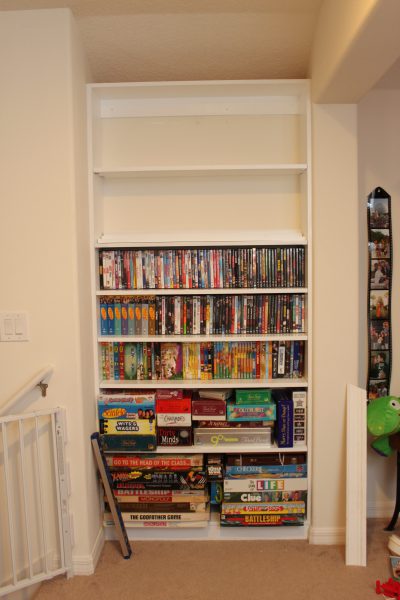
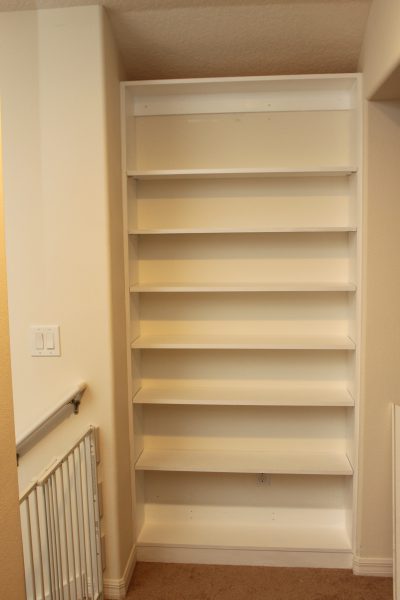 When we placed the shelves in the unit and added our items to them it turned out we needed more shelves. So in total we made 8 shelves, if you account for the top and bottom it would total to 10 shelves.
 To incorporate our "shot glass collection" into the unit, my husband cut a few extra pieces of wood to showcase the glasses. It created a "stair-like" appearance to the shot glasses.
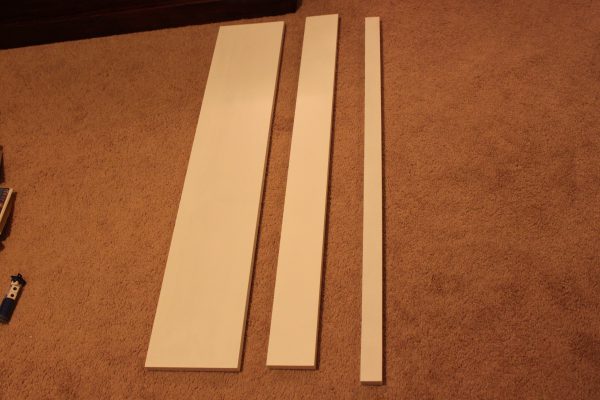 We still had to come up with a top piece to finish the built-in and give it a more "built-in" look. So we purchased crown molding and cut it the same size as the top of the piece. My husband had to cut some support triangles so that he could have a little more support when it was time to attach the molding top to the top of the unit. We used a nail gun to attach the molding to the top of the frame.
There was still a pretty large gap between the ceiling and the molding top, so we purchased "backer rod" into the gap along the top of the unit. Then we finished it off with caulking around it. It was too large of a gap to just caulk.
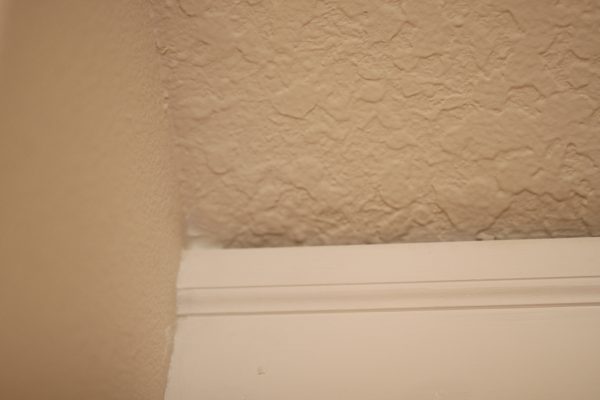
 You can see in the below photo the large gap between the ceiling and the unit.
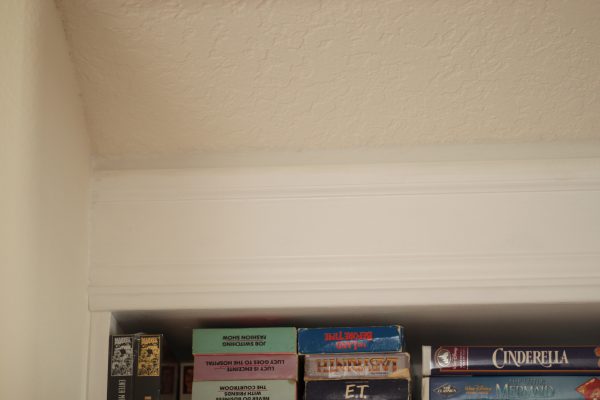
 Here is a photo to show you the backer rod that was installed (you cannot really see it.) From here we caulked over the gap (which is now manageable to do with caulk.)
From here you can see that the caulk sealed the unit off pretty well.
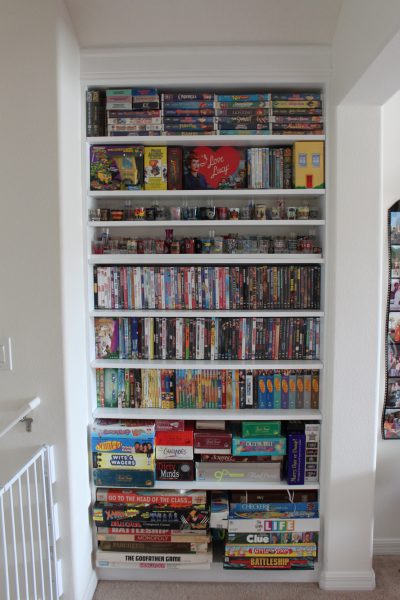
And here is the finished product! We are so pleased as to how it turned out, and the unit holds so much storage. That is a huge plus in my book!
Comments2
Your built-ins look so nice! Aren't kreg tools amazing!? I just bought my first kreg jig this month and I built some shelves with it (coming on my blog soon). I loved how strong the joints were. You guys did a great job on this project, it looks professional to me!
Melissa
Thank you so much for checking out our built-in! YES Kreg tools are amazing, we swear by them! We are working on another Kreg related project (coming soon) I cannot wait to see your shelves! I am sure they will turn out beautiful!