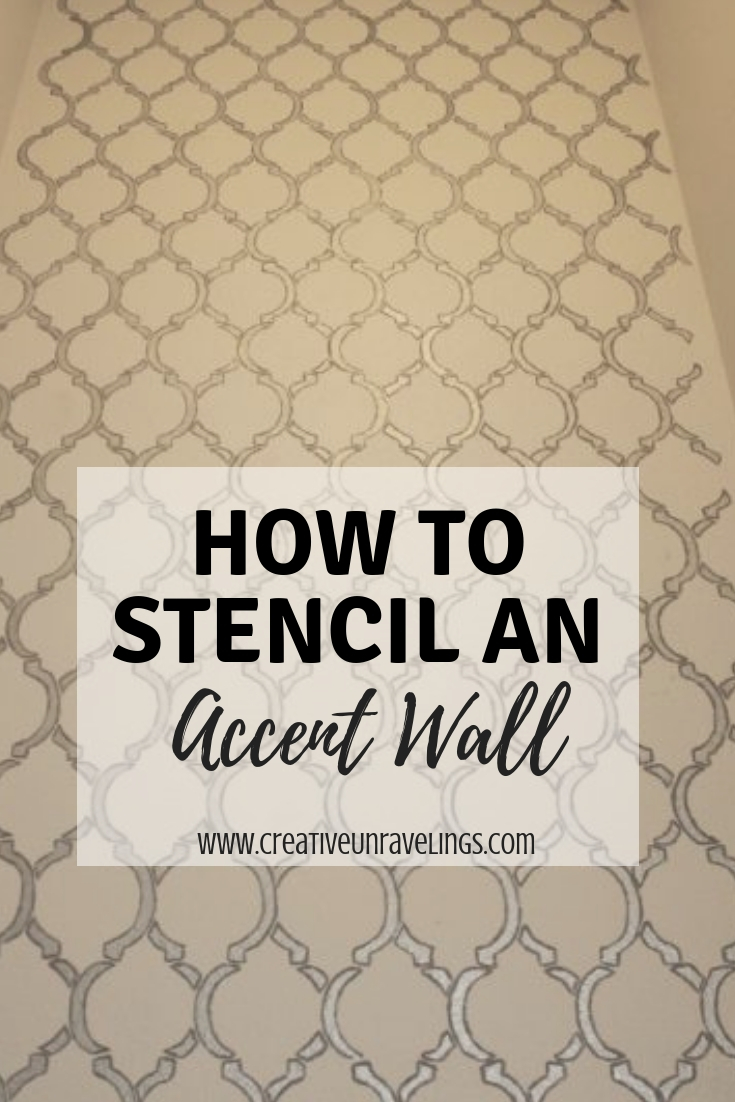
Today I am sharing my stencil project. We have managed to keep our master bathroom powder room pretty bland over the last couple of years. I know that I wanted to do something to spruce it up, it just took me a while to figure out what to do. I thought stenciling would be the way to go. This project took far longer as I anticipated it would. I ran into a few complications along the way which I will get into later.
Supplies used for Stenciling Accent Wall:
- Cutting Edge stencils- Moroccan Dream (Outline)
- Paint of your choice ( I chose Martha Steward metallic glaze)
- mini paint roller
- fine tip paint brush
- level
- paper plate
- plenty of wet and dry paper towels
- Stencil Kit (I did not purchase, but recommend it)
I purchased my stencil from Amazon, it was a tad bit cheaper than directly through "Cutting Edge." Of course when I purchased the product I now receive weekly 20% off coupons via email. I tried to get this coupon beforehand but it was taking too long for them email the coupon. Anyways, I did not purchase the "kit" to make your life a little easier. I should have, but knowing how some creative things just come easily to me I thought "I got this." Well I didn't. The kit comes with a roller, brush and level. The level slides onto the stencil which would make it easy when you are lining up your stencil on the wall. Instead, I was juggling the stencil, small level and my balance all at the same time on the ladder. So for about $20 more I should have purchased the kit, but hey you live and learn...
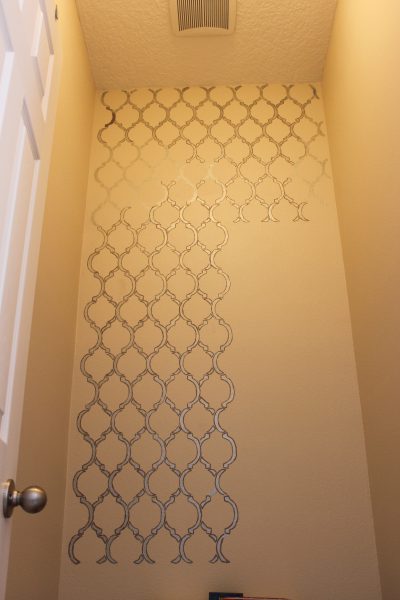
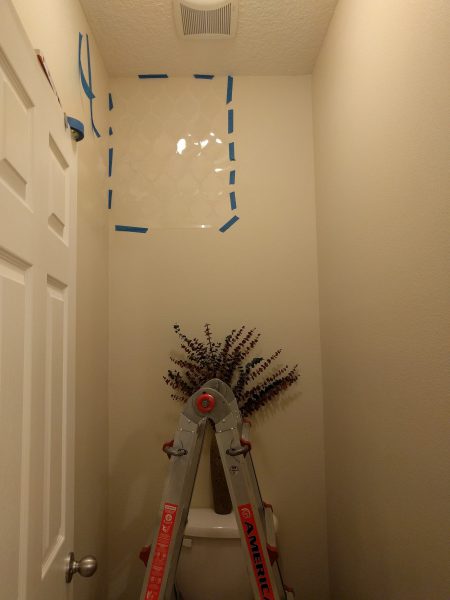 In the above picture you can see just how plain our bathroom is. I started the stencil in the top left hand corner and then gradually made my way across and then down. I used the "metallic" paint on the roller and rolled the paint, it is important to blot the roller. I noticed that the paint would bleed on the inside of the stencil. It was a real pain, but I managed. Once I completed the first top left corner I noticed something odd. The paint was too light for the bathroom. The reason for this was that the light fixture sits in the middle of the room and casts the light all over the wall. It was blowing out my paint color on the wall because of the glare. This was something I did not even think of when I chose the paint color. Hopefully you can see what I mean in the image below. So I started outlining the stencils (BY HAND) with a fine tip paint brush. Yes, this was very time consuming but I was determined to make this project work.
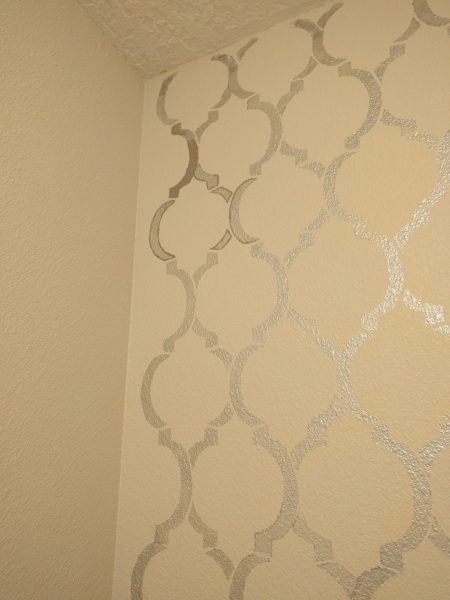 I couldn't decide what looked better, filling in the stencil or outlining it in a darker color. My husband thought filling it in and of course I like the out line better. I went with my gut and as gradually continued to outline, later my hubby agreed the outline looked better.
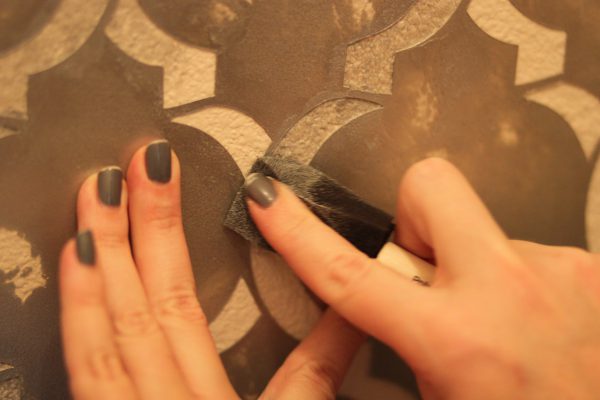
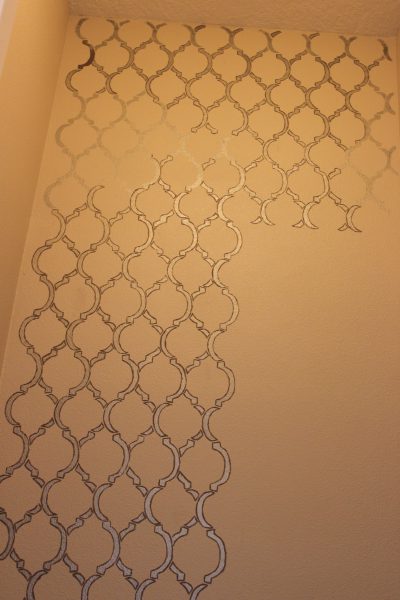 I rolled the metallic paint over the stencils for about 3 quadrants and then I was over it. I do not know how but I guess I was still putting too much paint on the roller which was resulting in paint bleeding under the stencil. I took a different route, yes this is going to sound ridiculous because it was. I took a foam brush and went through every stencil outline. It gave me more control over how much paint was going on wall. If you can stick with the roller, do it. I wouldn't really recommend this route, but I felt this was the best option for me.
 After some more outlining the wall was really starting to come together. I apologize for the yellow lighting, this room does not see much natural light.
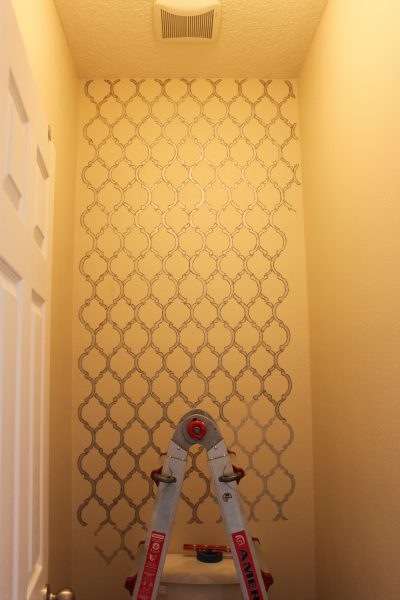 Here is the finished product. Overall, I am really pleased with it. The project did not go as I expected it would go, but its okay. I learned from the mistakes I made. I plan to use these stencils again, however next time I will purchase the kit to make my life a little easier.
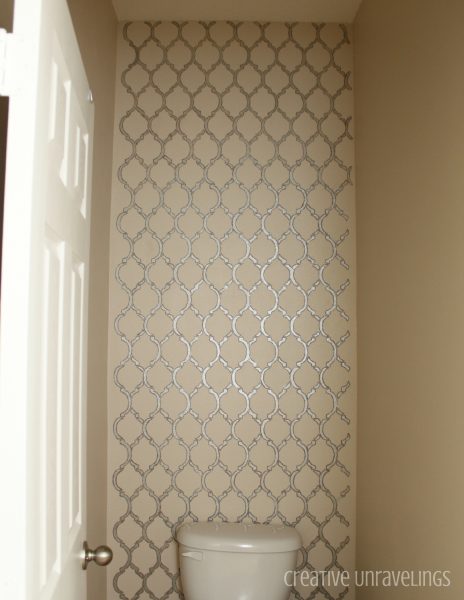
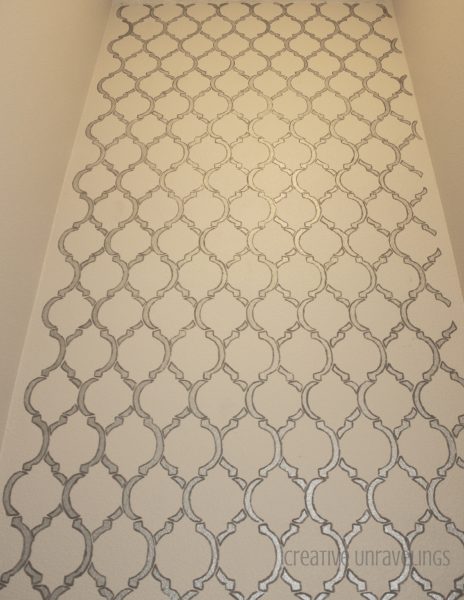 What do you all think? Has anyone else experienced some stenciling fails?
Comments2
Looks great! I sure did try to use a stencil on paper, and thought it would be smart to tape the paper stencil on...ended up tracing out the letters and painting by hand. You live and you learn!
Mindy, I am glad I am not the only one who has issues with stenciling! I always thought the stencil would make your job easier, but it is a process trying to learn how to use the stencil!