I think we have impressed ourselves with our woodworking skills. So when I heard that Kreg was hosting a contest I knew we should try and give it a shot! The rules are simple, one sheet of plywood and hardware and finishing supplies are allowed. The prize is Kreg tools and we could always use more tools! This should be nothing compared to the Custom Built-in we made for our Bonus Room or what about our Custom Pantry? We got this!
What are we going to make? I had told my husband for months that I wanted to build a craft shelf to hold a lot of my crafting supplies. I did not want the shelf to be very big so once piece of plywood would be just enough and this would be a perfect project for the Kreg Contest!
It just so happens that we had a piece of plywood leftover from another project, so, it cost us nothing to make, which was really nice.
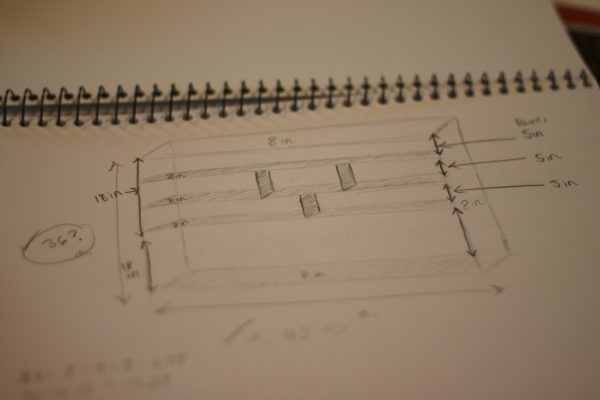
So first step, lets come up with some type of design. I sketched out how I would like my craft shelf to look. I had a few container that I thought would look good with the shelf so I measured the width of the containers to ensure that they would fit on the shelf. I also measured a standard craft paint bottle. My goal was to be able to display all my paints on the top shelf of the unit. I really thought this all out!
My sketch of the craft shelf:
 Now my husbands sketch, so he can see how it visually works.
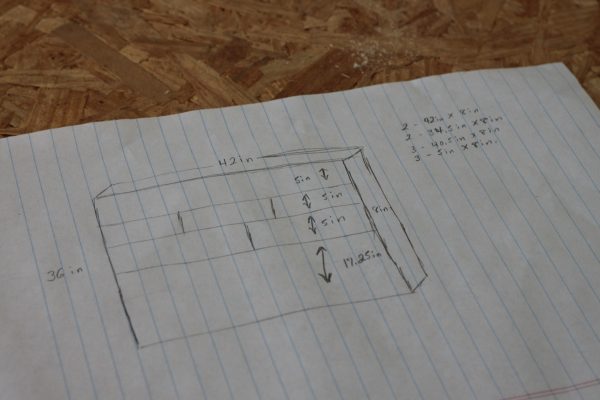
Materials Needed:
- Wood (we used birch plywood)
- Saw
- Kreg pocket hole jig
- Kreg 90 degree Corner Clamp
- Tape Measure
- Drill
- Screwdriver
- Level
- Kreg 1 1/4" pocket hole screws
- Protective Eyewear
- Ear plugs
- Small paint roller
- Small tip paint brush
- Primer (white)
- High Gloss paint (white
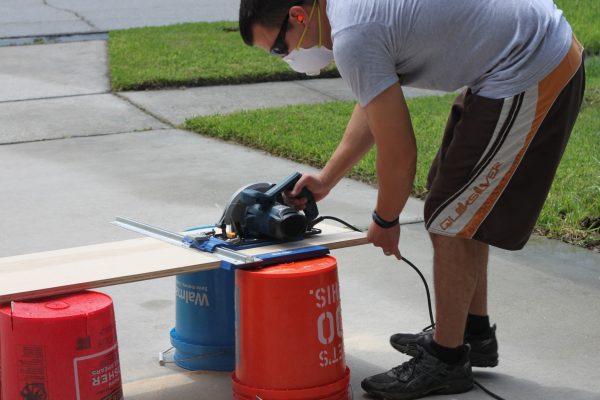
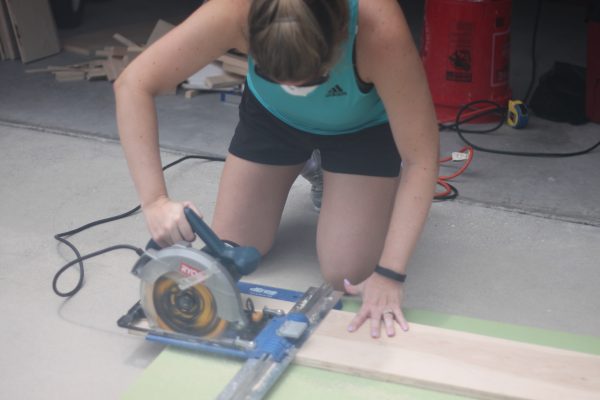
Our first step was to start cutting down the wood.
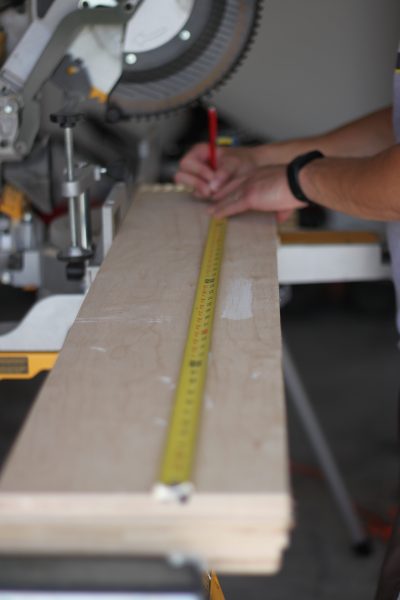
 Then we needed to measure how long each piece would be.
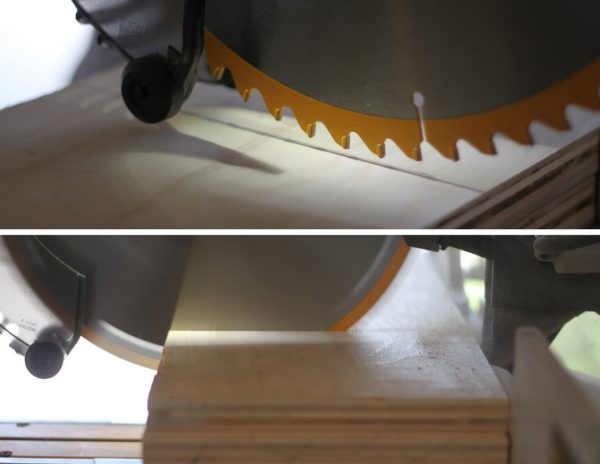
 Now its time to start sawing
 Once all of your pieces are cut, its time to set up where all of your pieces will go. This is just to be sure you have cut all the pieces that you need and the pieces appear to fit correctly next to each other.
 Once the piece is to your liking, its time to start marking where the pocket holes need to go. Then get out your Kreg pocket hole jig, because you will be putting it to use on this project!
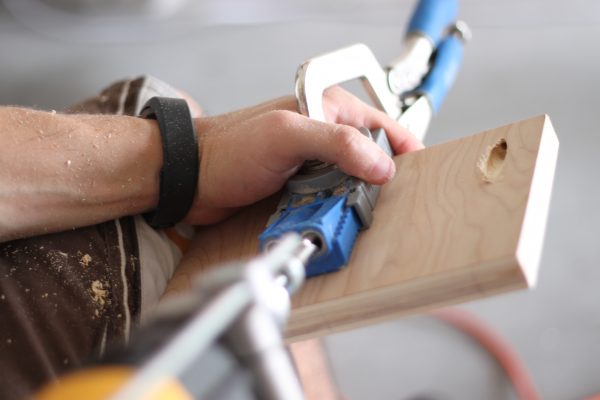 Next, it was time to actually starting screwing the unit together. Start with the frame of the unit first.

Before you start to screw it together, always make sure your piece is level

While my hubby worked on screwing together the frame of the unit, I worked on the pocket holes with our Kreg pocket hole jig. We had 78 pocket holes on this unit, it took us a while to make the pocket holes.

Once all of our pocket holes were created, we could finish screwing together the unit. This took a little bit of time! You can see by this picture, a handful of pocket holes! We added two support rails on the back of the unit. They would be used for extra support as well as what we would be using to screw the unit onto the wall.

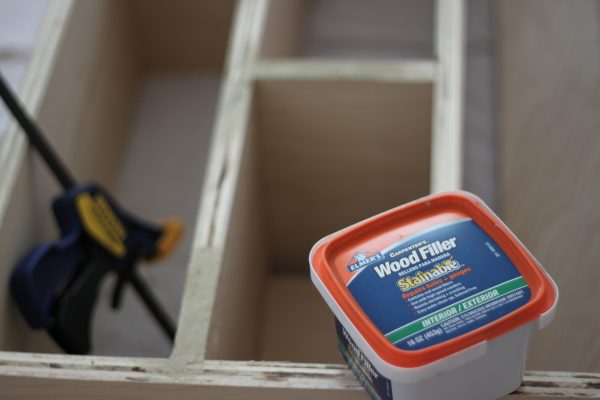
After the craft shelf has been screwed together, its time to go over the holes with a wood putty.
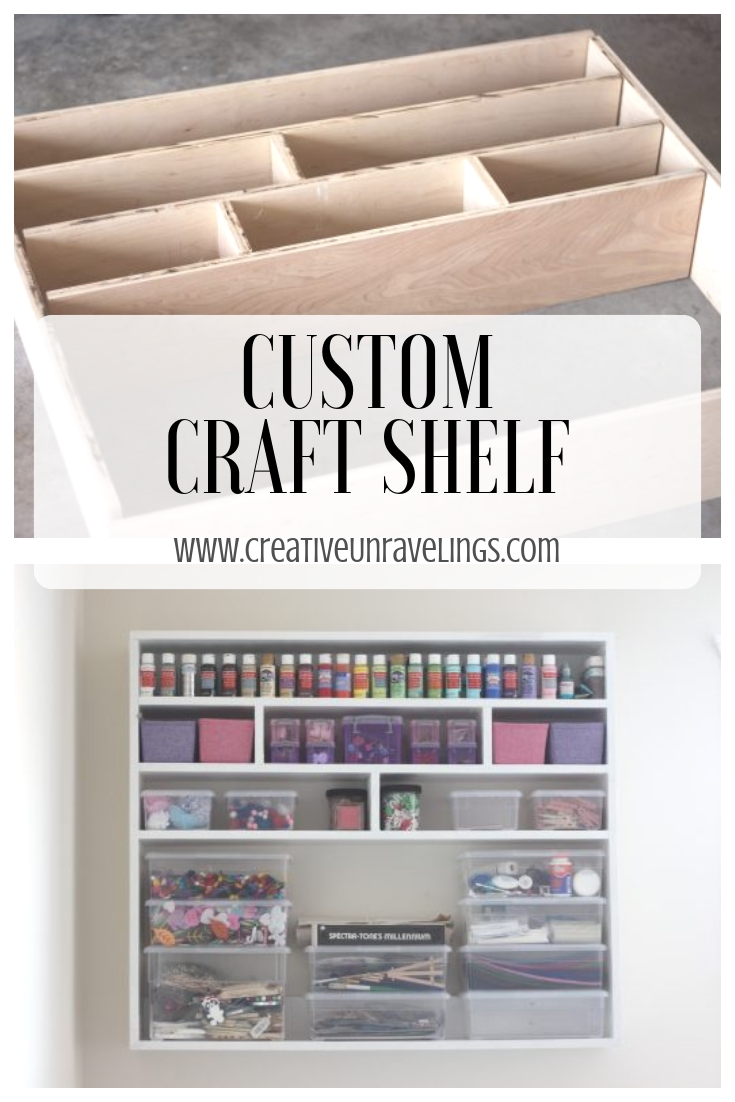
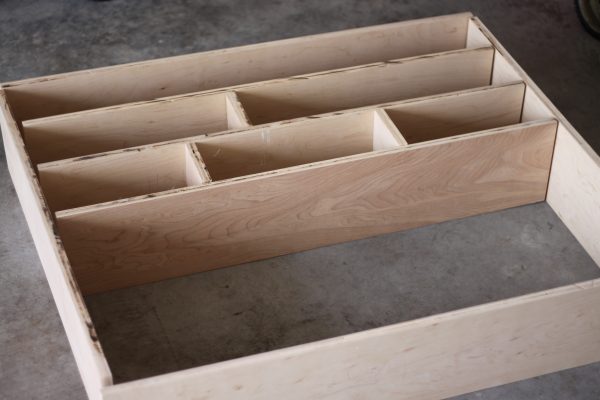
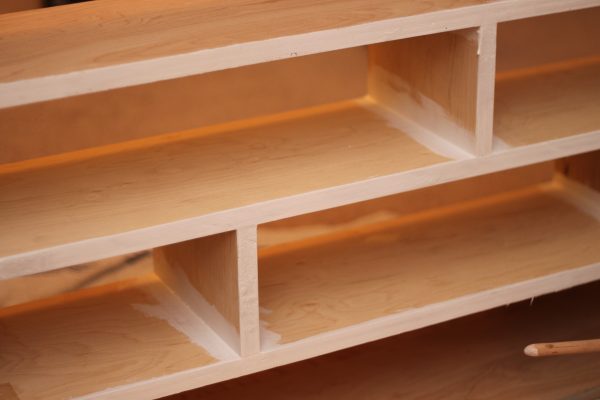
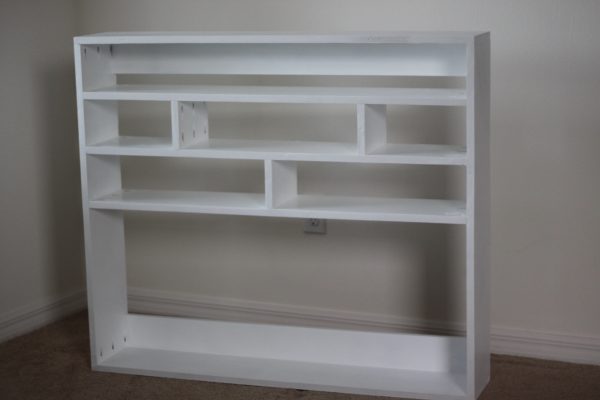
 And here is the completed craft shelf made from one sheet of plywood. It just needs a paint job!

Painting the Craft Shelf:
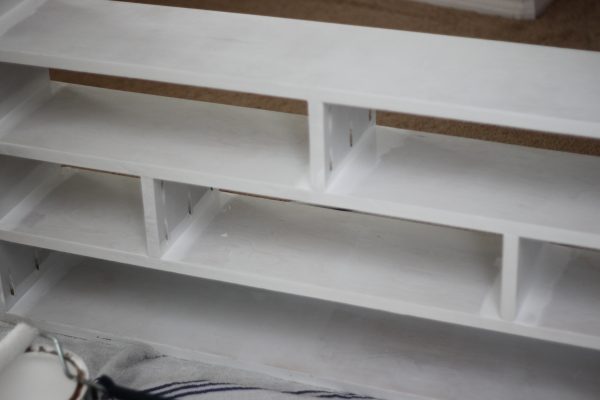
If you have read some of our previous wood working projects it will be no surprise to you how much I dread painting. It mainly because of my OCD. The littlest streak will just irritate me. So for this unit, I had to prime the unit two times and then use High gloss (white) for the finishing coat. I used a paint roller to give the unit a smoother finish and not a streaky finish like you would get using a paint brush. I am very pleased as to how well the white paint looks on this craft shelf!
I first painted the corners of the unit so that when I rolled the paint it would look like a smoother finish towards the corners.
 You can see below that the first coat of primer was not enough, so I did add a second coat.
 Here is my new craft shelf painted and ready to be installed!
 Now it is time to install the unit, this was fun and I wish I had a picture to capture this moment of my standing under the shelf to support the weight and my husband screwing it to the wall!
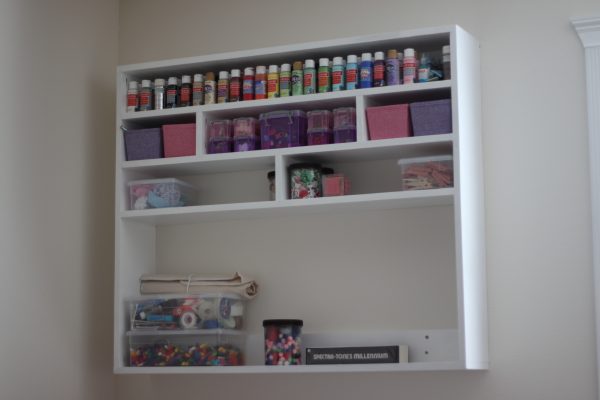
I love it and I love the fact that I designed it myself to fit my craft needs! Of course this shelf does not hold all my supplies, the intention of the shelf was to store my "most used" items and have them to be easily accessible.
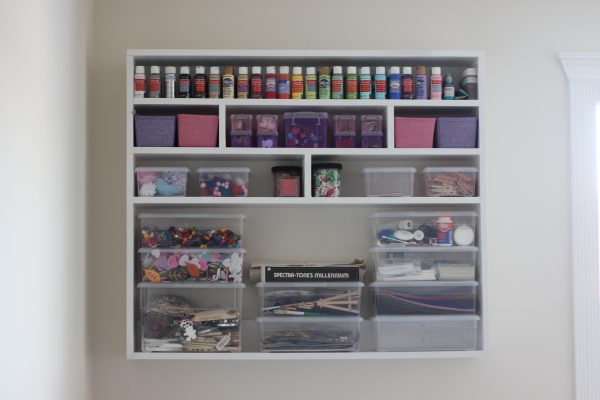
Here is the final product!
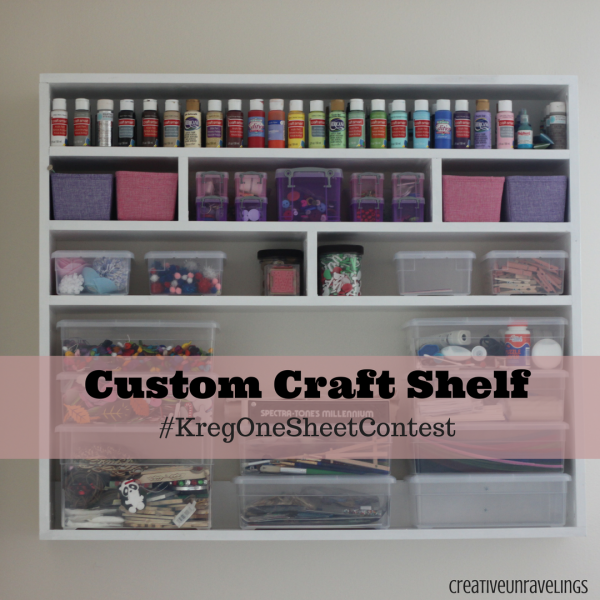
What do you all think? Wish us luck on the Kreg Contest! Fingers crossed!
Comments4
You two are so clever, keep coming up with new ideas for your home.
Thank you TC! We have SO many more projects in the works! Glad you enjoy seeing our projects!
Beautiful job! Good luck with the contest!
Thank you so much Debbie!!