Oh boy, I cannot believe I am starting this post (originally started in August). Where did my baby's first year go? People tell me all the time, they grow up so fast. I am still in shock to say that I have a one year old!!! We spend so much time with her and we love watching her grow, I cannot say anything more than, I just love being Mabel's Mommy!
So onto the party planning...
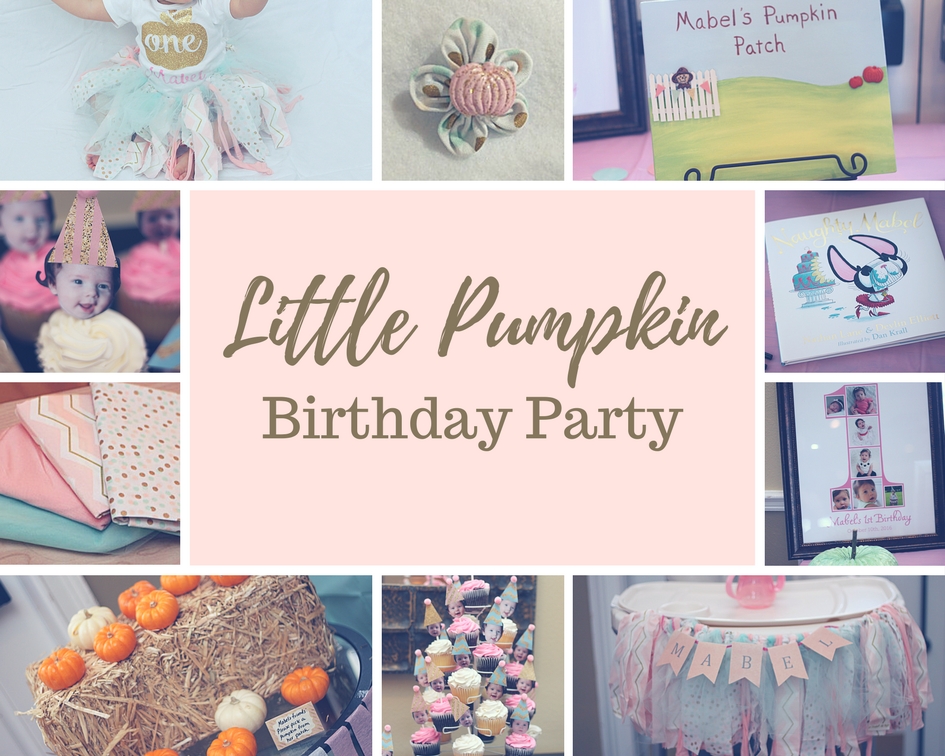
I decided to go with something a little different for Mabel's first birthday party. She is our little "pumpkin," we have called her that since day one. Her favorite teacher at school calls her "pumpkin head." That was the teachers own little nick name for Mabel, so I guess her nickname was just meant to be.
Theme: Since Mabel was born in October and she is our little pumpkin, its only natural that her party should be "pumpkin themed." So the theme is "Little Pumpkin."
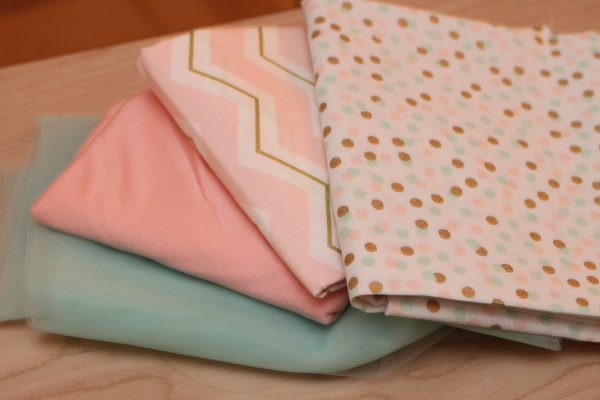
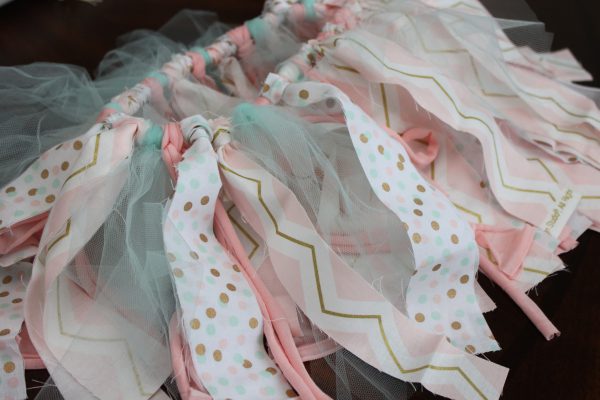
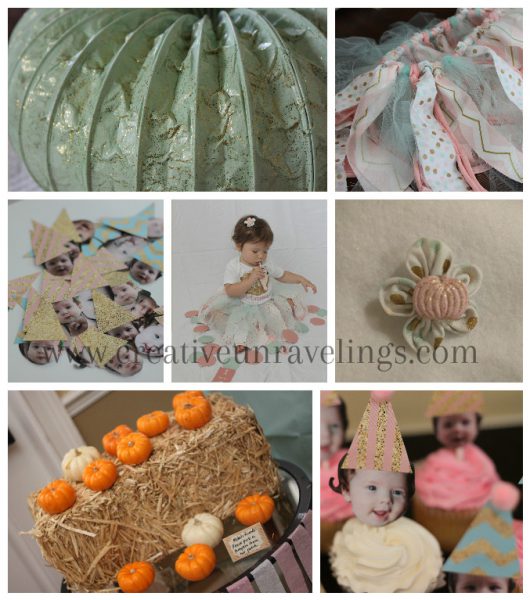
Color Scheme: I did not want the tradition fall type colors, I wanted it to resemble a little girl. So I decided on Pink, Gold, and Mint. The fabric below was exactly what I was looking for. I plan to use it to make a Birthday Tutu and a Birthday high chair skirt and other crafty little things. The fabric with the gold, pink and mint dots are my inspiration piece.
Invitations:
So I took it upon myself to create my own invitations. FYI, not something I recommend doing a month before you need to mail them. I do not have Photoshop but I did discover this amazing online program called Canva. You can pretty much create anything in. It did not take me long to create the invitations because I knew exactly what I wanted. However, it did take me a while to figure out the format and properly upload it to Shutterfly with a decent resolution. A little bit of a headache there but I love the way they came out. (As you can see I am still continuing on with the pink, gold and mint polka dots- you will see this a lot.)
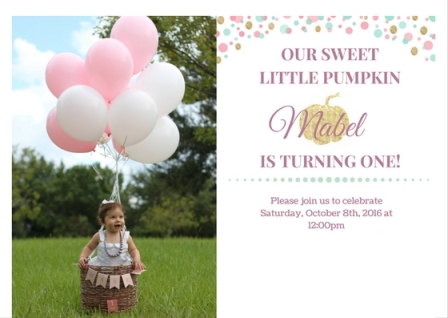 We had a photo shoot in mid August (I know, great idea). It actually turned out really well. The weather was actually really bad about 10 minutes prior to our photo shoot. We shot all of the pictures ourselves and we also were able to get some really nice pictures of us and our little girl.
Photo props:
- Basket
- Banner with child's name printed
- Balloons
- White eyelet dress (from Aunt Kimmy)
- Mommy's pink necklace (which if your child has never worn jewelry before, it's a good idea to put it on them about 2 hours prior, that way they are not distracted by it at the photo shoot.)
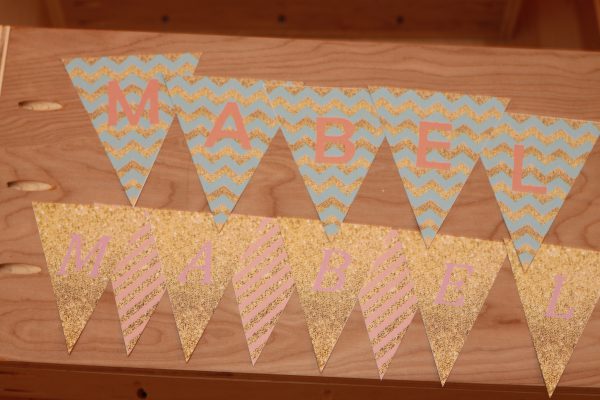
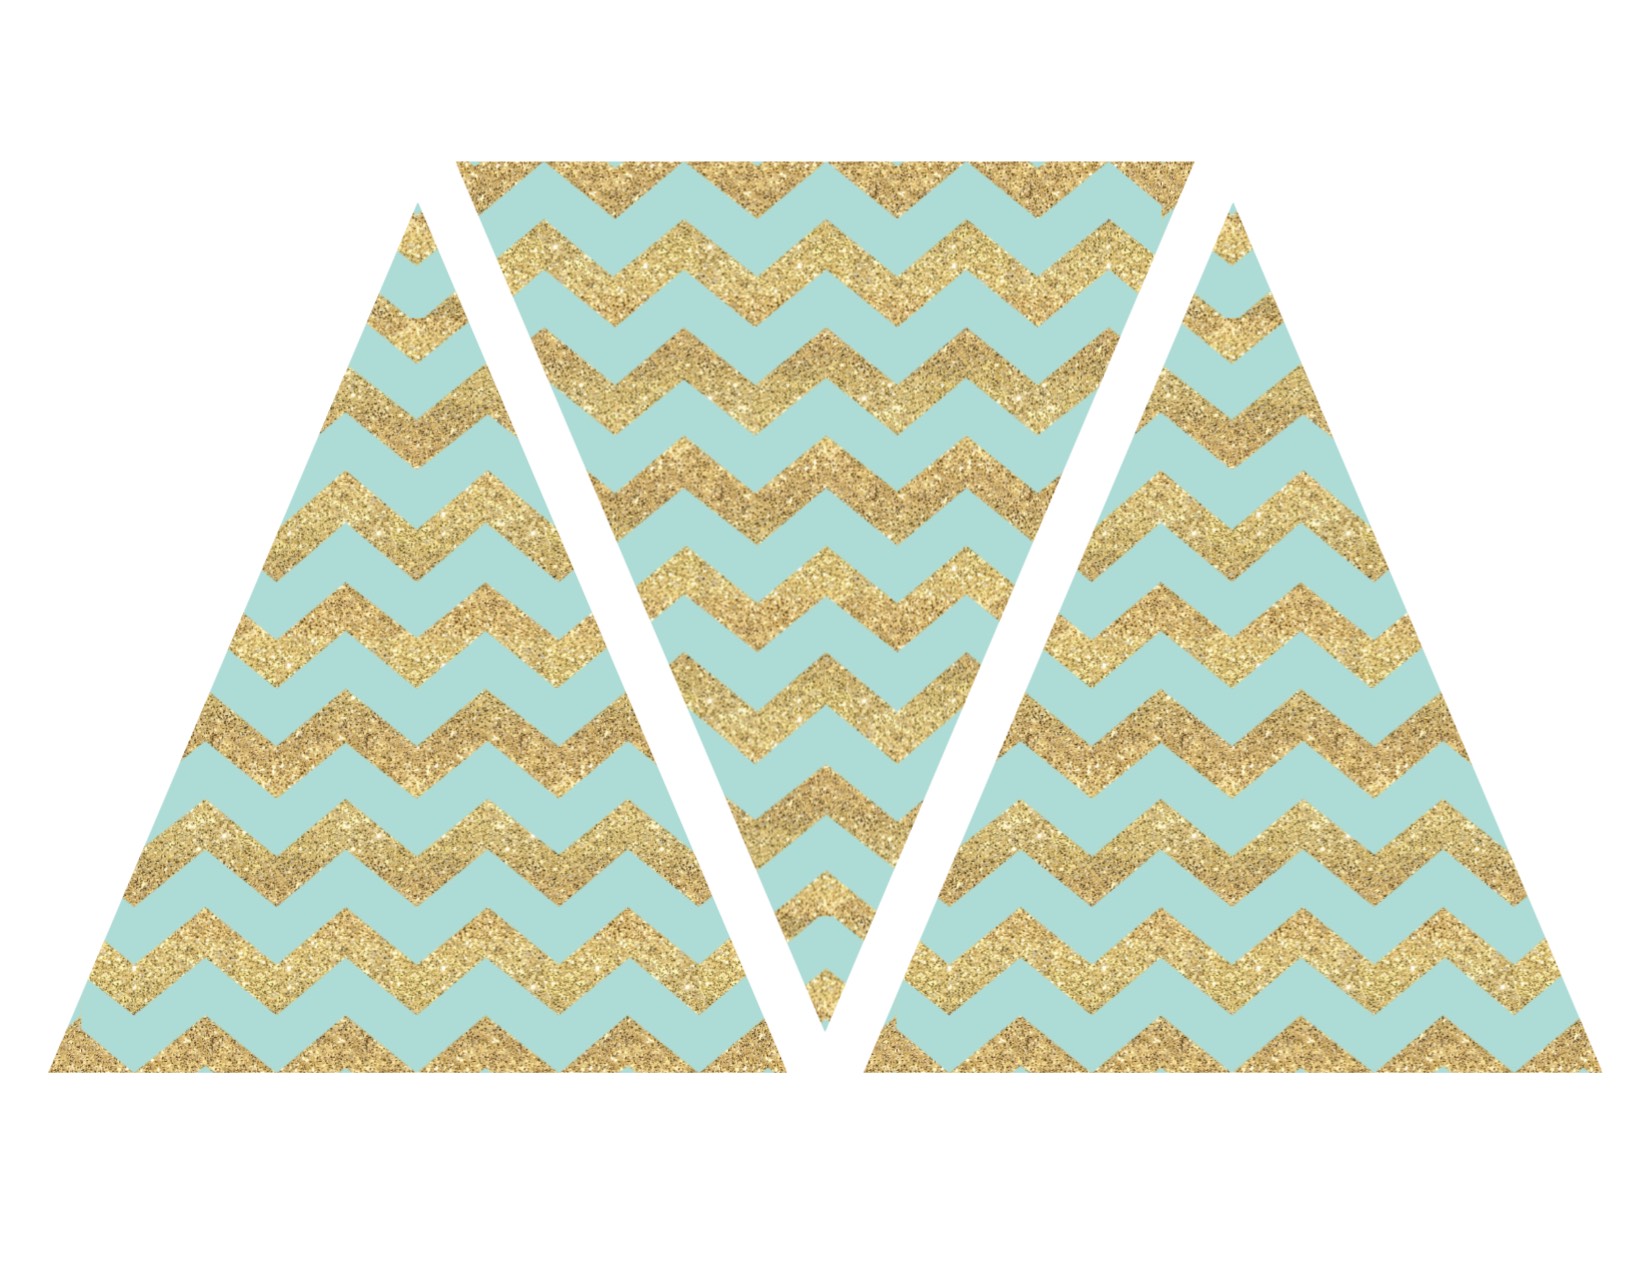
Free templates
I was able to find these free birthday templates online. I was lucky enough to find something that worked with my color scheme. I added my own personalization to the banner through a design program on my computer.
Spreadsheets:
I am the spreadsheet queen! I LOVE making them, I love designing them, I love the challenging issues that I am faced with when it comes to making them. I get excited when someone asks me they are going to need me to create a spreadsheet for "x" data. Spreadsheets make me happy, what can I say. Being organized is very important to me as well. I do not know how I could ever plan anything with out my spreadsheets. It keeps me on task and keeps my planning nice and smooth. So I created some "Little pumpkin" themed spreadsheets for the big day. Check them out, I have blank versions available for free downloads.
- Little Pumpkin Planner (includes everything I need for the party, decorations, food, party favors, etc.)
- Little Pumpkin Guest List
Cupcake Toppers
I decided to take the cupcake route. I figured it would be the easiest thing and plus who doesn't like cupcakes? I created these cupcake toppers for my hubby's surprise party a few years ago and everyone loved them. Super easy to create, all you need is the following:
Supplies:
- one or more pictures of your birthday kid/adult/dog/cat- you will need to cut them down to just their face and hair.
- card stock type paper (it holds up better than say computer paper) You could even check out the scrapbook section in the stores for a perfect match to your party.
- Glue
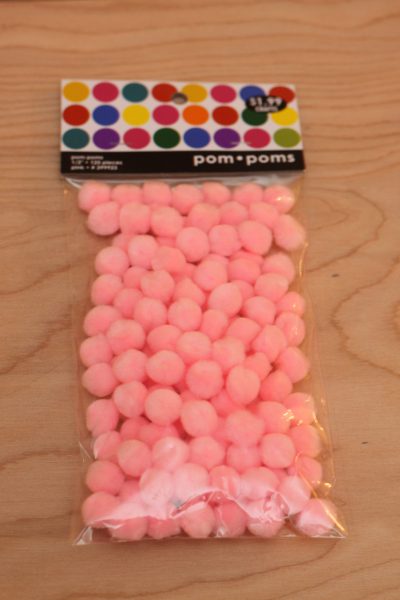
- Pompom balls (mine are a 1/4 in diameter) I was having a hard time choosing between pink and white, so I put them out in front my daughter and she choose pink. So pink it is!
- Sticks- I went with the Popsicle sticks.
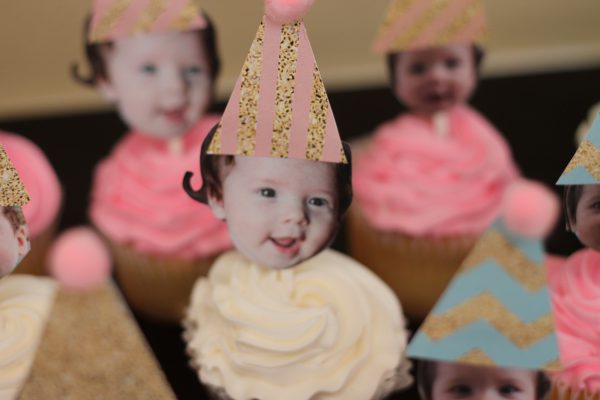
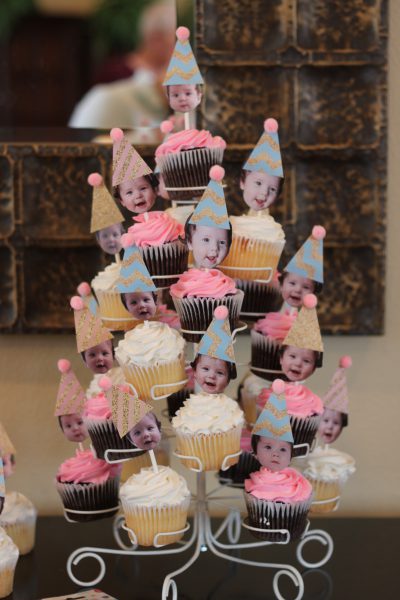
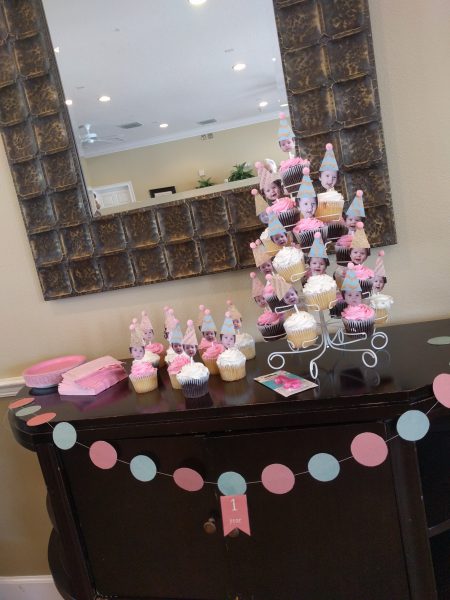
Here is the finished product at the party:
 Cupcake Topper Directions:
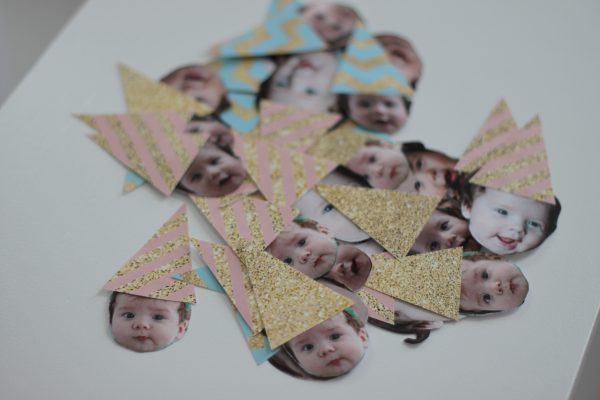
- Start off with cutting your scrapbook paper into equal sized birthday cones. I would cut them all out at once, its just easier then making one topper at a time.
- Cut your birthday person's face out. Just outlining their face and leaving some of their hair.
- Glue your hats to the top of your person's head
- Glue the pom poms to the top of the birthday hat
- Tape the stick or decorate straw to the back of the person's face. Make sure you leave enough space (approx an inch or inch and a half) so the faces are sinking right into the cupcakes.
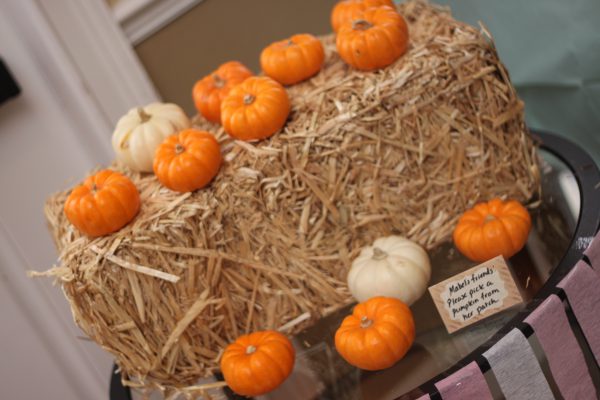
Mabel's Pumpkin Patch
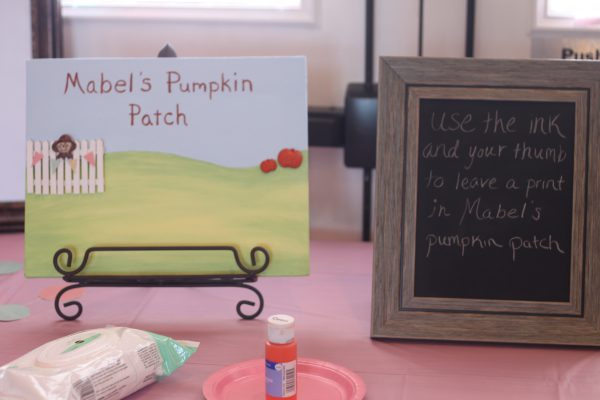 I found this adorable idea on Pintrest. When I saw this idea, I knew that I could easily personalize it to go with our specific colors. The idea is that I create a pumpkin patch background on a small canvas and then everyone who attends my daughters party would be able to put their pumpkin (finger or thumbprint) in the patch!
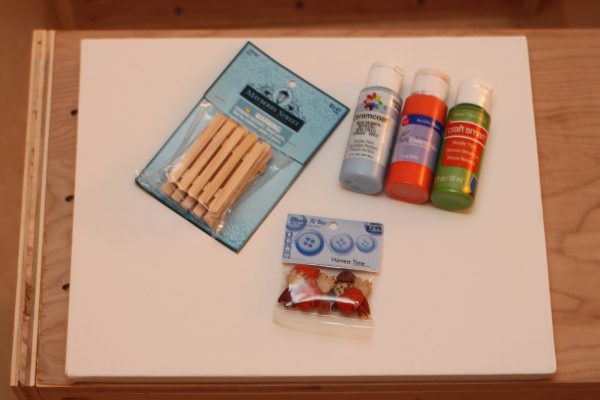
Supplies
- 11 x 14 canvas
- Blue, White, Green, Yellow, Orange paints- I used acrylic.
- Fence (I purchased a Mayberry Street (brand) fence from Hobby Lobby, it was $2.37, it was the perfect size for this canvas.
- Decorative stickers or buttons
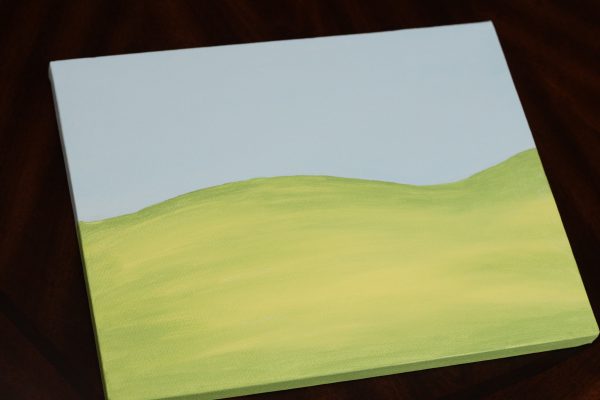
Directions:
- First you paint the landscape backdrop on your canvas. I painted a blue sky with green (fall type) grass
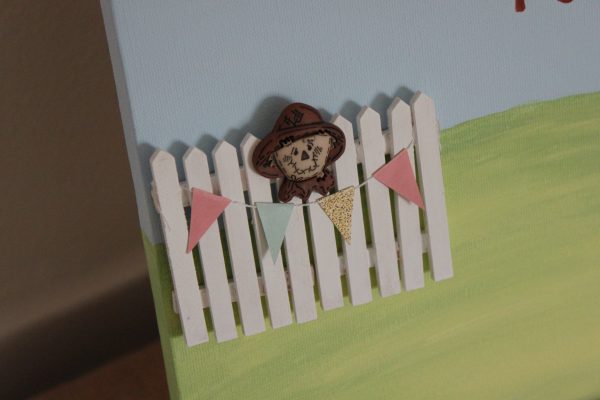
Then you add the fence to the mix, I decided to paint the fence white prior to gluing on the canvas. Then I glued my harvest buttons on the canvas. Note: I took the back of the buttons off of the two pumpkins so that they would easily sit on the canvas.Then I made a VERY tiny banner to hang on the fence. I matched the banner on the fence to the pink, mint and gold theme. I painted "Mabel's Pumpkin Patch" in an burnt umber orange color in the sky. Then glued the scarecrow button to the fence. I also added a few pumpkins on the canvas to give it the "pumpkin patch" feel.
After everyone's thumb prints, there is still so much room on the canvas, I thought about years to come and how I would try to get Mabel's thumbprint every year on her birthday. I think it would be a nice little tradition to add in, and make the piece a little more memorable.
Handmade Polka Dot Garland
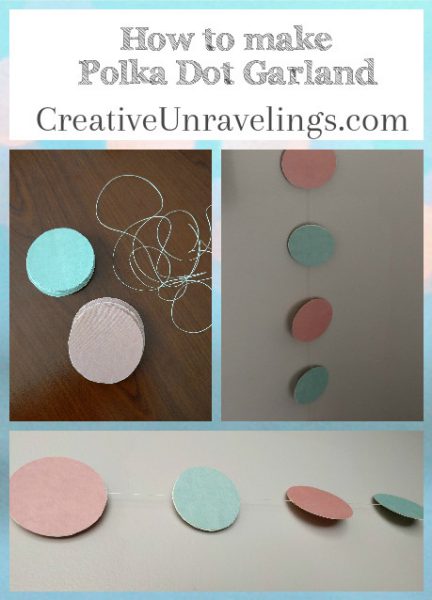
For the polka dot garland I googled mint circle and pink circle and I made my own. They might not be perfect cut, but hey, they will do for my kids party.
Polka Dot Garland Supplies:
- Circles (I googled mint and pink circles) or you could go to the local craft store and purchase your choice of scrapbook paper.
- Scissors
- Thick thread (you can probably use regular thread, but I had thicker thread on hand and thought it might be more durable.)
- Glue stick
- Tape
Directions:
First you start out by printing or cutting your circles out. Its important to make sure that they are all the same size. If you want to do them back to back (which is what I did.) If you are just doing them one side then you do not have worry about them being the same size. I choose to keep all of my circles the same size on the strand. Then, I taped the thread to the circle. This is to ensure that the string stays in place. Then I used the glue stick to glue a circle to the circle that had the tape and thread. Continue this step until your strand is the length that you want it.
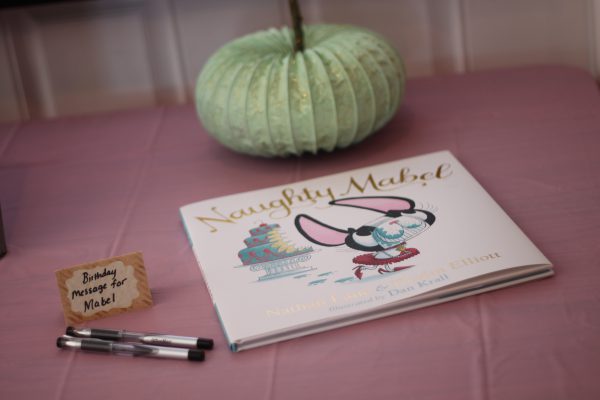
A Book for Mabel:
Another thing trending at birthday parties are books for everyone to write messages in. Earlier this year a lady approached me in a local bookstore and couldn't get over how adorable she is. She asked what her name was, and she said "Mabel, I have to show you a book that you will just love!" The lady introduced us to "Naughty Mabel." Its a book about a spoiled french bulldog, here is the link if you are interested. So we purchased it and that became "our party book."
Baby Pictures from the year:
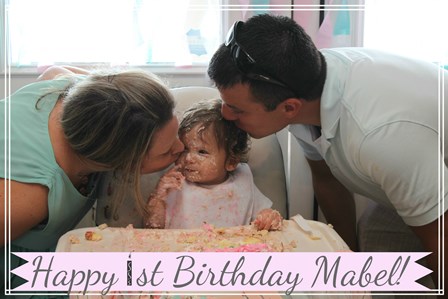
Another added touch of detail at our pumpkin's party was some pictures from her first year. Thank you Pampers/Shutterfly for all the freebies this year, this was one of them. I just had to pay the shipping cost.
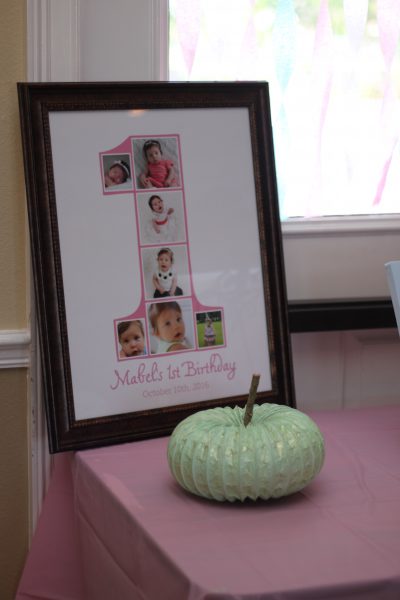 After the party we decided to leave this picture in the frame and hang it in the hallway, now every time our little one passes by it she says "dee." Meaning baby, and we say yup, that is "Baby Mabel."
Goody Bags:
Its really hard to figure out what to buy kids of all different ages for goody bags. We had 9 children from ages 1-10. I decided to bring "Mabel's Pumpkin Patch" to life for all the kiddos. Each child could pick a pumpkin from Mabel's pumpkin patch. Kids love different things like this, and the pumpkins were a real hit!
Kids also like food, so I purchased small packages of animal crackers and attached cute little thank you notes to them.
Highchair Tutu:
The high chair tutu is most definitely a must! I used the fabric that I mentioned earlier to incorporate all the colors from the party. There are many tutu tutorials that you can follow online. The basic idea is pretty simple. I made a high chair tutu/tutu. So that my daughter could also wear it for her photoshoot.
 Here is the same tutu, but used as a highchair tutu:
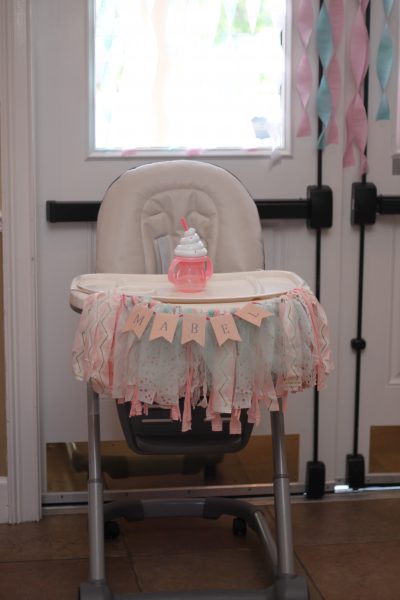
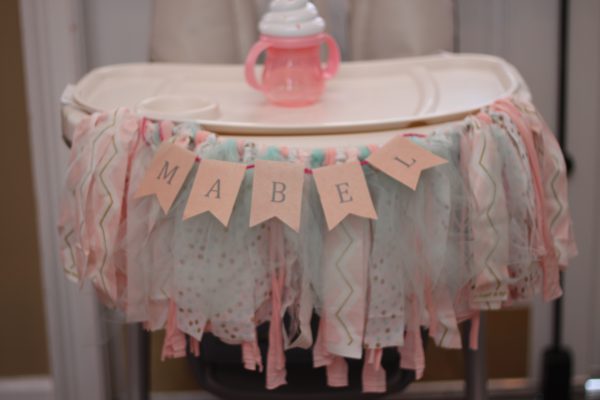
I reused the "Mabel" banner which was originally made for her hot air balloon pictures.
Mabel was dressed in a really cute pink dress (from her Aunt Kimmy) throughout her party, I call the dress her "Jackie O dress" because it reminds me of classic simplistic fashion from the 1960's. For my daughter's cake debut, I ended up purchasing a pumpkin glitter onesie from Etsy. MyOneOfEachBoutique did such an amazing job in getting it to me in a week, keep in mind, the hurricane hit and the post office was closed for 2 days. It was a mess, but I received the onesie in time and was really happy with it. Mabel ended up wearing it for her cake smash (which was an absolute hit.) One of my best friends cleaned up the onesie right away which I am very thankful for. Then we used it for her 1 year photoshoot and her first time visiting the "real pumpkin patch." Yes, it was a lot of first in that little onesie, once she outgrows it, it will retire to her "1 year time capsule" box.
Here is the link to the onesie that I ordered: Glitter Pumpkin Onesie
Handmade Pumpkins:
Yes, you heard it right handmade pumpkins! Here is what you need:
Handmade Pumpkin Supplies:
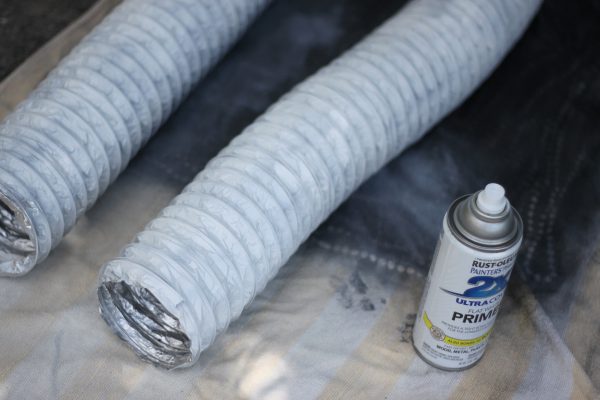
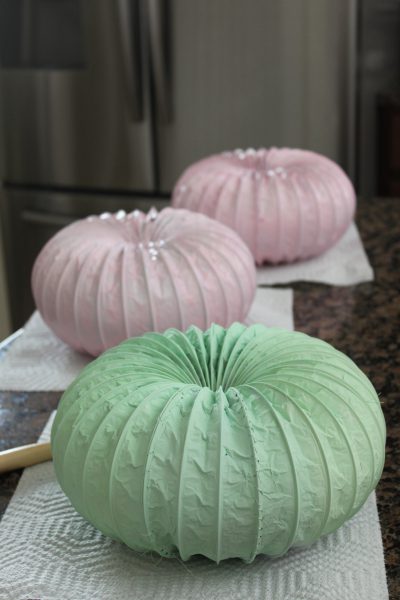
- Flexible metallic dryer duct, i purchased 8 ft and I was able to make 3 pumpkins, I could have made 4 but I cut one too short.
- Primer Spray paint
- Choice of Acrylic paint
- Needle and heavy duty thread
- Glitter (optional)
Directions:
Start out with taking the dryer duct and spray painting it with primer. I would recommend doing this outside in a well ventilated area.
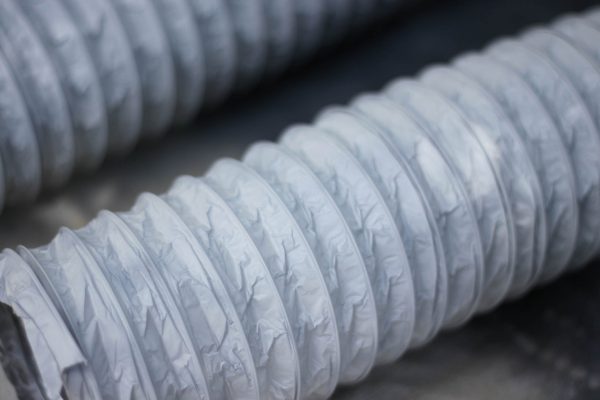 Then once its completely dry, measure it off into the shape of a pumpkin. You want to cut enough for a little bit of duct extra. Next, you are going to sew both sides of the pumpkin together. Make sure you use a heavy duty thread, and also watch out for your finger (I stabbed myself a few times.) Next you are going to paint your pumpkins your desired color.
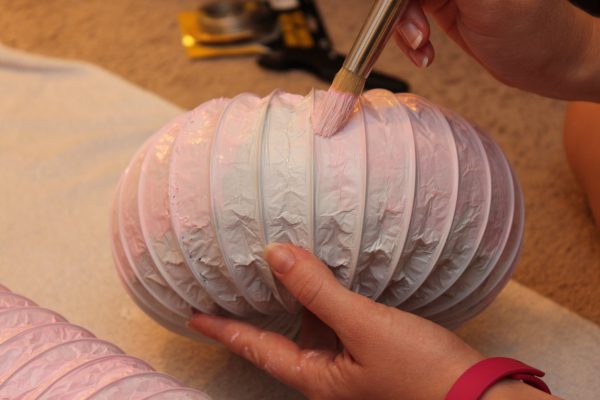 I chose pink and mint green to coordinate with the party colors. Once they were dry, I finished the pumpkins with a little gold glitter.
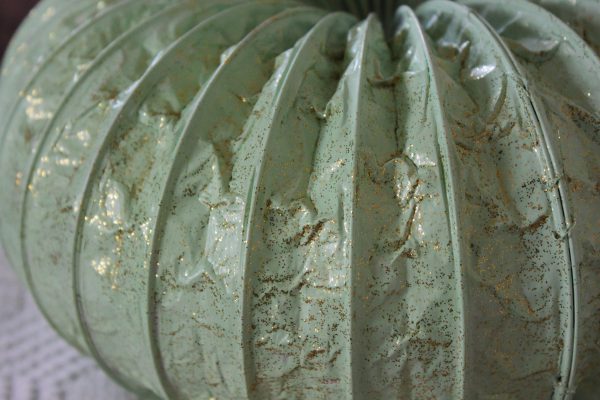 Here are the pumpkins all painted and just waiting on their stems!
 The best thing about these pumpkins is that they are girly themed and we can use them over and over every year to decorate my daughter's room for Halloween!
Hair Bow:
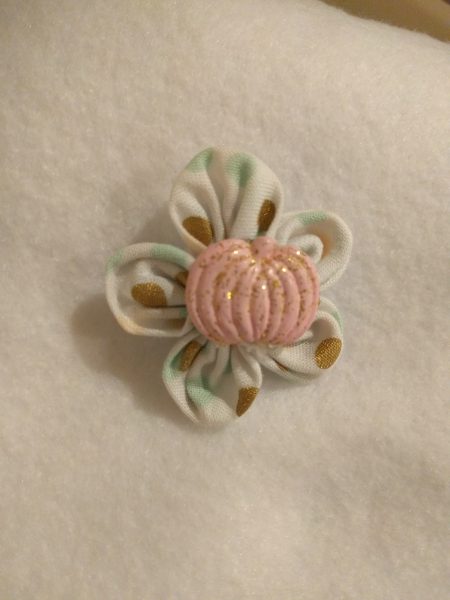
I am recently on a hair bow kick, I have made my little girl hair bows for every occasion. I have even made her friends and cousin hair bows too. Its something that I enjoy doing and really doesn't take me too long.
One day when I have a little more time, I will expand upon how I make them, but for now, here is my little pumpkin's hair bow for her party.
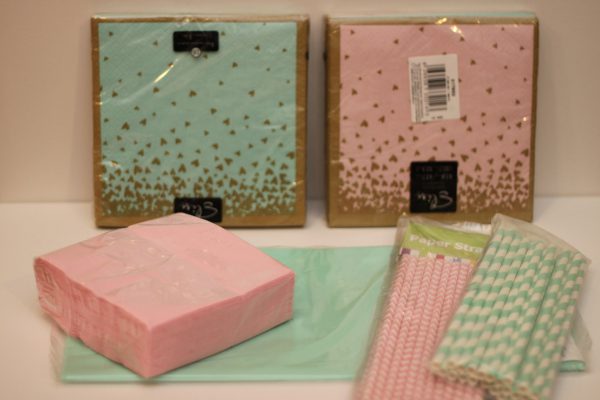
Coordinating Paper products:
Here are some of the paper products that I used for her party to coordinate with the theme, these were purchased from Oriental Trading.
Well, there it is, all my little pumpkins decorations for her first party. Her party was a success despite the Hurricane. We had about 34 that attended and 10 that could not due to the storm. It was a really fun day and Mabel was a hit when it came to her smash cake. Daddy likes to say she takes after Mommy when it comes to cake!
Now, it seems like a sin to create all of these decorations for birthday party and then throw them away, right? Well, we didn't, I planned a birthday photo shoot on my daughter's birthday. I dressed her up in her "pumpkin glitter" onesie, threw on her tutu and put her on the white sheet with all the handmade birthday decorations. These photo's are intended for our own memories. I was able to get a handful of decent pictures of her at her best (right before nap time.) I am probably going to blow up a few of them and frame them on the wall. The photo's from her photoshoot will be a memorable keepsake for Mabel as she looks back on her first birthday. I also created a box for my daughter and put in all keepsakes from her party. I like to call it her "1 year time capsule." Things like the "polka dot garland" and the "Happy Birthday" banner can be reused for future parties.
Here is what was incorporated into the 1 year photo session.
 Hope you enjoyed seeing how my little pumpkin's party all panned out! I hope to inspire you in how you can create so many little details when it comes to planning a party. Parties can be very overwhelming, but with some time and dedication you CAN do it and it will be so much more special because of your little finishing touches!
Comments