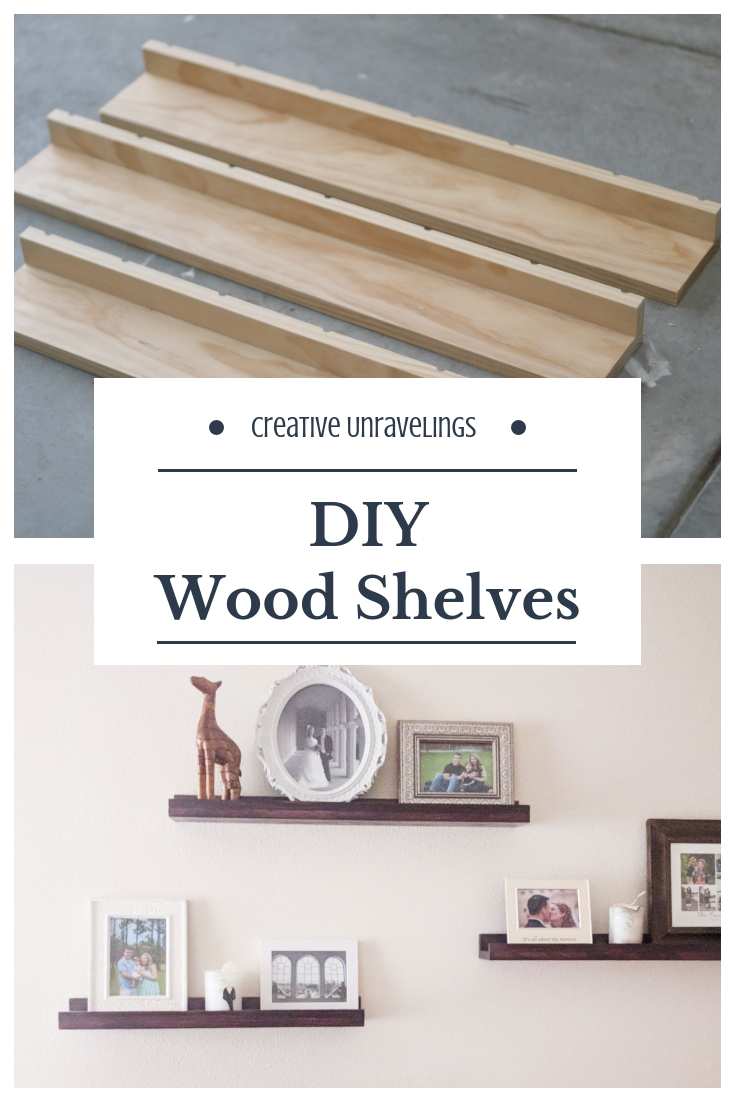
This is my first official DIY woodworking project! As in, I completed this project myself from start to finish. Usually my husband assists with the saw or using the jigs, but this project was ALL ME!
Originally, I had envisioned some type of shelves for our Master Bedroom wall. I knew that I wanted to place frames on these shelves, but at the same time I did not want them to be overpowering bulky shelves. I wanted something simple and chic. On a side note, I have actually had this project on our "Home project goals" list for two years now. So, I am proud to say I have completed another task!
I sketched out a basic drawing of how I wanted the shelves to look. From there, we went to the store to purchase the wood.
- 96 in. piece of Pine 1 x 6
- 96 in. piece of Pine 1 x 2
Other Materials Needed:
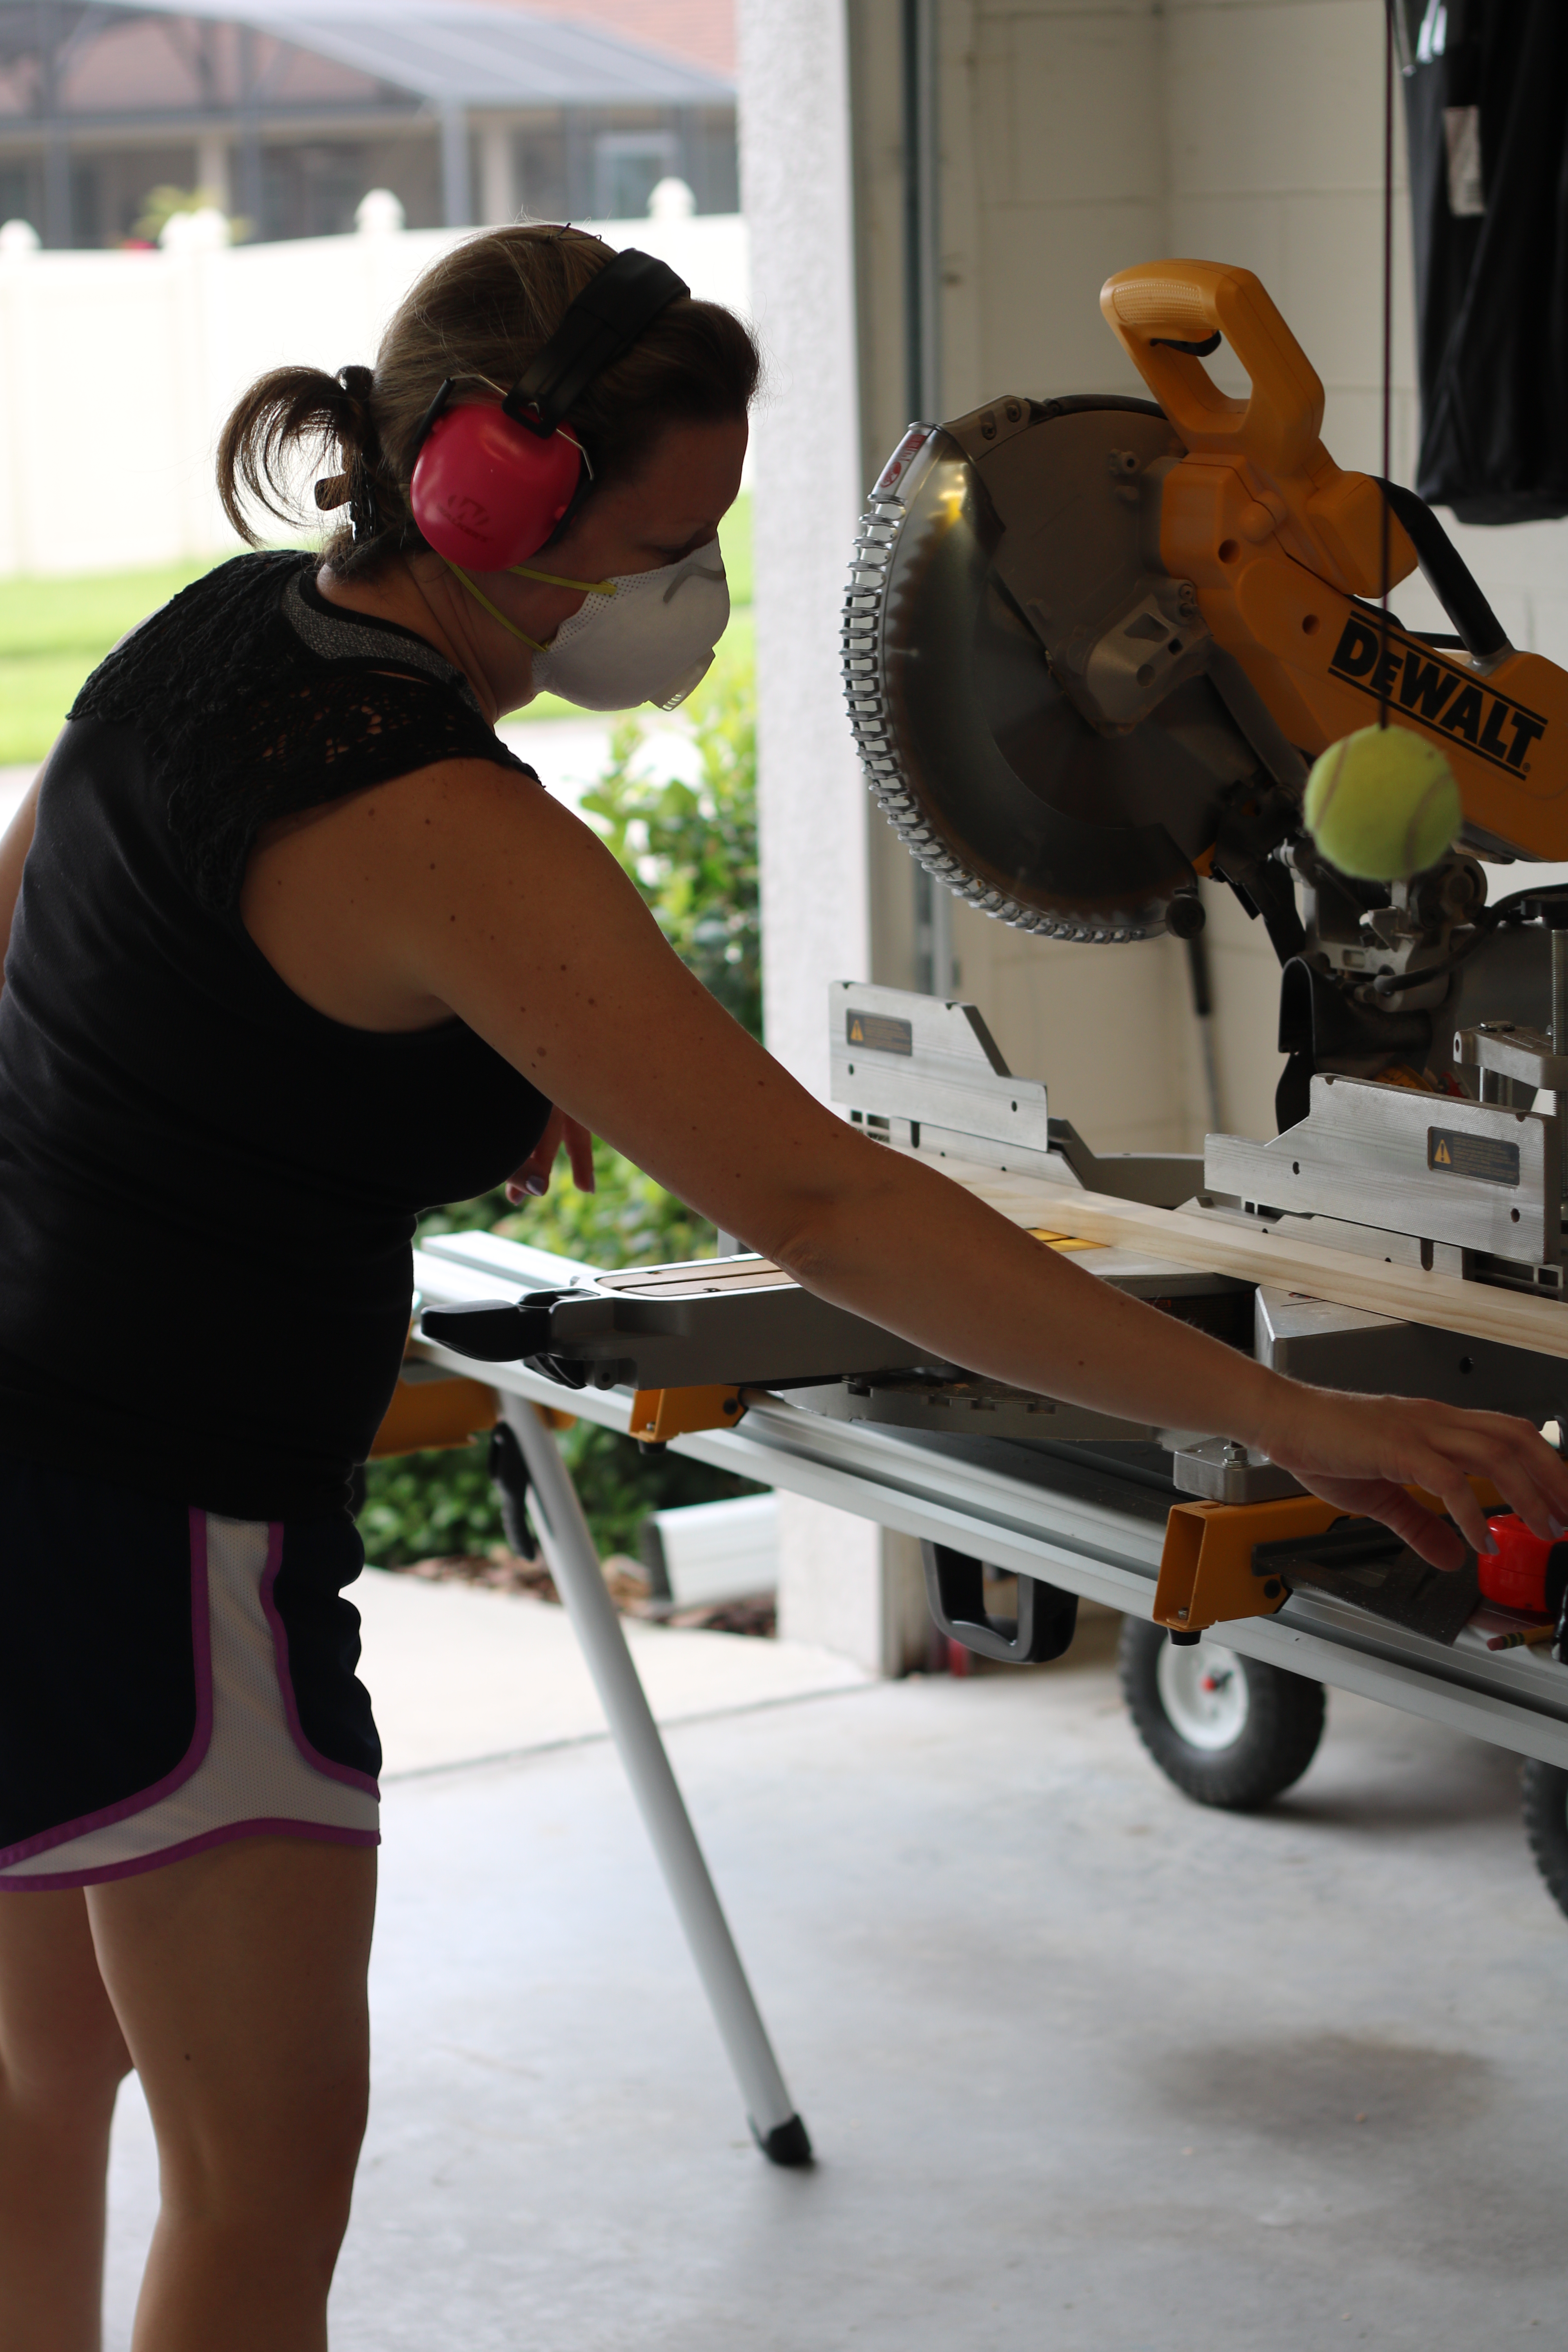
- Miter Saw
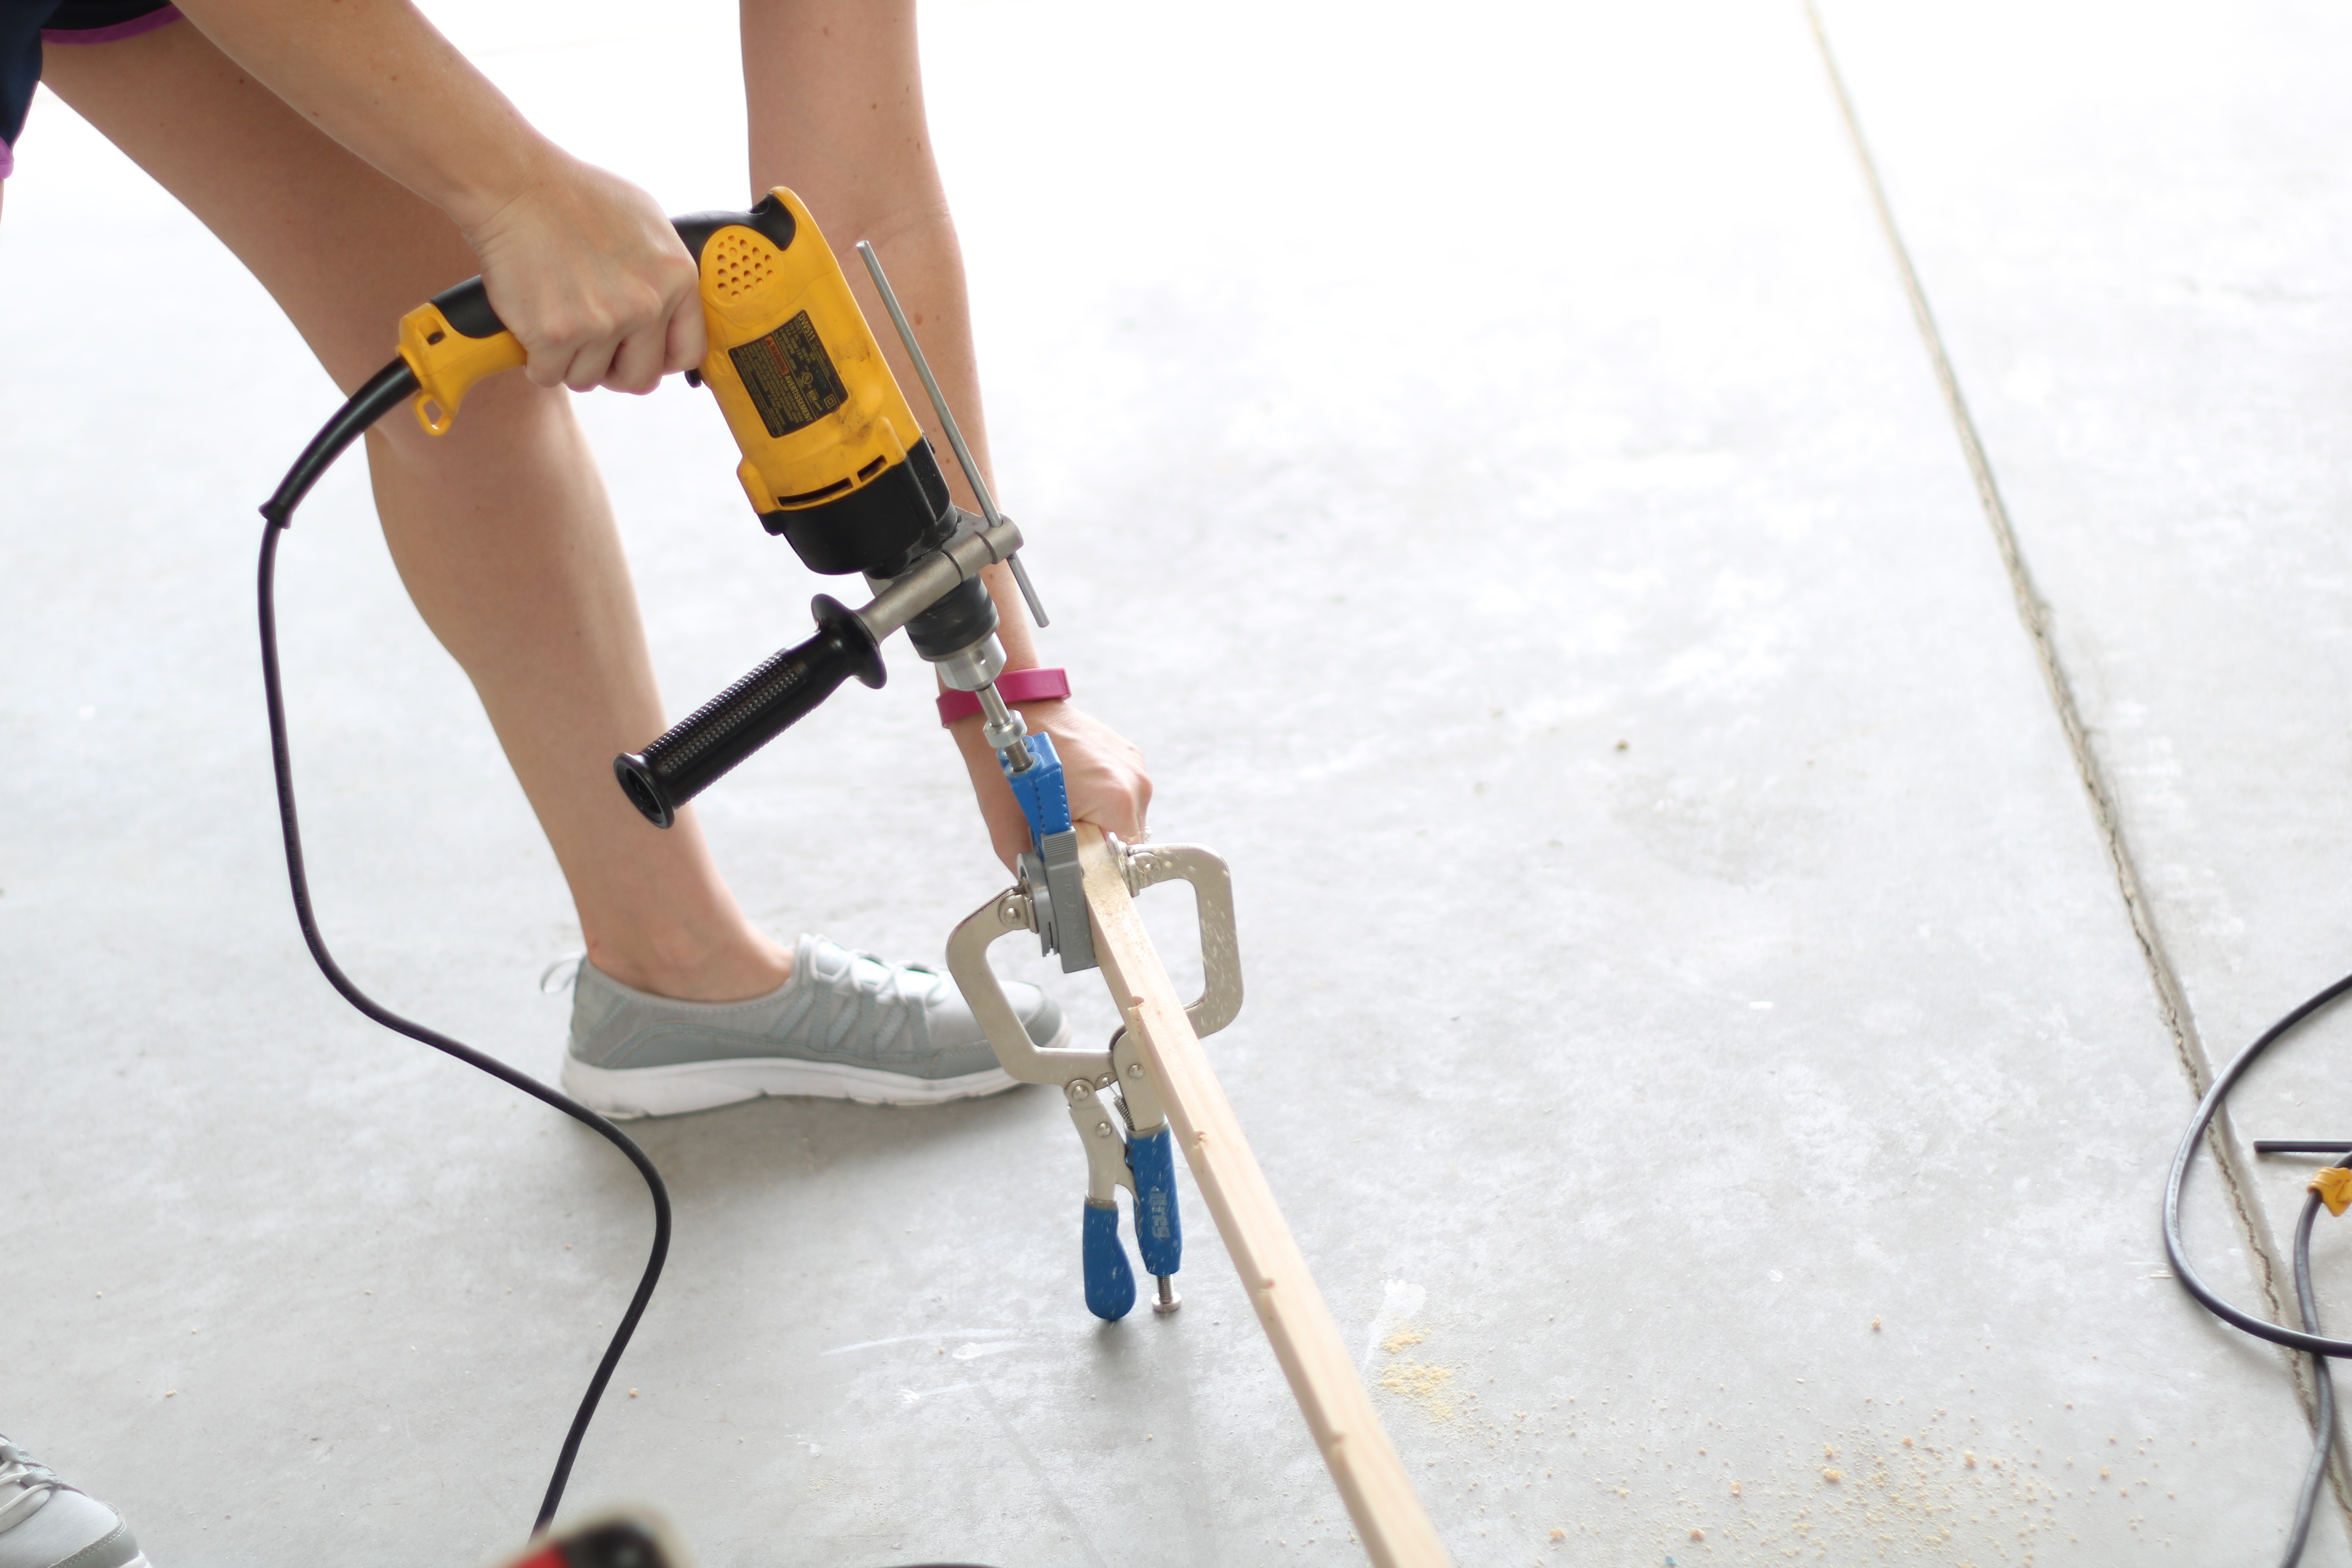
- Drill
- Clamps (standard)
- Kreg 90 degree Corner Clamp
- Sander
- Nail gun
- Nails for gun (size- 18 GA 1 in 25 mm)
- Speed Square
- Tape measure
- pencil
- Eye Protection
- Dust Mask
- Hearing Protection
- Kreg 1 1/4″ pocket hole screws
- Kreg pocket hole Jig
- Choice of stain
- White rag used for staining.
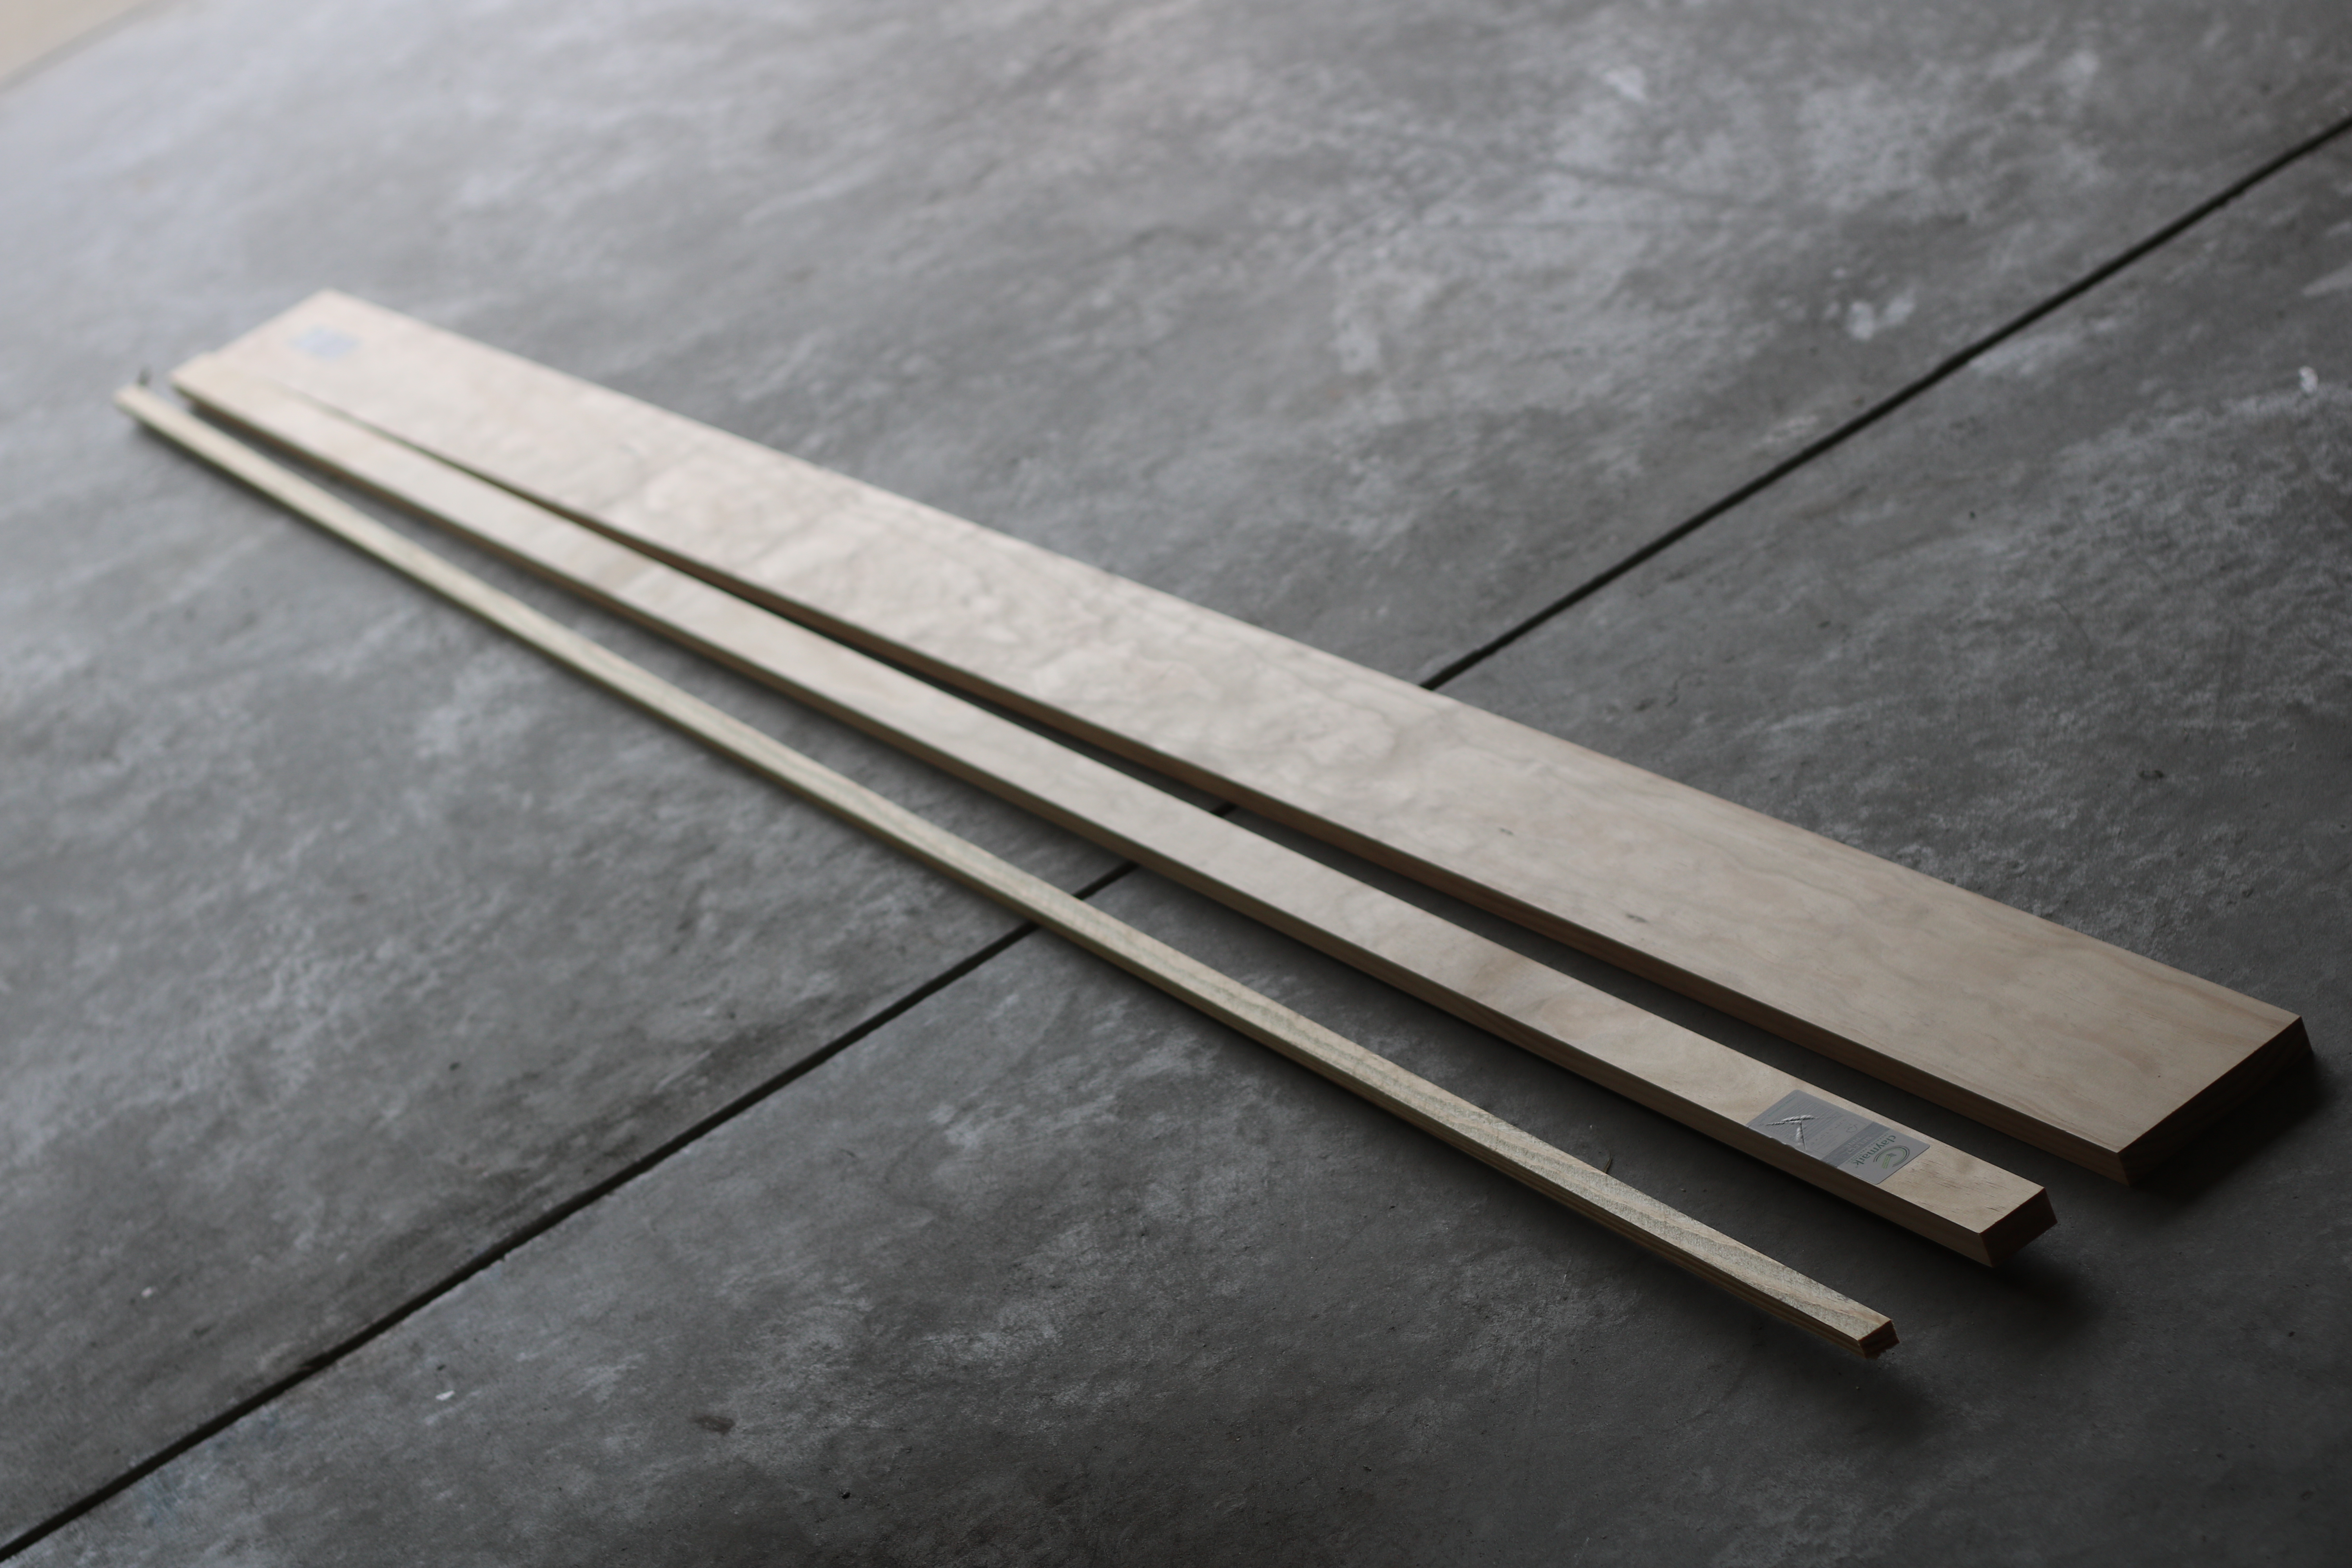
The first step was figuring out how long I wanted my shelves. The plan is to stagger them on the wall, so I chose to make 2 of the same size and 1 a little smaller.
The shelve measurements were as follows:
- (2) 30 inch shelves
- (1) 25 inch shelf
Once I had everything measured correctly, it was time to cut the wood.
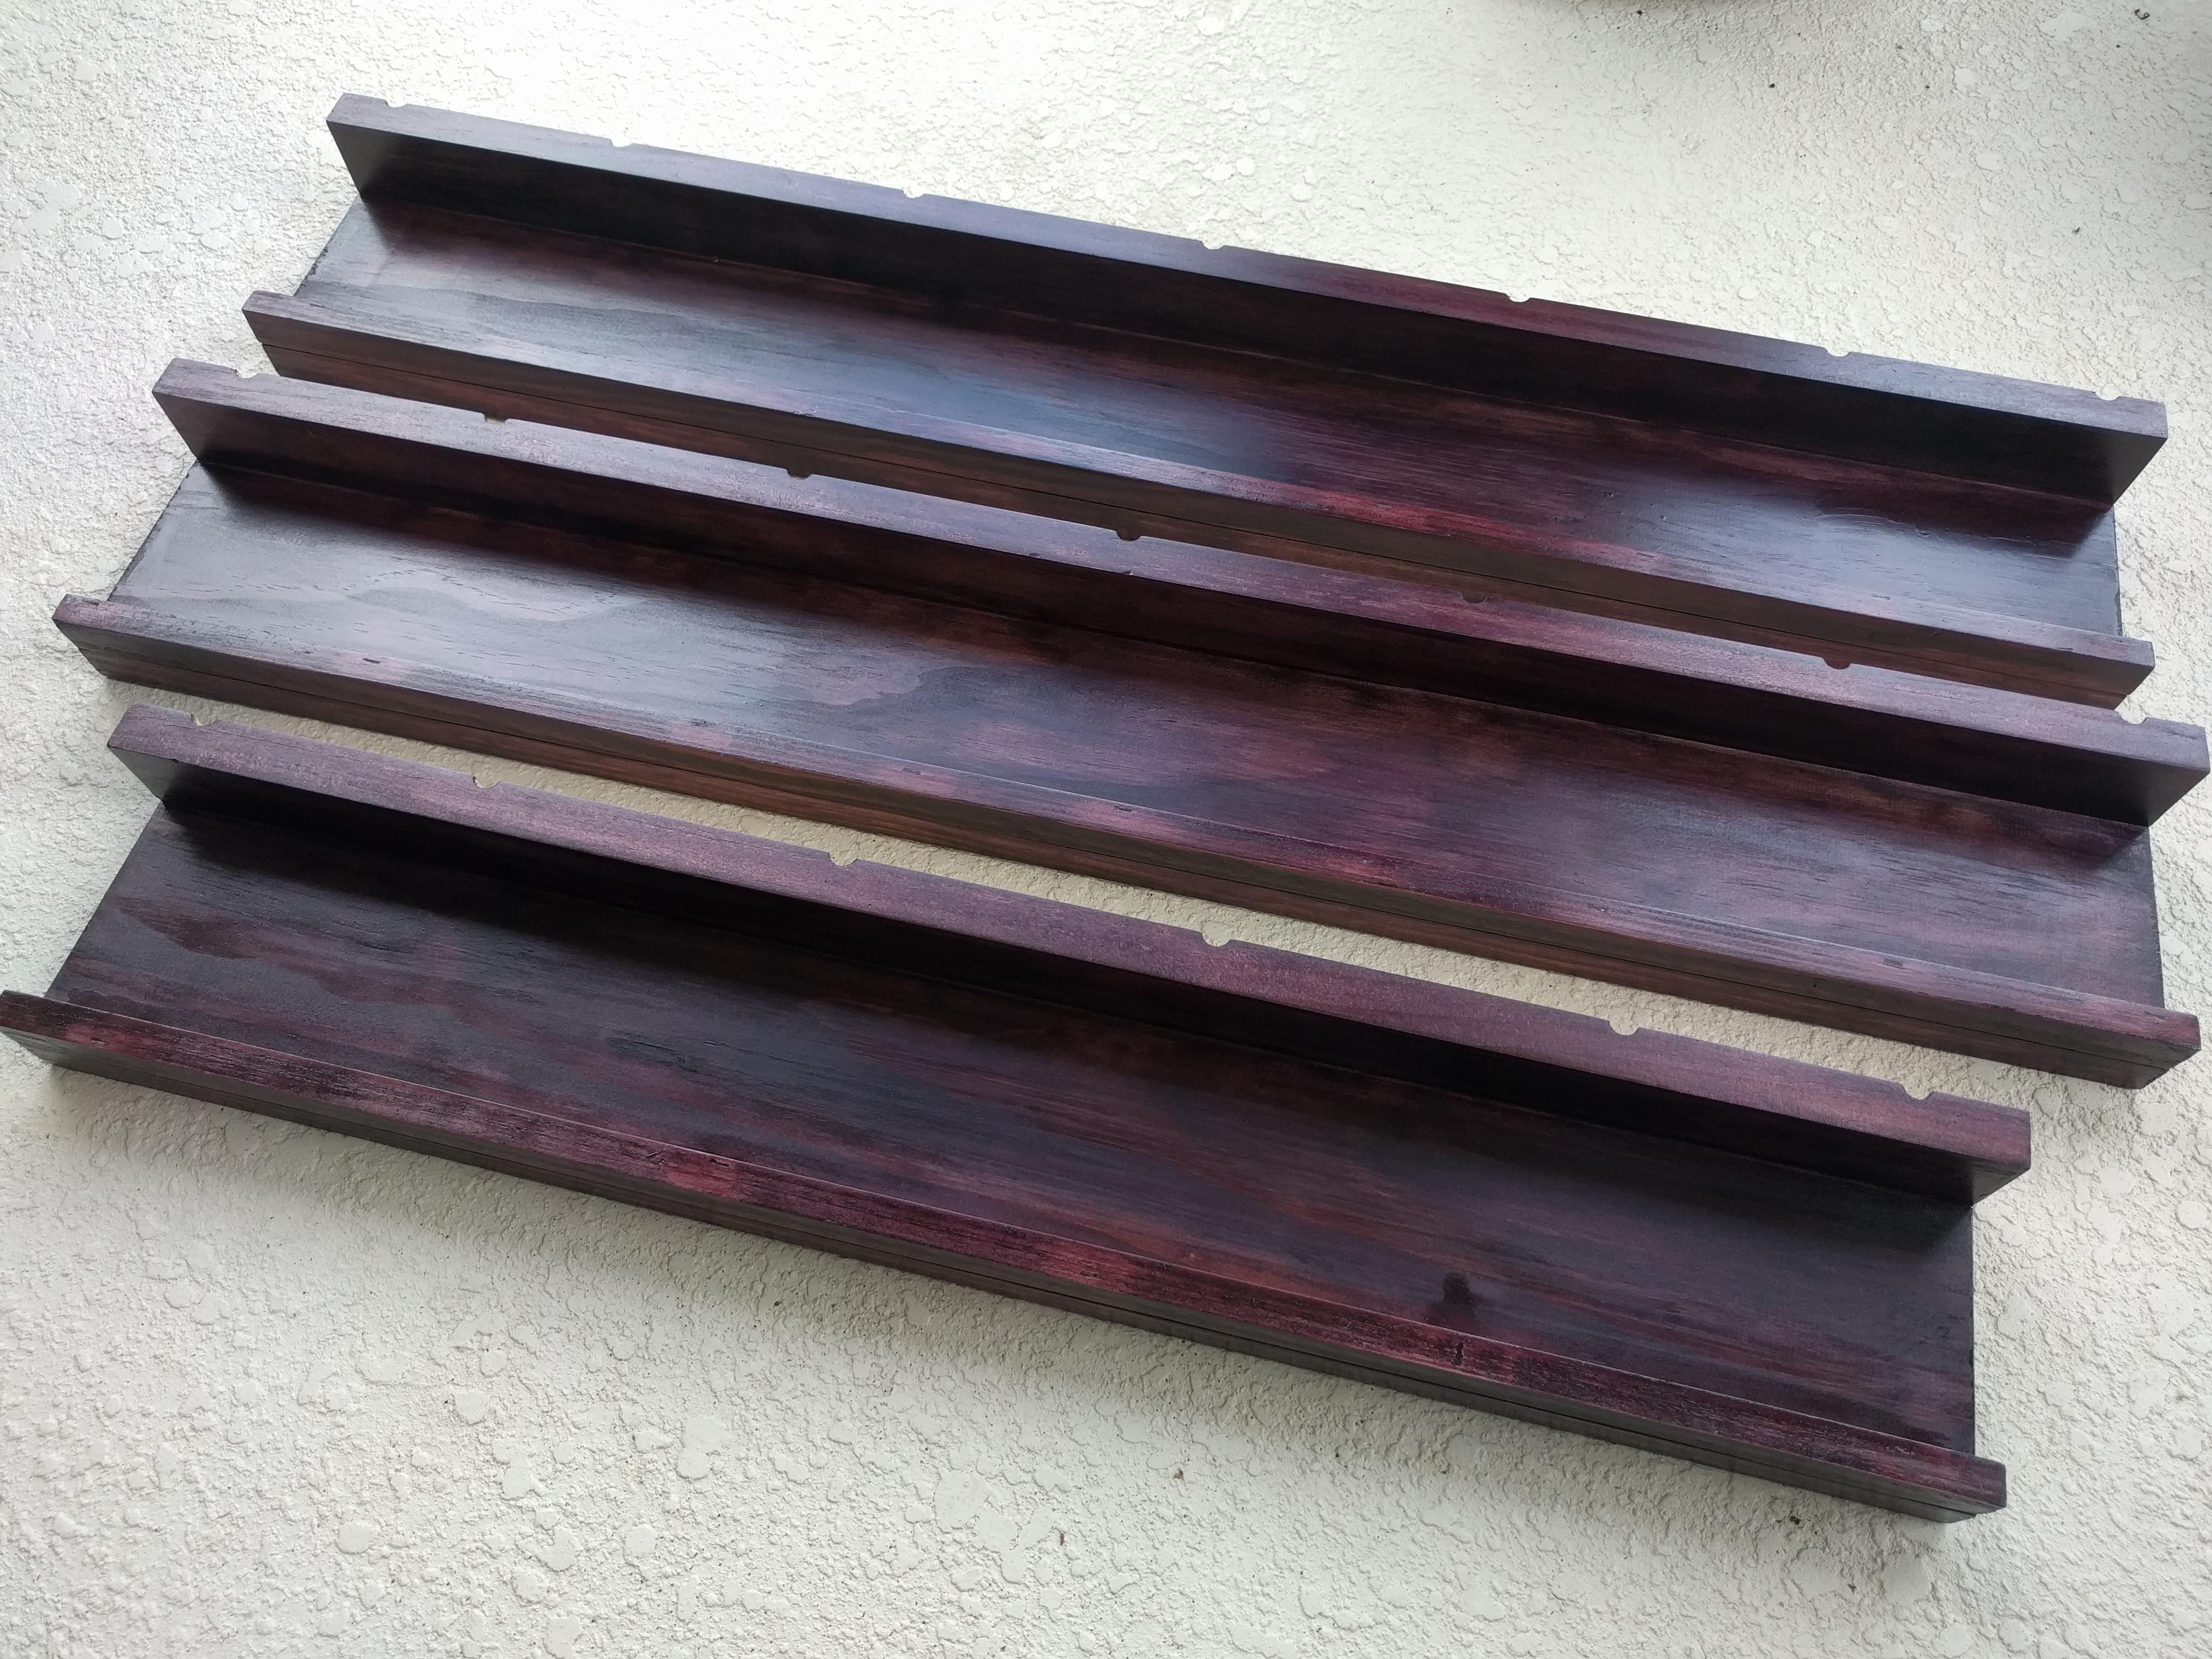
All the shelve pieces with their final cuts.

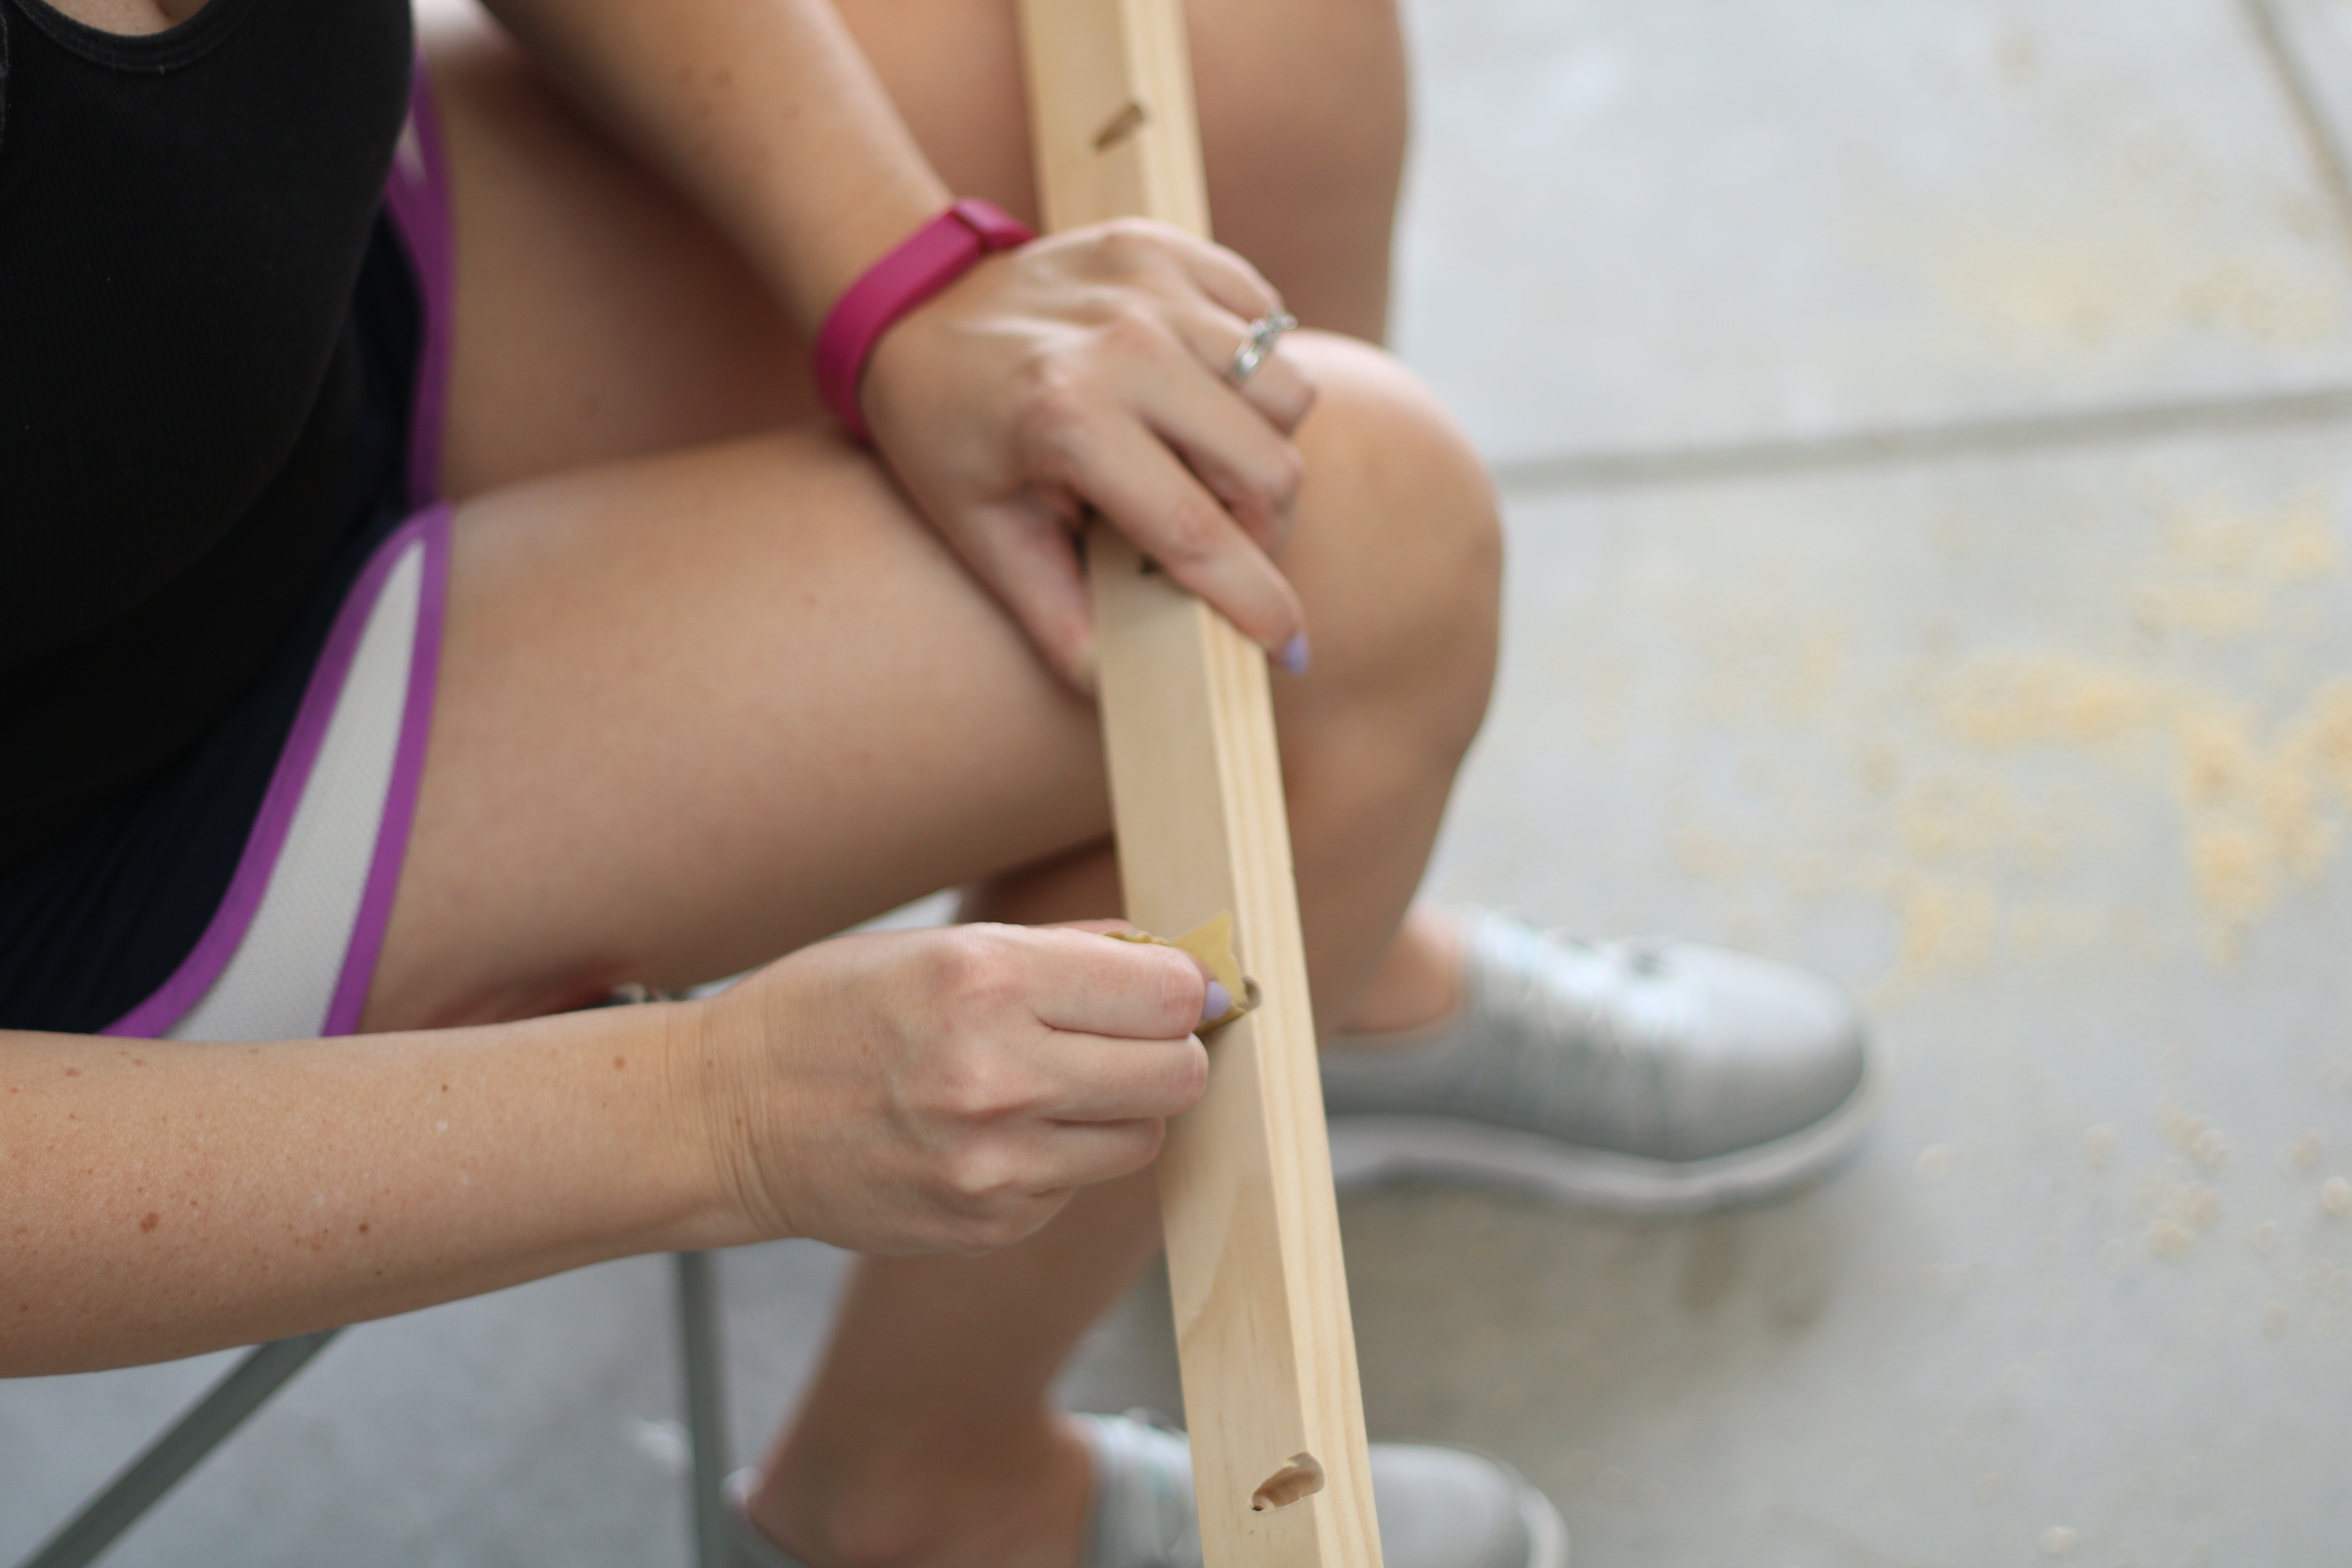
After all the pieces were cut, it is now time to use the Kreg pocket hole Jig so that we can start assembling the shelves. I made about 6-7 pocket holes per shelf.
Once all the pocket holes were completed, it was time to start sanding all the pieces. I used my electric sander for sanding the larger surface areas and then I used sand paper to get in some of the grooves that the sander could not get into.
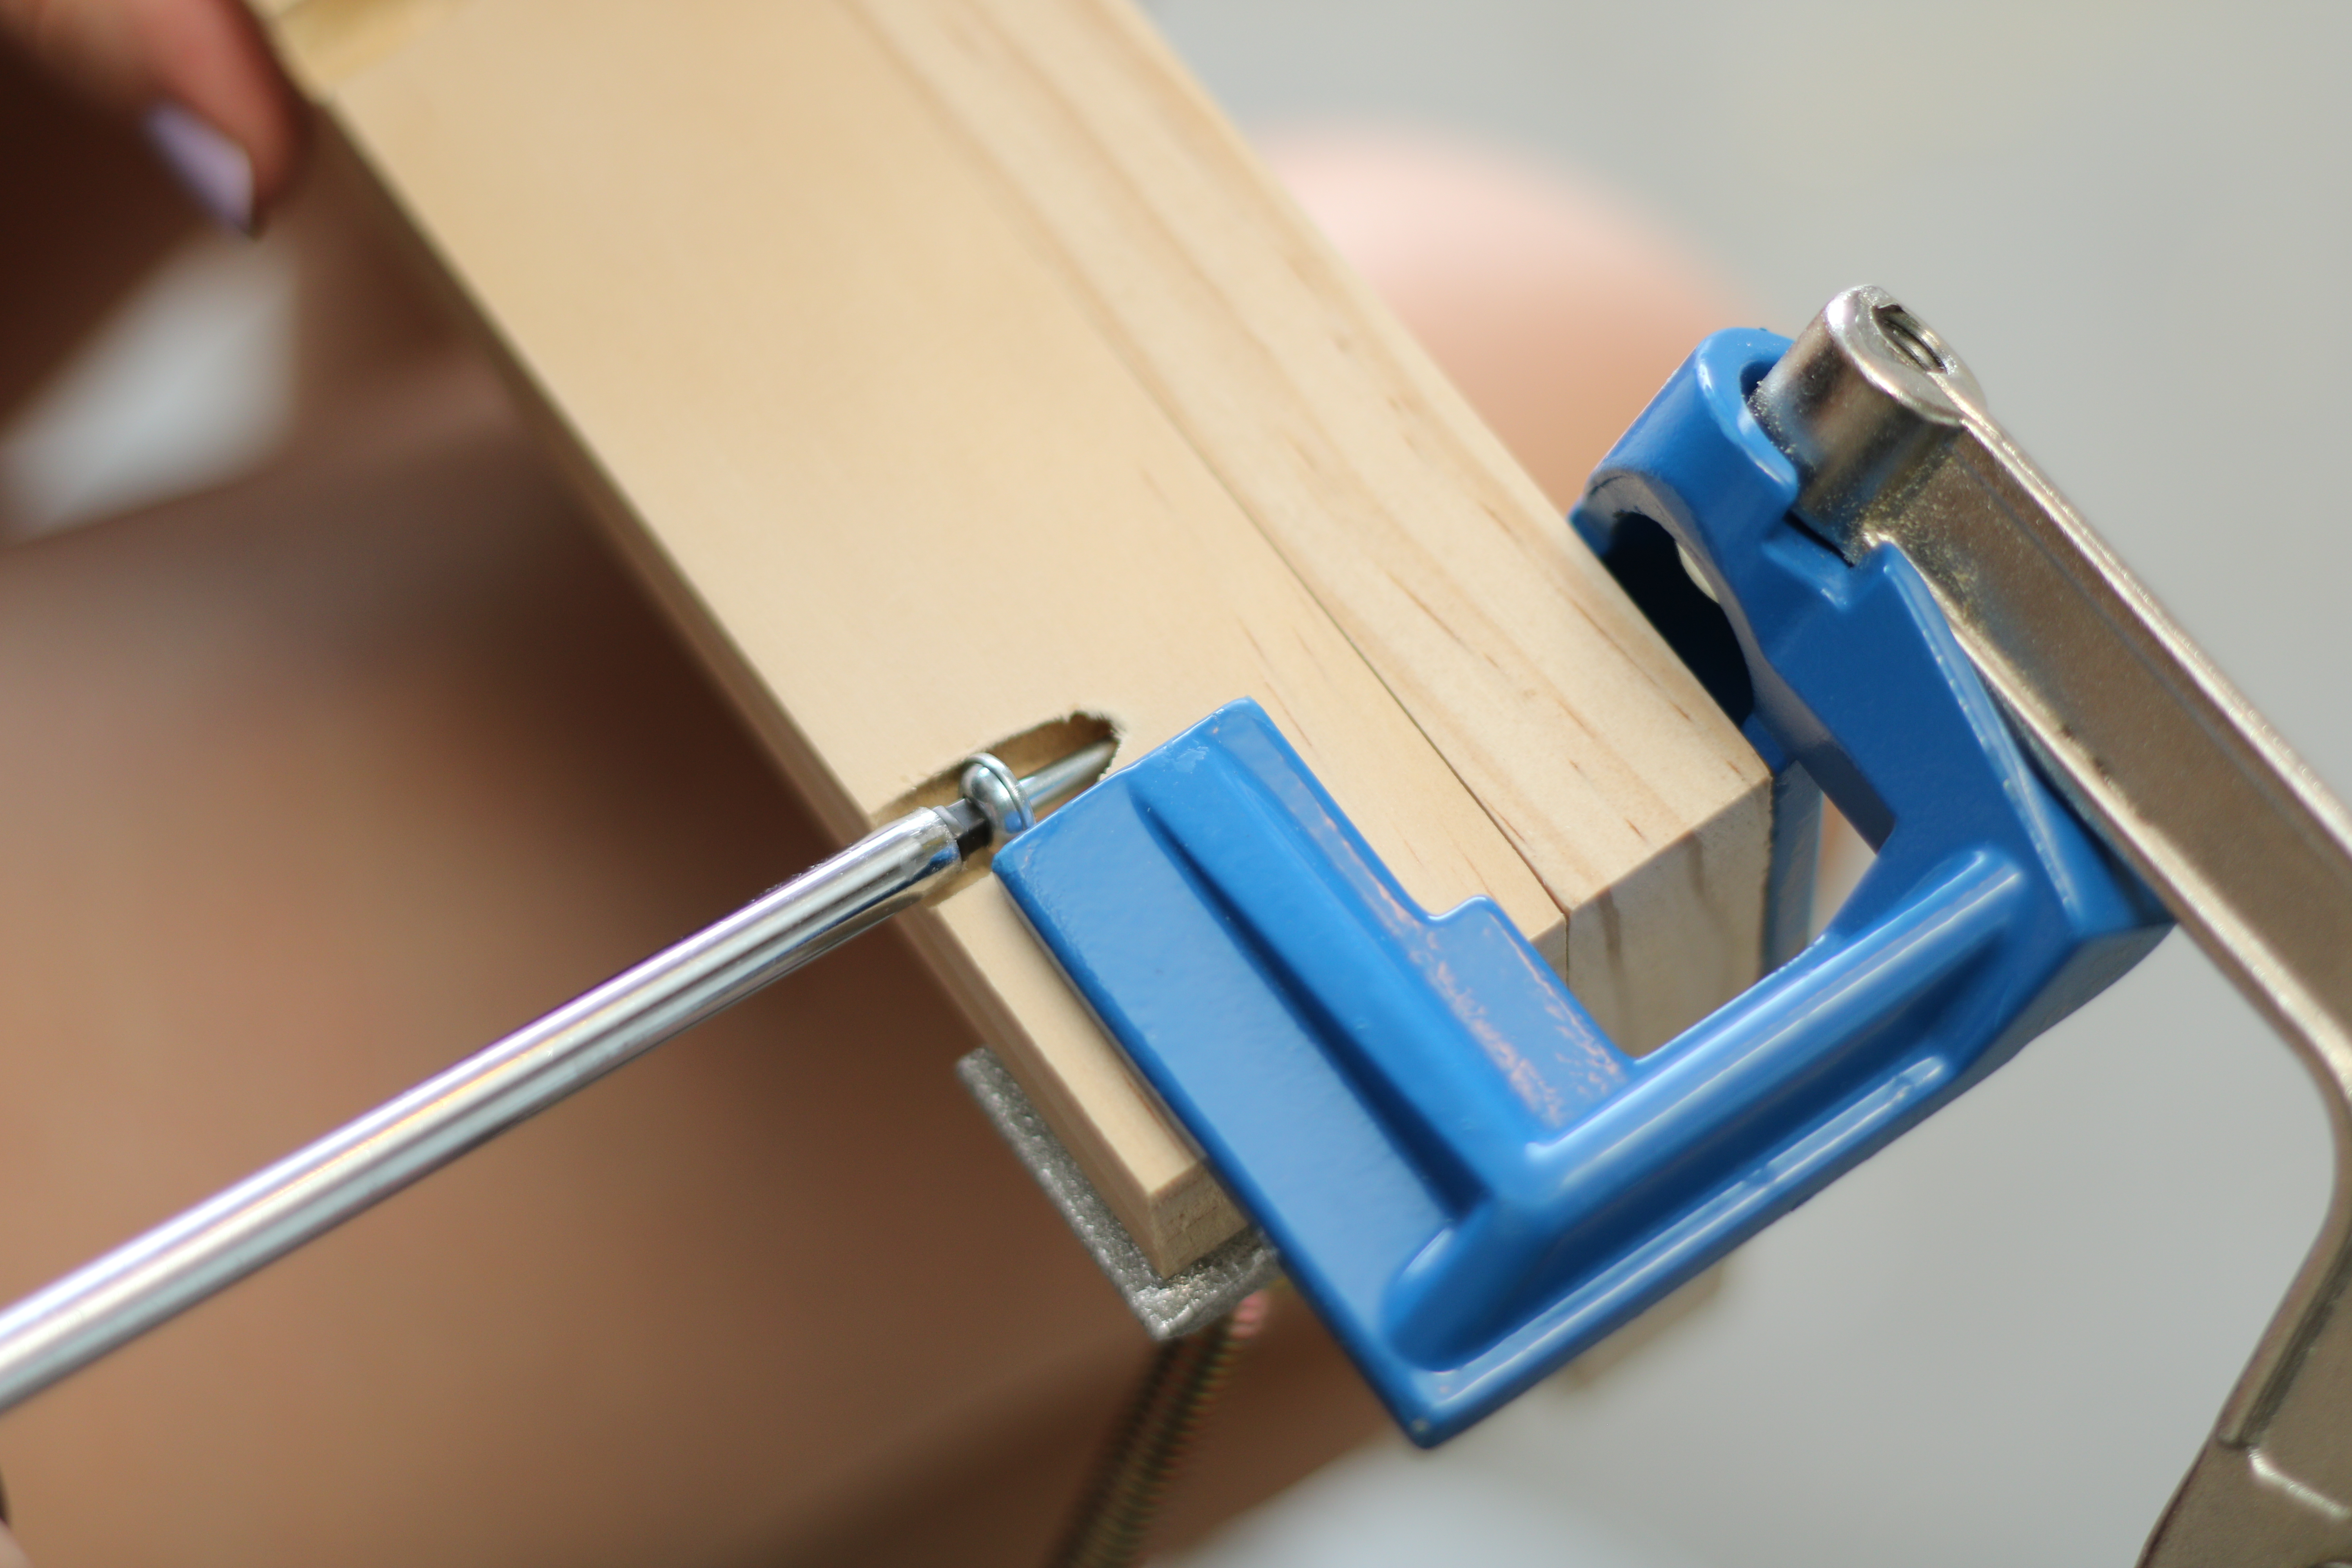
Once everything was all sanded it was time to start screwing the shelf pieces together. For this I used Kreg 90 degree Corner Clamp to help keep my shelves aligned.
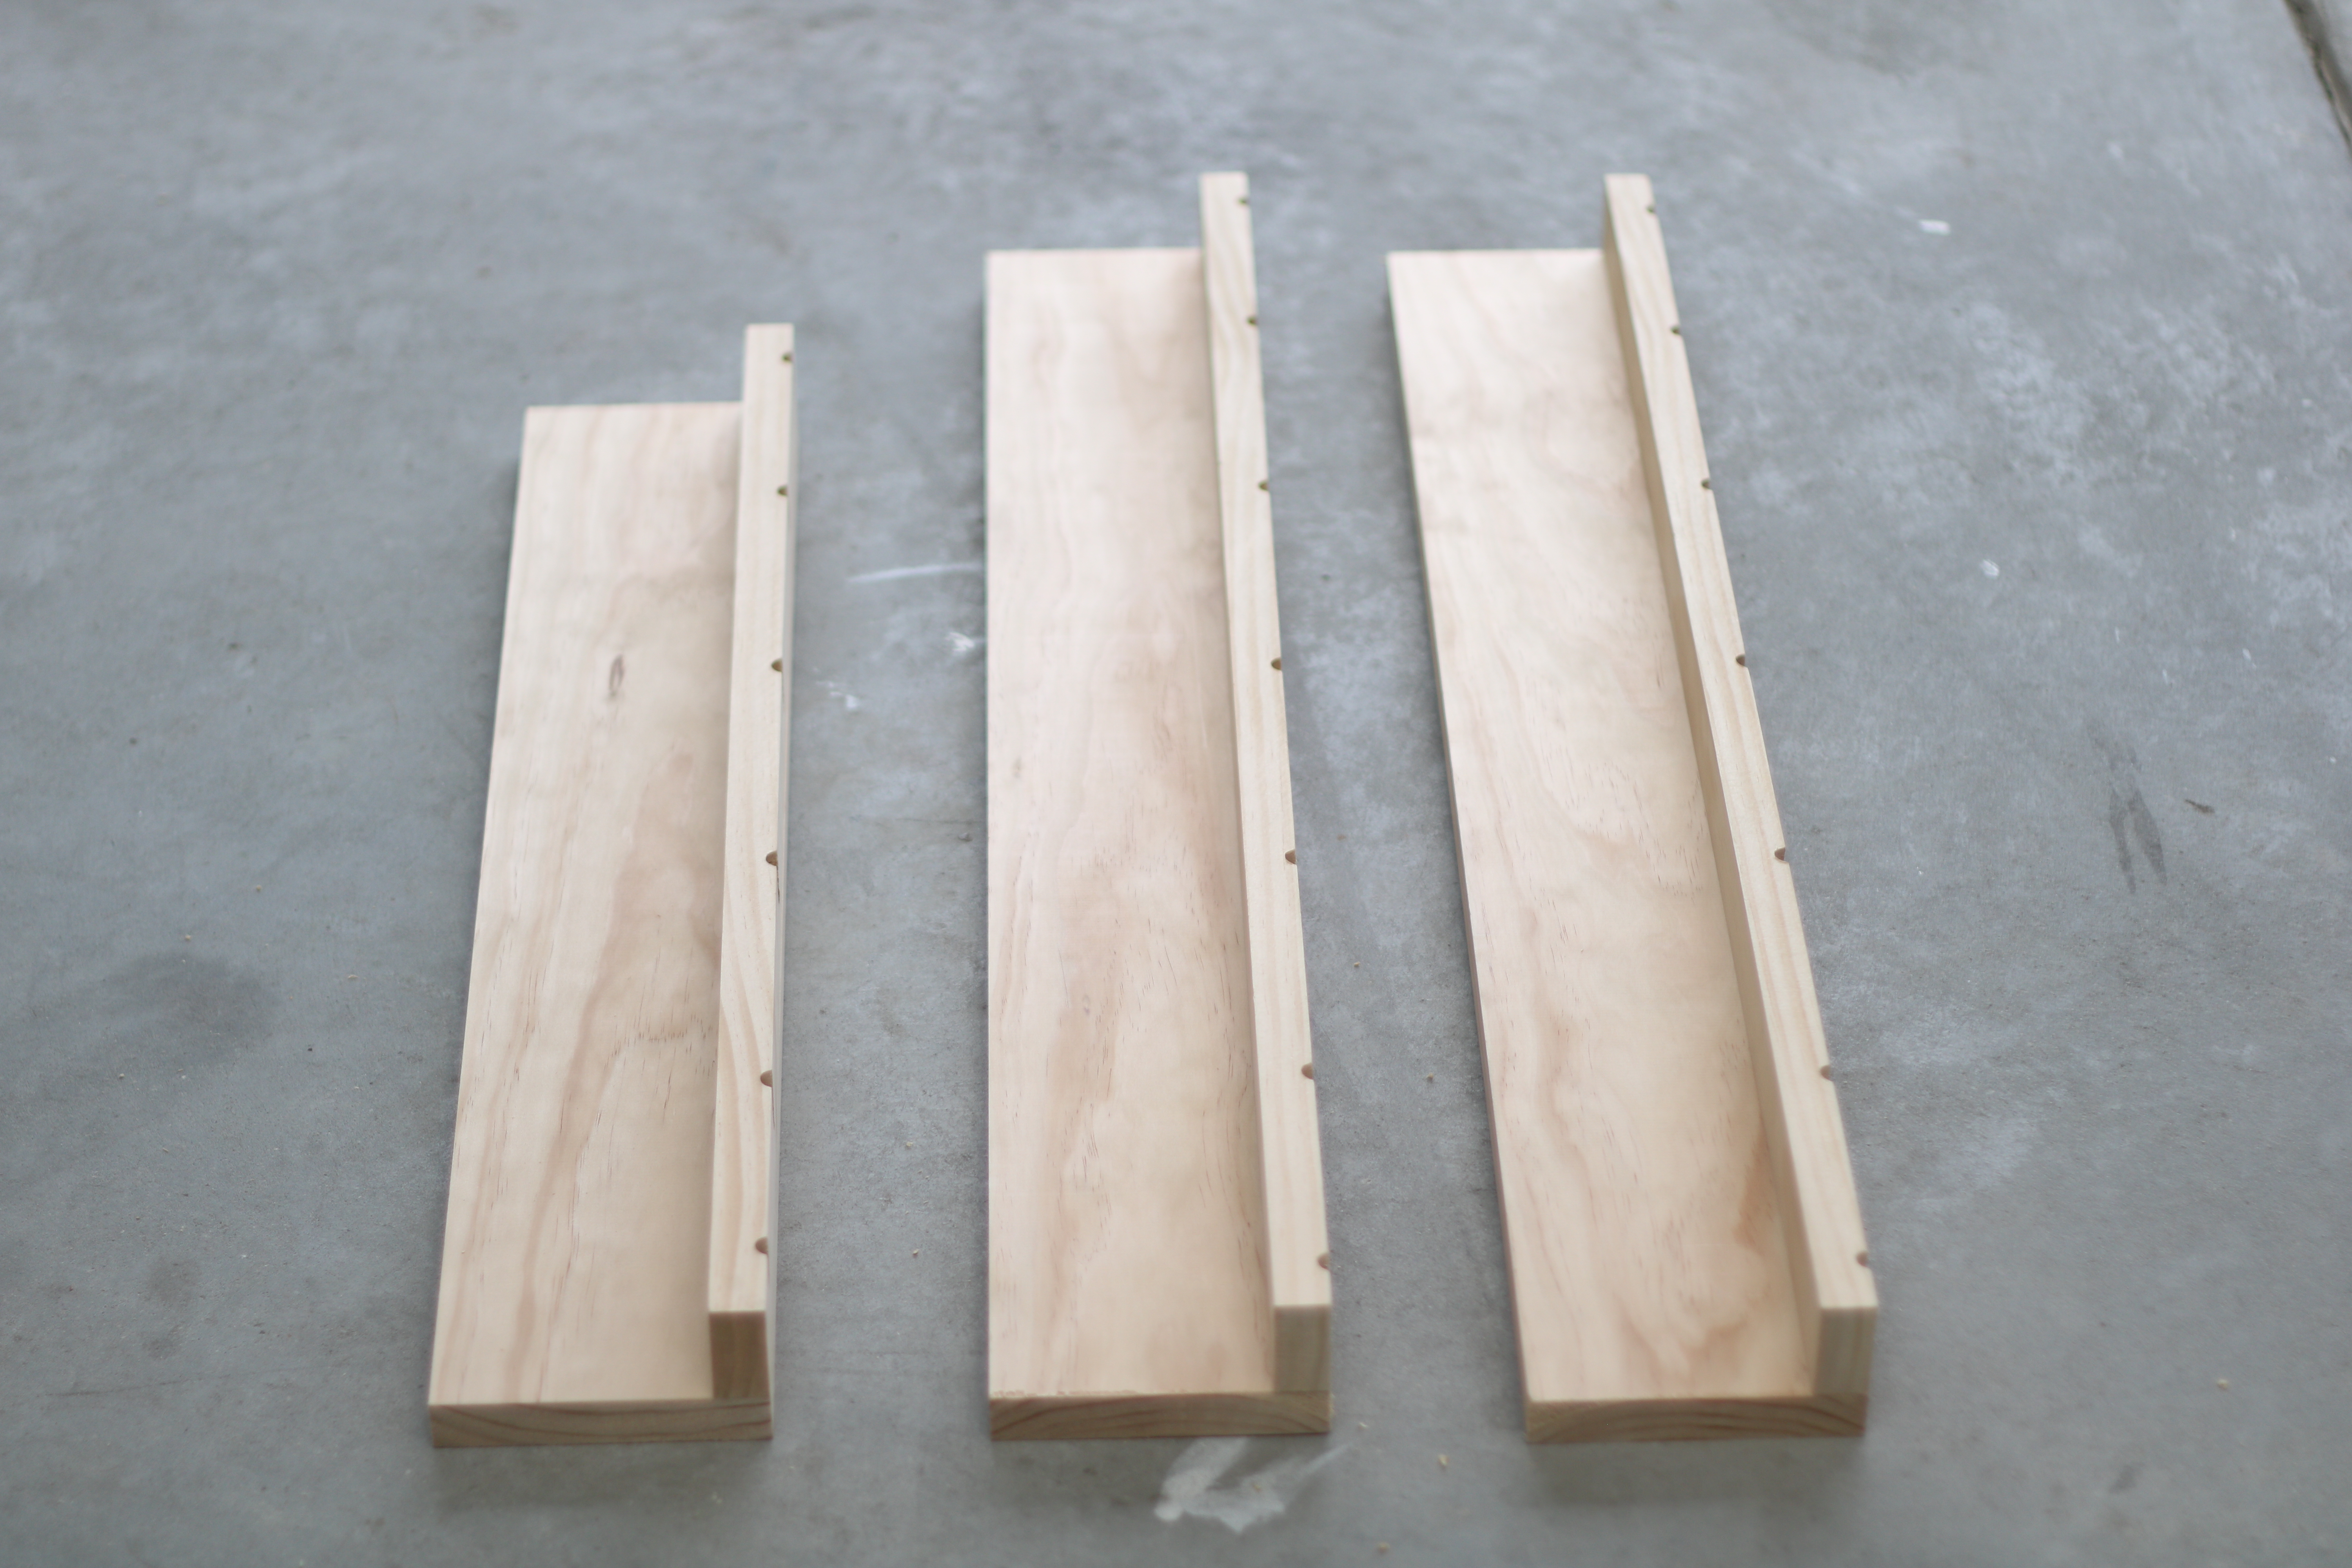
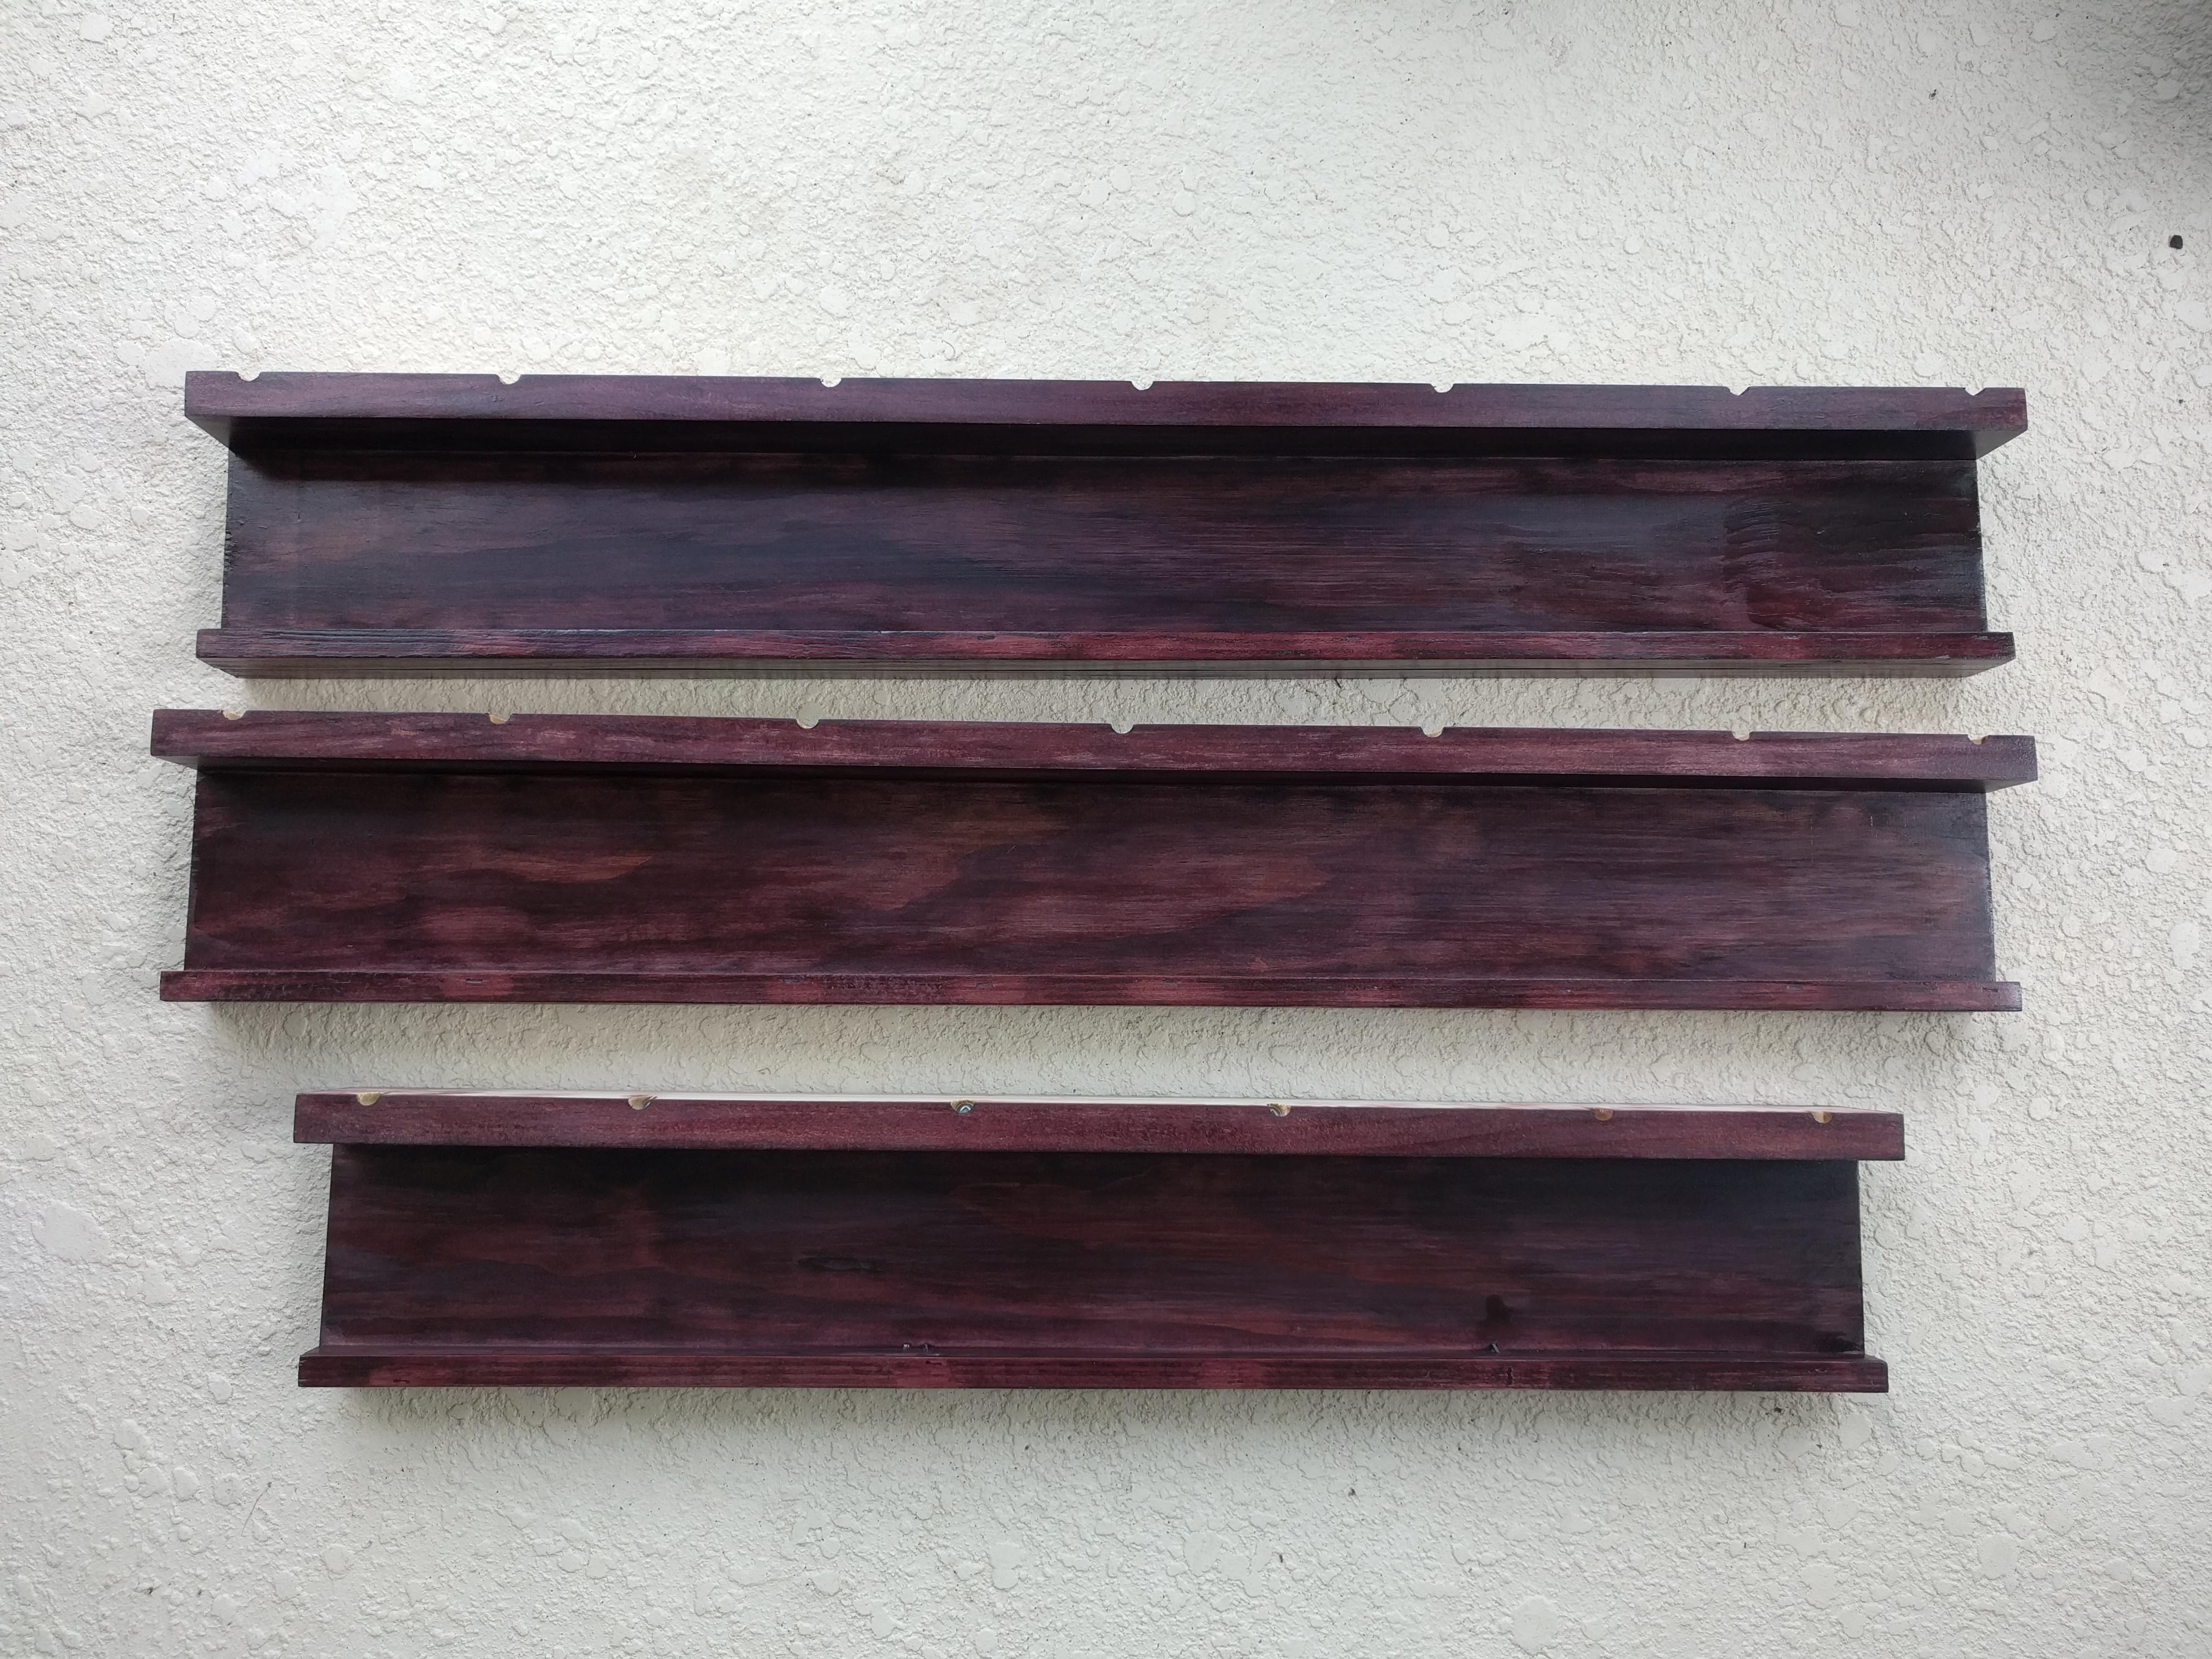
Here are the shelves with backs attached.
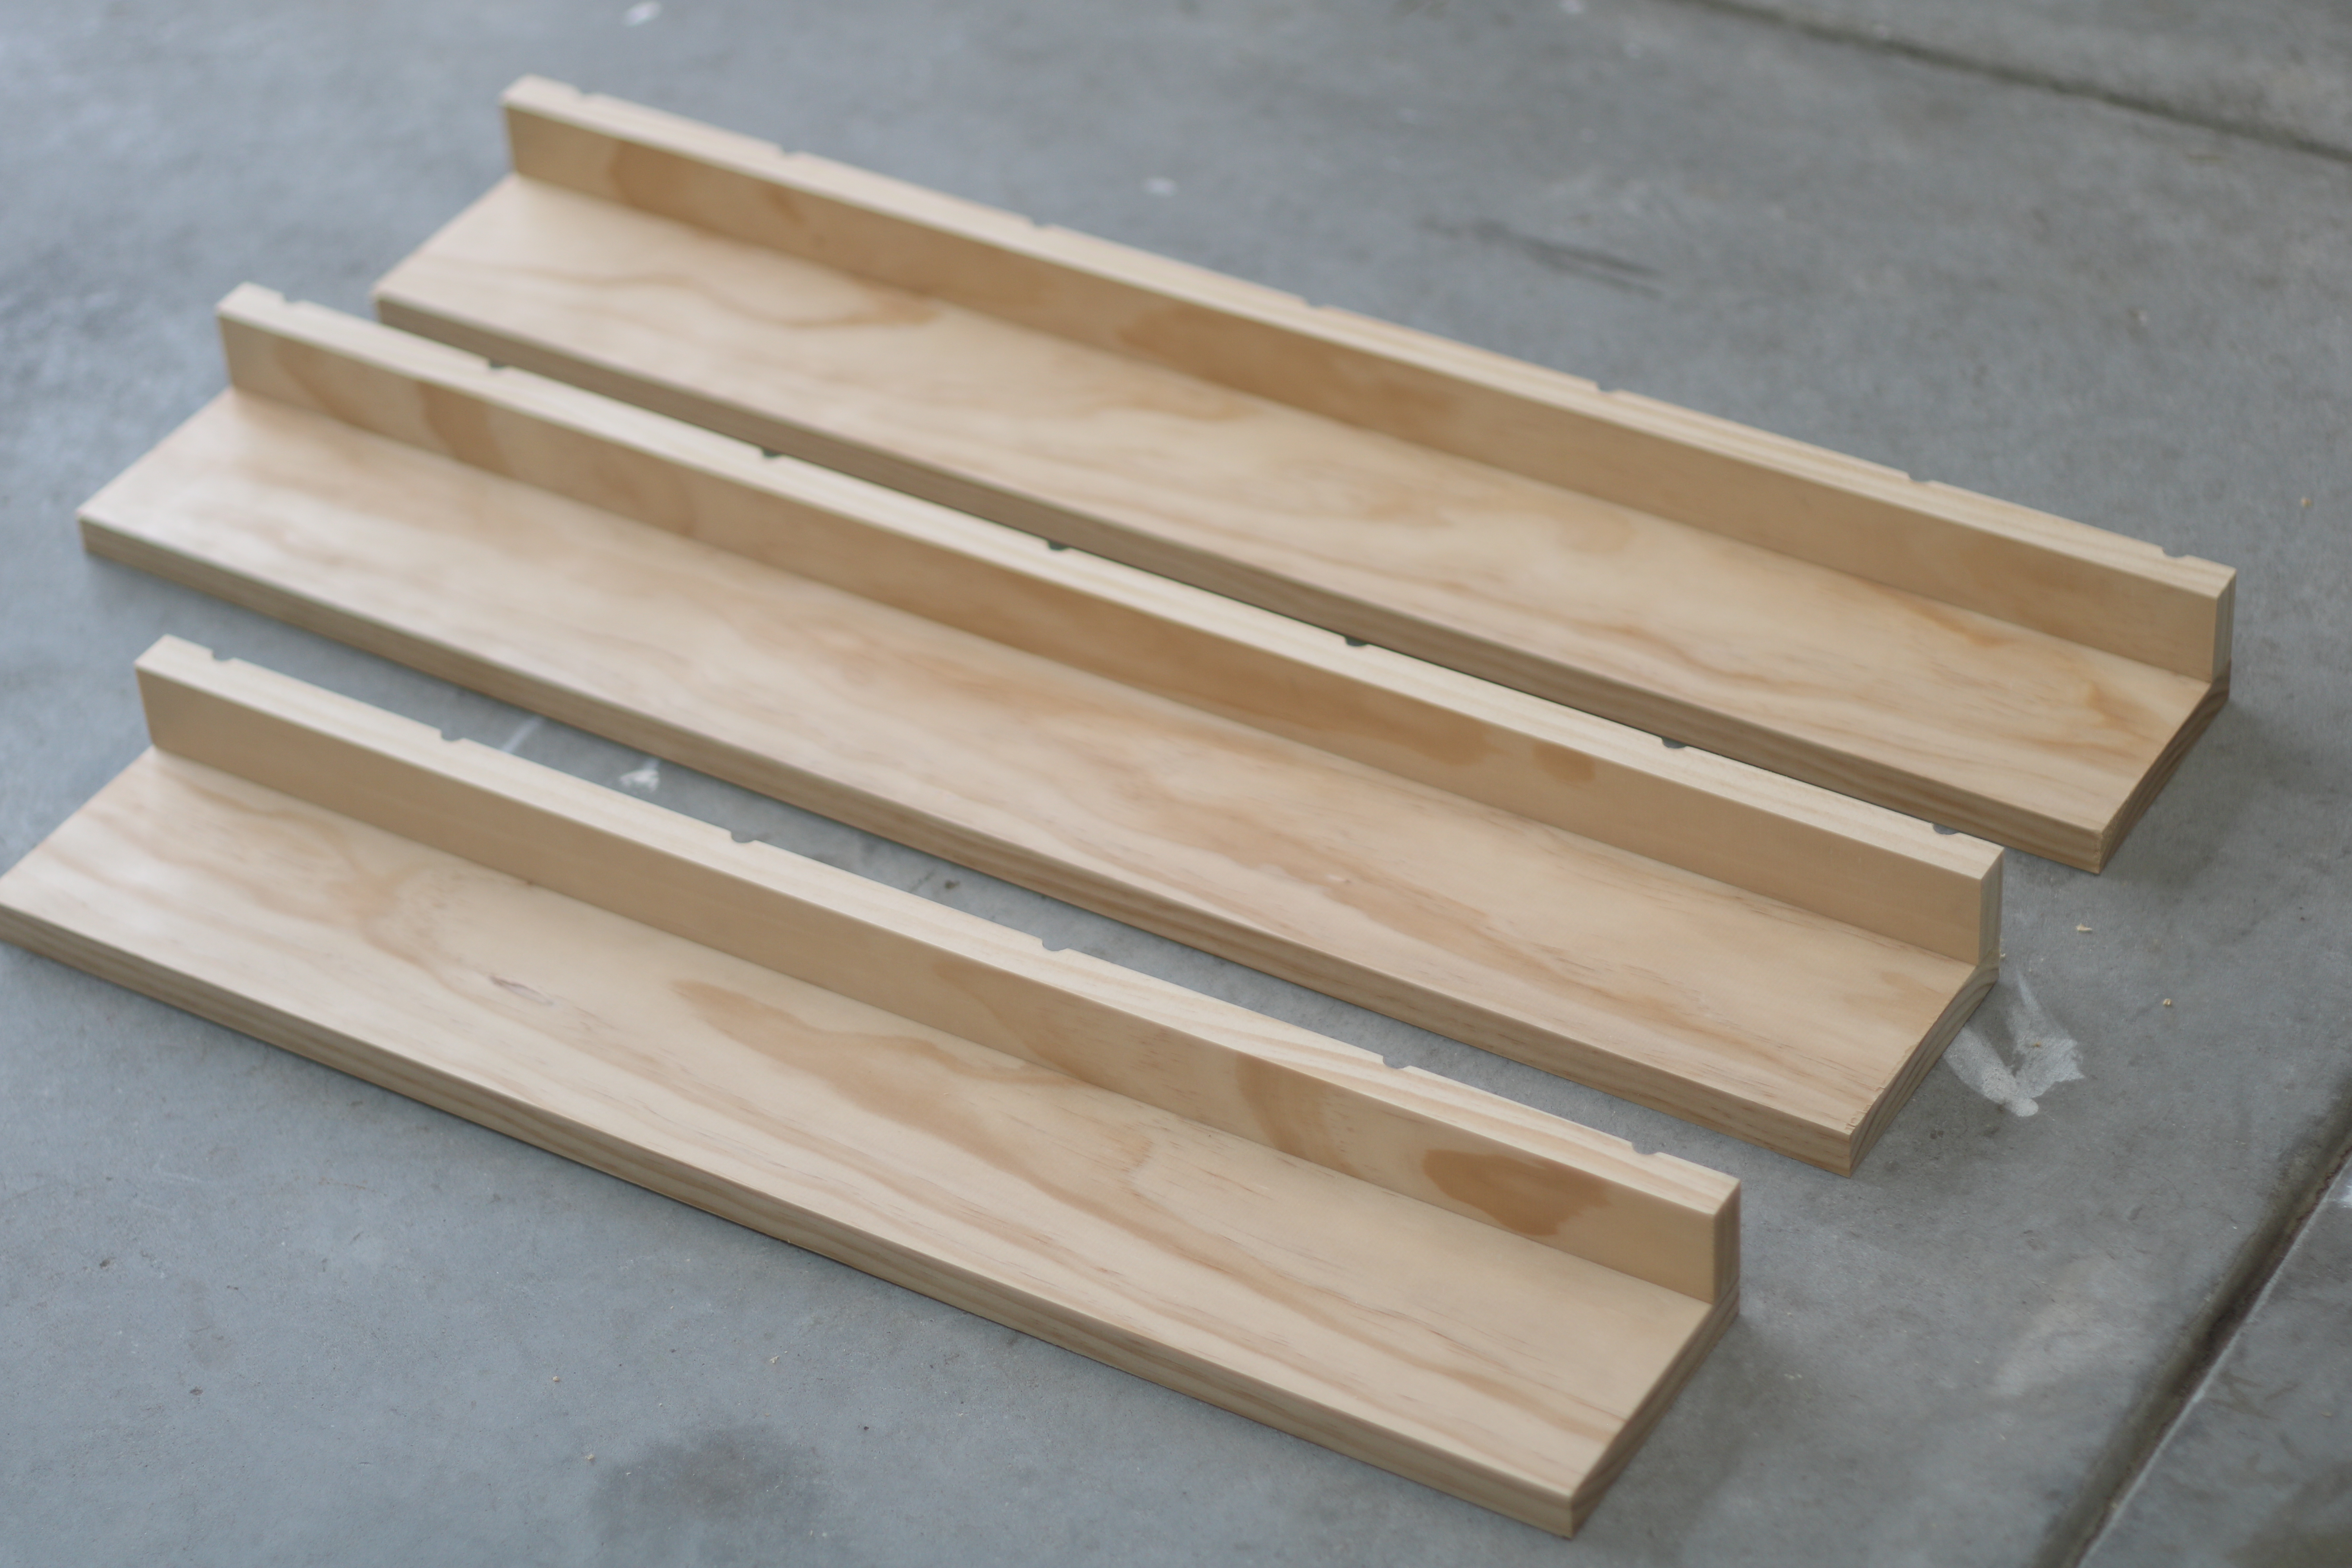
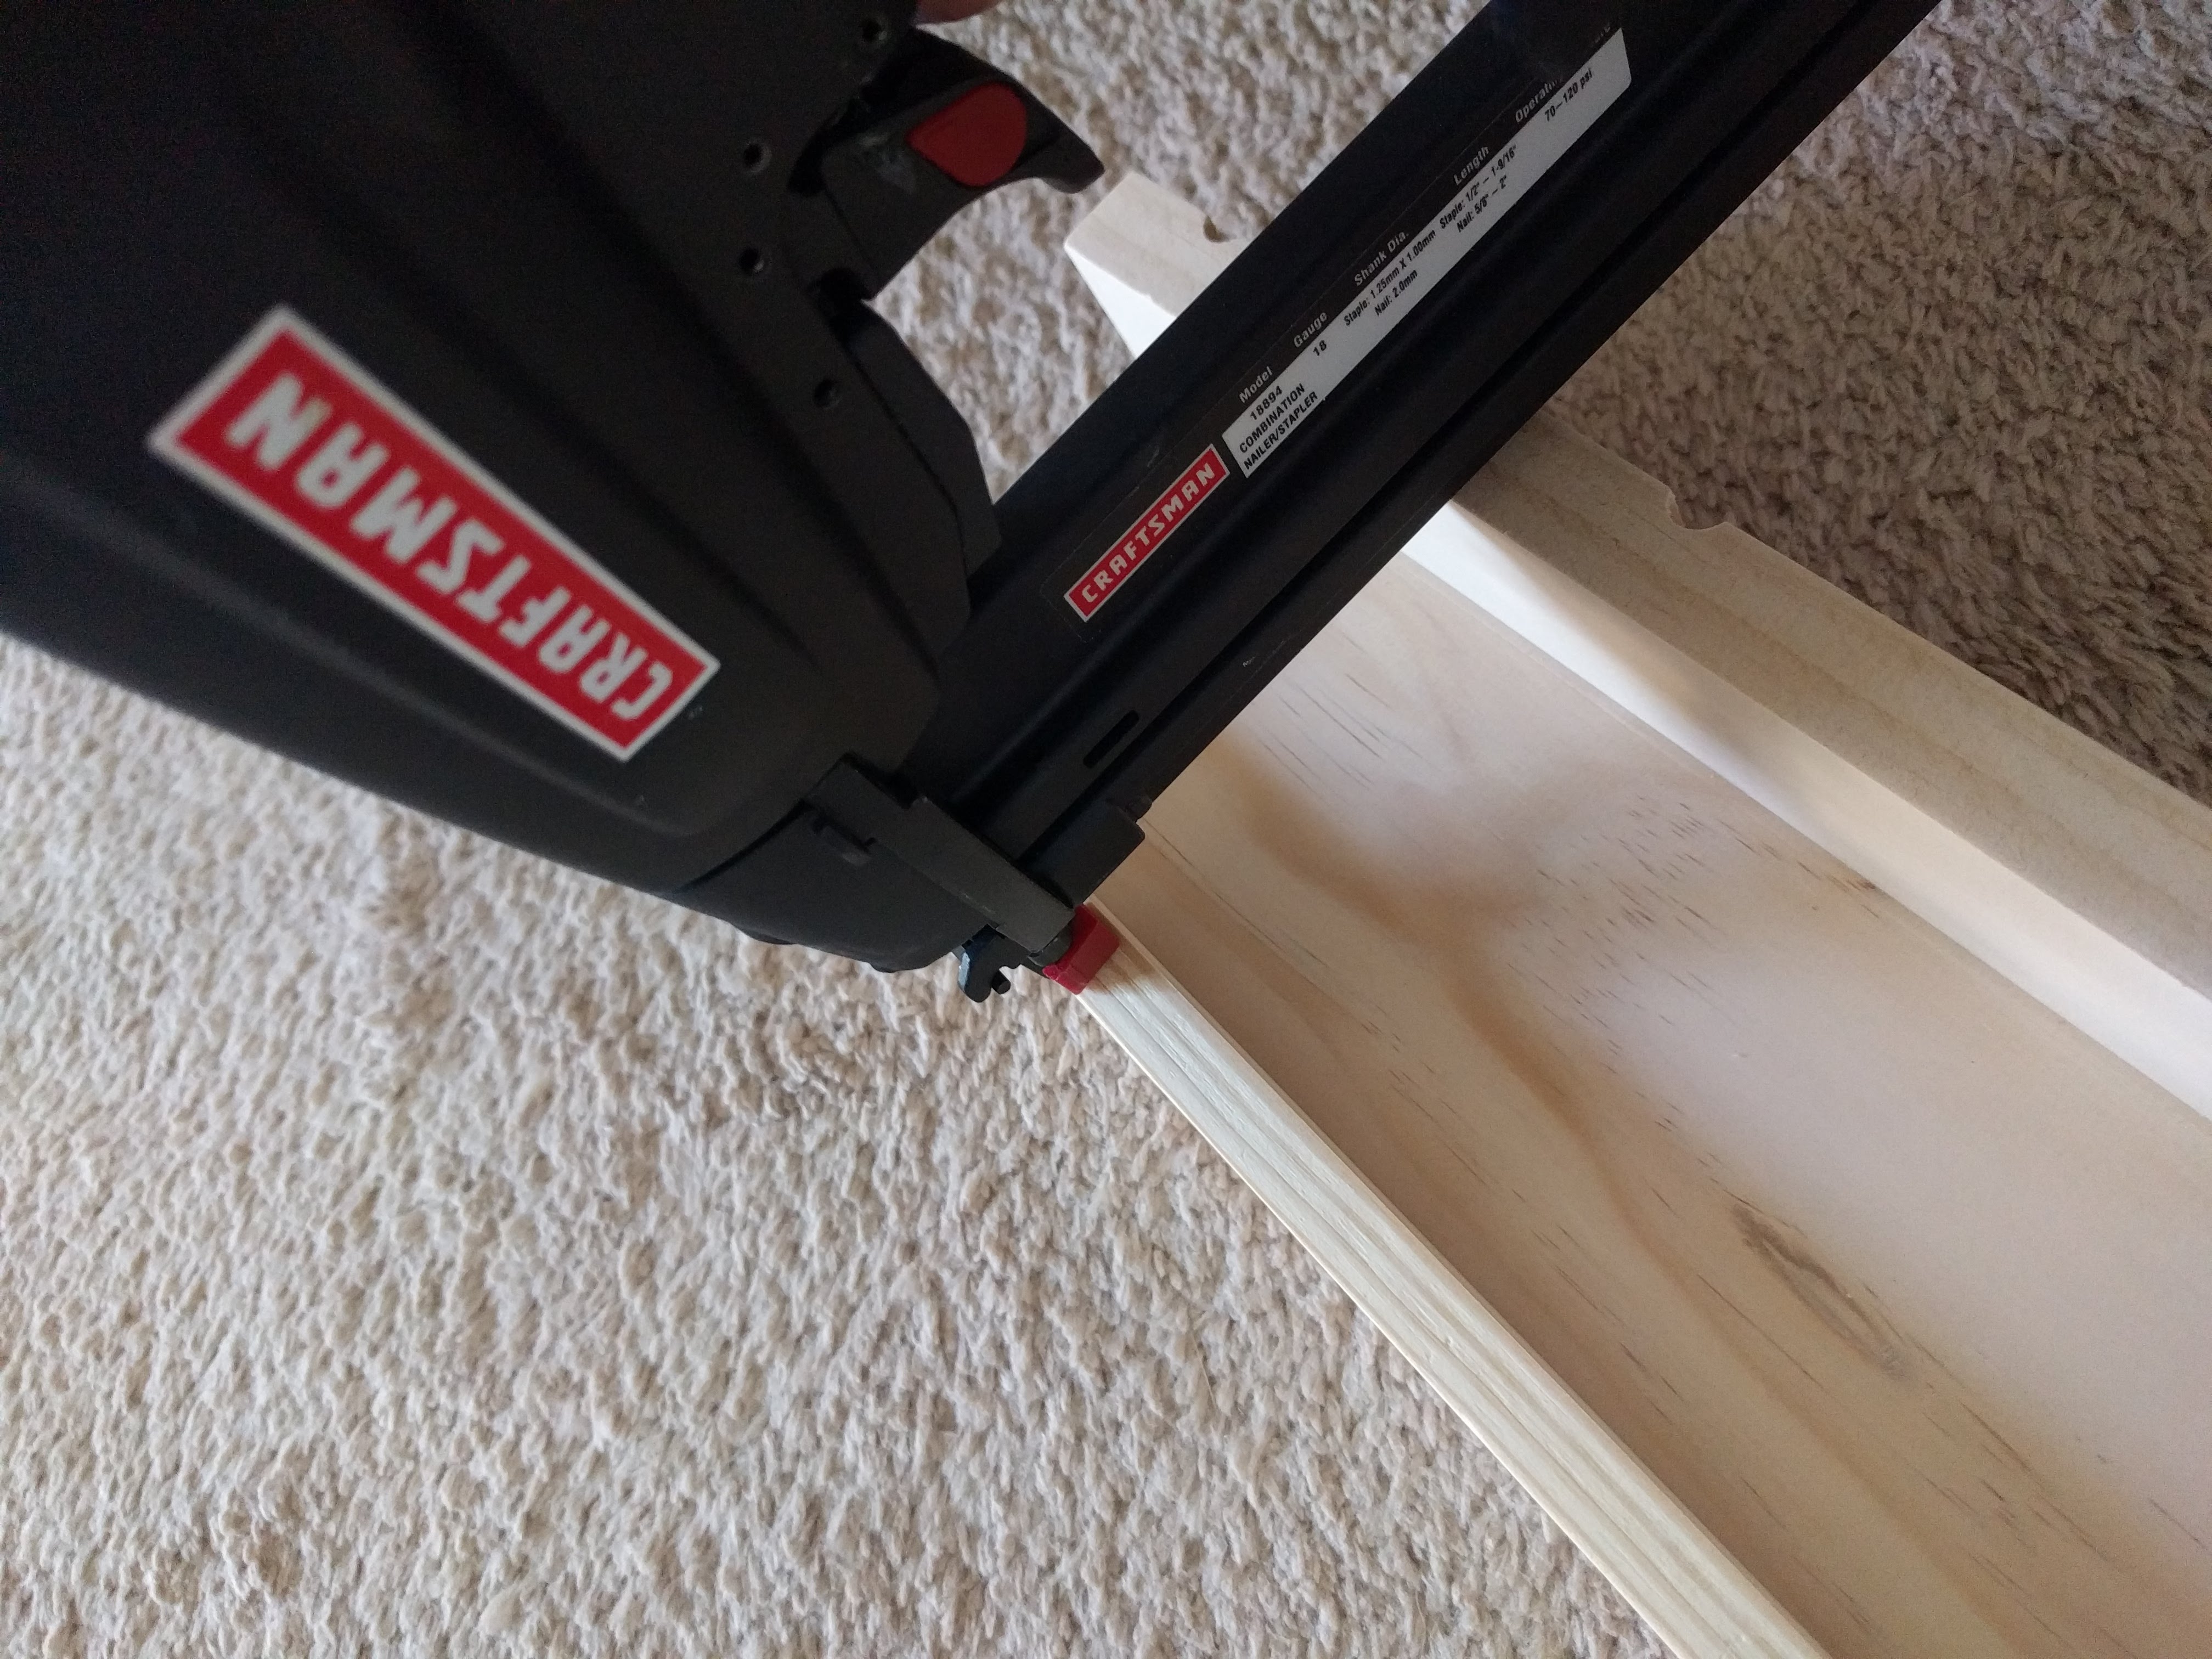
Once the backs were attached, it was time to use the nail gun to attach the trim for the front of shelves. I used 18 GA 1 in 25 mm nails for these shelves. The pressure on the nail gun was at 90.
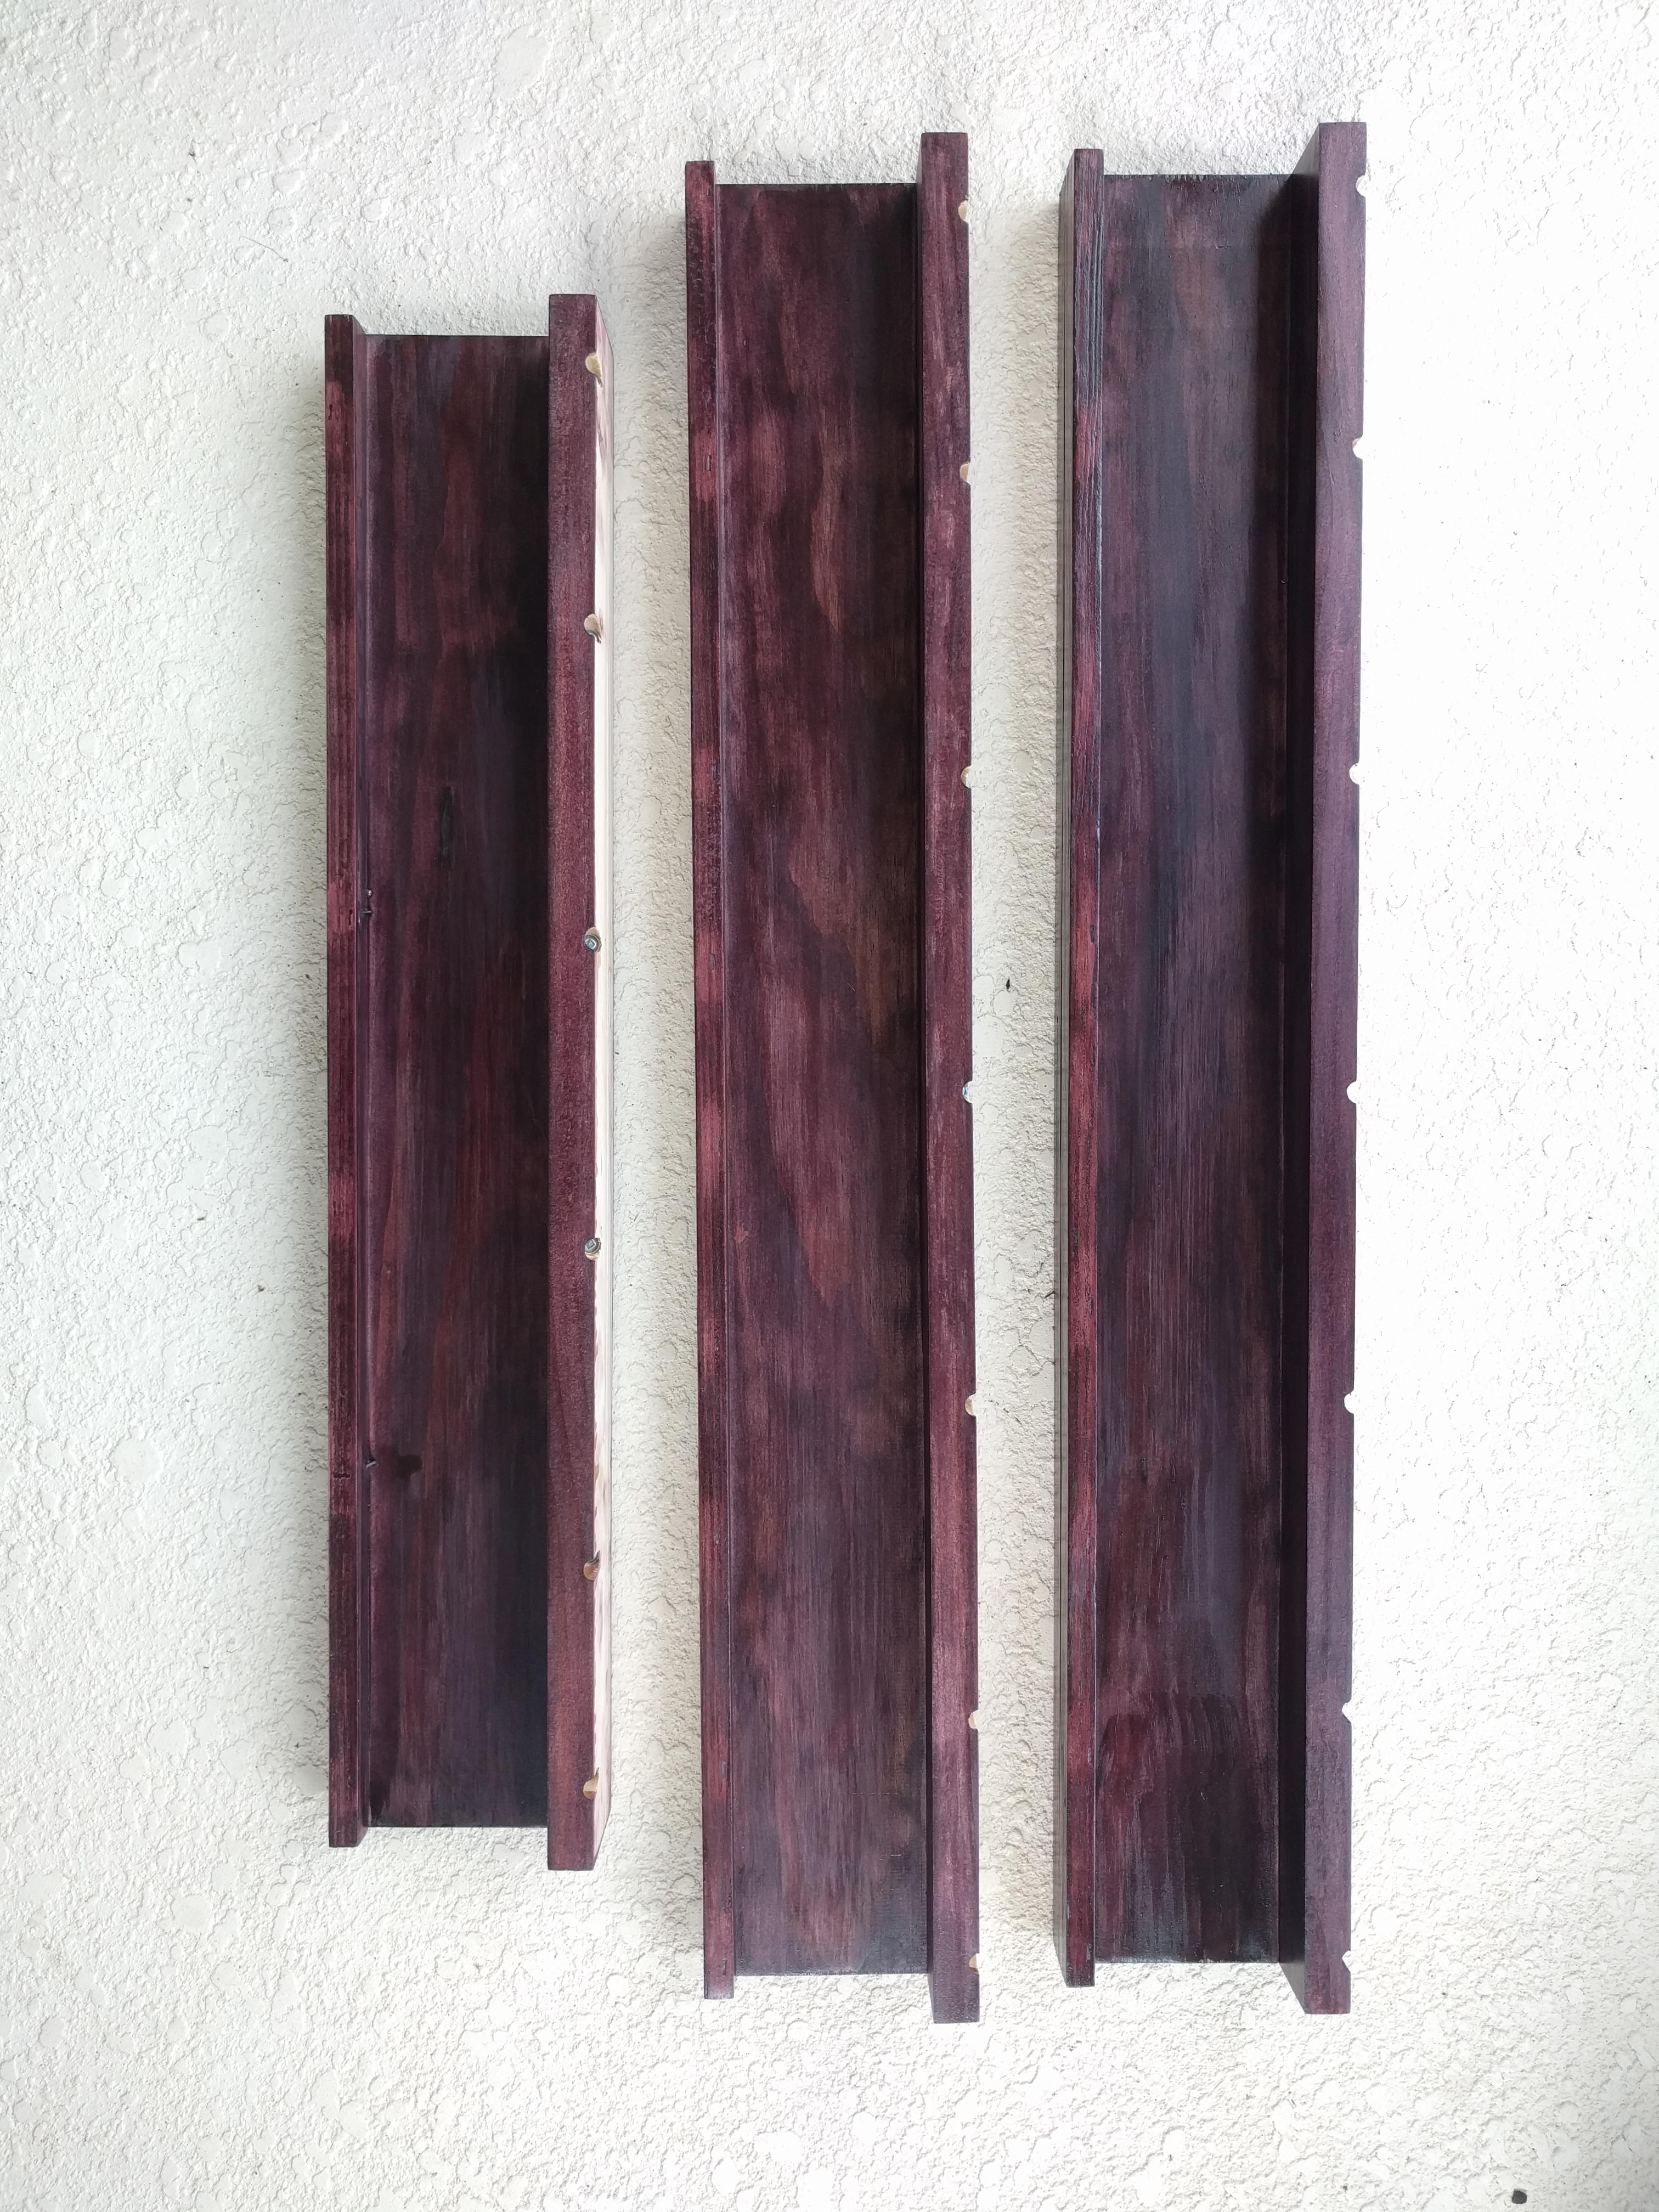
Once the shelves were assembled it was time to wipe the shelves down and prepare them for the staining process. I used a dark cherry stain on them. Here are the shelves completed after two coats of stain were applied.
I am so happy with how they turned out! I hope to have them up on the wall soon to show you all!
Comments