Wood Projects
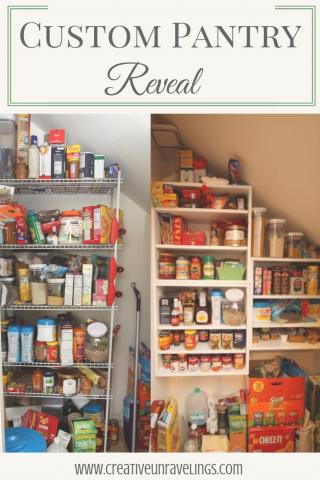
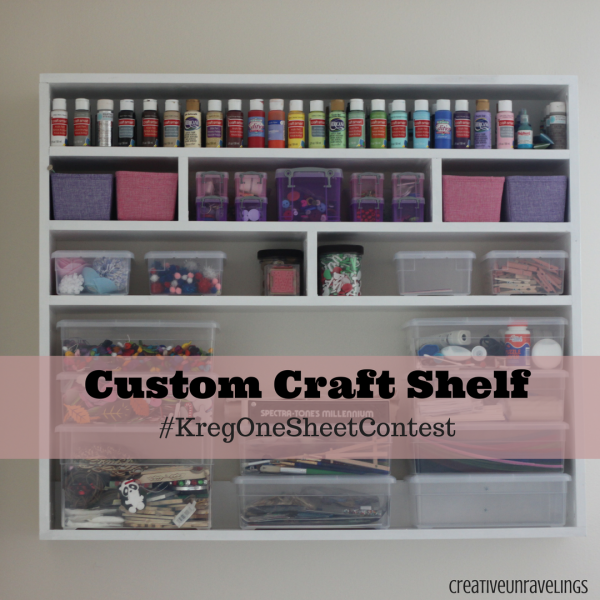 I think we have impressed ourselves with our woodworking skills. So when I heard that Kreg was hosting a contest I knew we should try and give it a shot! The rules are simple, one sheet of plywood and hardware and finishing supplies are allowed. The prize is Kreg tools and we could always use more tools! This should be nothing compared to the Custom Built-in we made for our Bonus Room or what about our Custom Pantry? We got this!
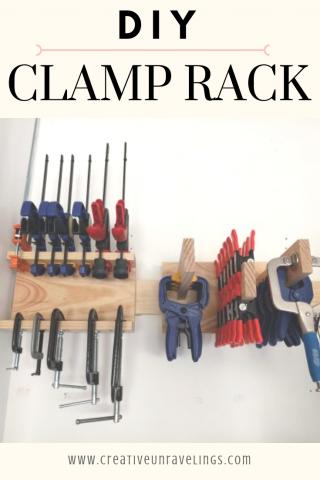
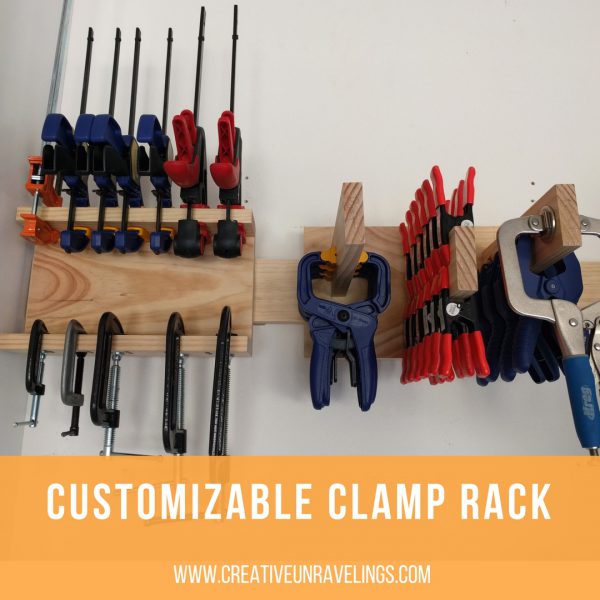 My husband and I knocked this little project out in about 3 hours. This was something my hubby has been wanting to make for a while. This is a clamp rack, it will be used to hold all our clamps. It makes working on projects a little easier and not having to dig through the tool box for a certain clamp.
 Today I am going to talk to you about how we chose the right hardware for our kitchen. The smallest change can make a world of difference. By adding knobs or pulls to your cabinets you can bring a whole new style to your kitchen. We partnered up with Kreg on this project, I am excited to share with you the tool that helped make this project efficient. When we purchased our home and choose our cabinetry we decided not to go with the hardware that was offered by the builder. It was very standard and we didn't want to pay the extra money for something that we were not too fond of. So fast forward to 4 years later, and we are finally putting the finishing touches on our kitchen! We have lots of mini kitchen projects ahead of us, but one step at a time!
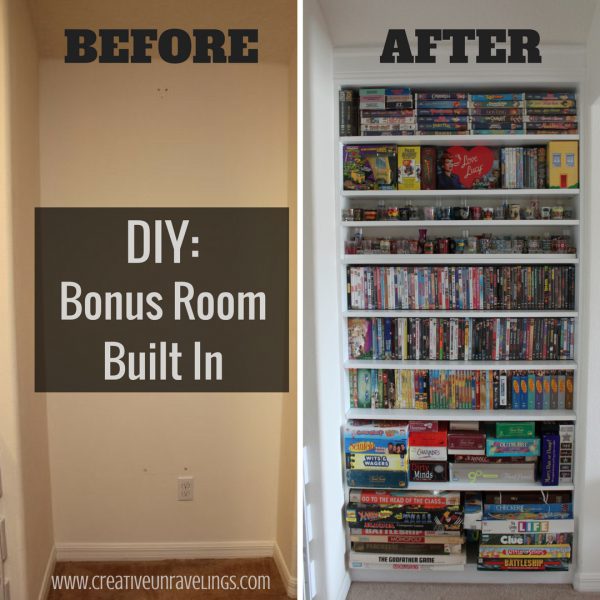
I have been so excited to share this project. We started it back in December and put the finishing touches on it by mid February.
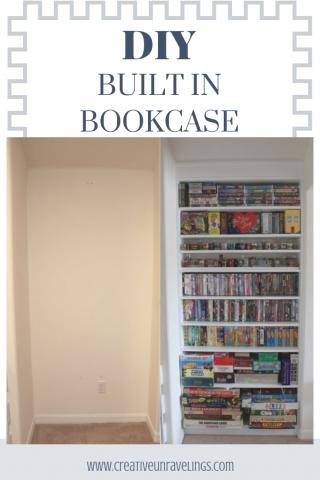
My husband and I were talking about all the projects that we want to tackle in 2017. It just so happen we were upstairs and my husband pointed out a dead space area. He said "This would be a perfect area for a built-in, right?" Of course I did not disagree. My organizational mind kept thinking of all the possible items this thing could hold. Well, to break it down, we were able to eliminate two small (3 shelf) bookcases. Their main purpose was holding board games and old VHS that we cannot just bare to get rid of. We also eliminated a "stand alone DVD rack." We also eliminated a "shot glass cabinet" which was a really great place for it (out of the way.)
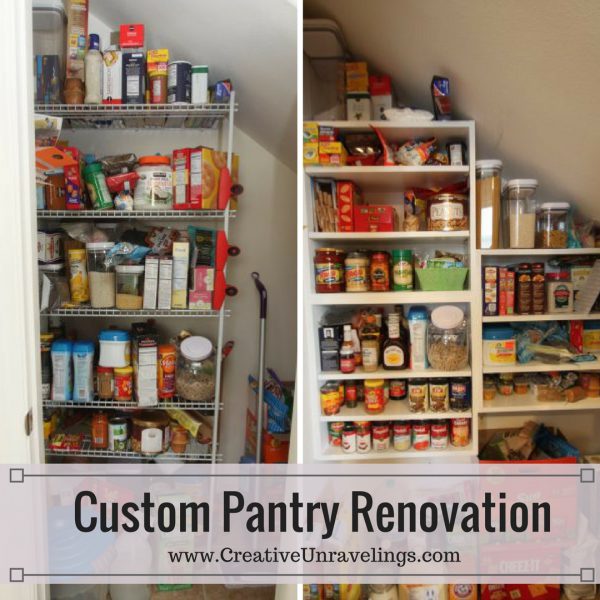 So this is it, what was suppose to take us about a month, turned into a summer project. This project has been on our to do list for quite sometime. I tried to take as many pictures during the process. This was our first "big" project since baby, my husband did 80% of this project by himself, while I did the 20% which was painting. But in between many baby naps, we finally completed the project and we are so happy with the way it turned out.
Old Bench Revamp!
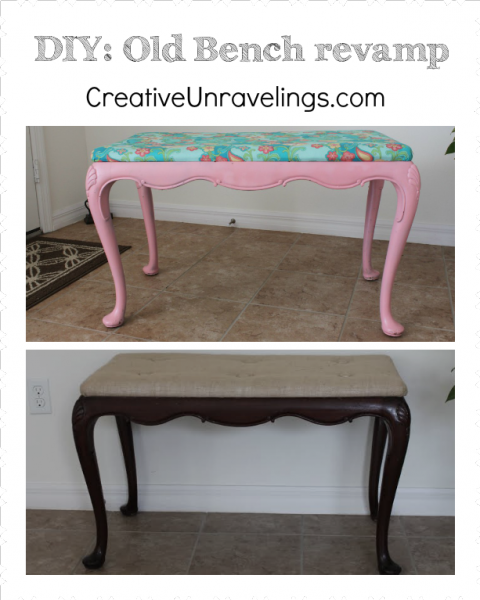
So I have been looking for a piece for our foyer and while shopping around I stumbled upon this bench. Now my thought when I saw this was how hideous, it looks like something that belongs in Miami subs (for those of you that are not familiar with MS, just think really tacky Floridan.
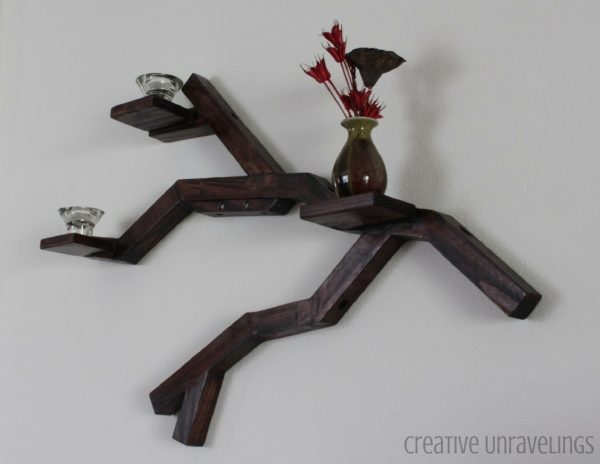 This is currently our big project, we have never really worked with wood crafting. I wanted something other than wall canvas art for our family room, I found this picture online and looked EVERYWHERE to see where I could buy it. It turns out that the place that use to sell it does not sell it anymore...so I was out of luck. I talked to my husband about it and he being the encouraging person that he always is said "Sure you can do it!"
I really need to get in the habit of taking more pictures, I wish I had taken pictures of my husband's old toy chest in the original form.
It was painted brick red and we were looking for it to flow more in the house. We decided that staining it would be the best way to go, so we went with a dark cherry stain. Little did we know what a huge project this would turn out to be.
Here are a few pictures during the process:
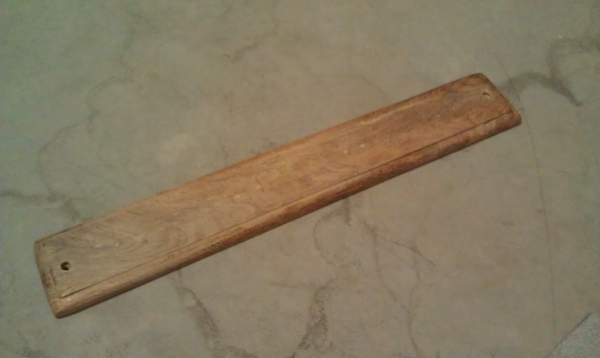
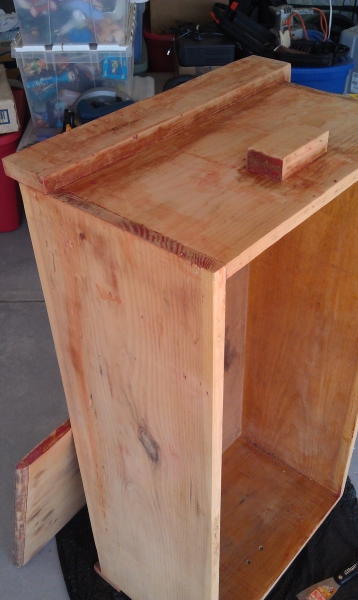
This was before it was sanded, we had to use paint removal to get all the red paint off the toy chest. This was a very tedious job that took endless hours! We had to use a toothpick to remove all the red paint in the crevices.
