 For those of you who do not know me, I am Lucy obsessed! I have been obsessed with her since a wee young age. So its no surprise to those who know me why I would not want to create something "Lucy" inspired for my daughter.
Sure, a Valentine's Day onesie is cute, but I thought I could make something that my daughter could where after Valentine's Day. This was my first "official" project on the Cricut, I am so pleased as to how it turned out and now I am Cricut OBSESSED!
Here are a list of supplies that I used to create the Lucy inspired onesie:
- Cricut Explore Air 2
- Cricut Design Studio
- 12 x 12 Cricut Mat
- Cricut Tools
- Cricut Iron-On Glitter, Red
- Iron or heat press
- Onesie or t-shirt
- Cloth
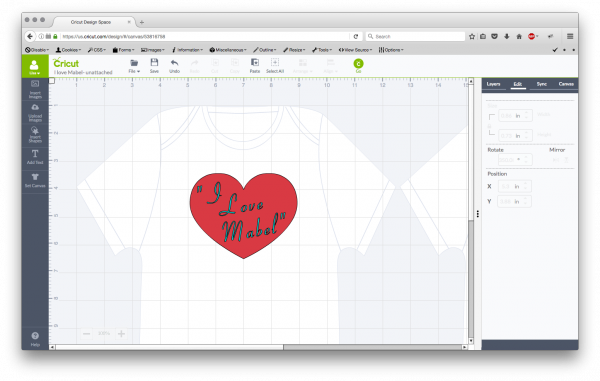
In the Cricut Design Studio, I first started out by creating the "heart" that best represented the "I Love Lucy" that most everyone is familiar with. The heart was pretty standard and it was included in the Design program. Some images you might fall in love with and then realize you have to pay for a particular one. I was lucky to find an image that was included.
The next step was finding a font that best fit the font from the "I Love Lucy" logo. My husband helped me out here. He was able to find "Coronet" font and we were able to download it. Please note, you are able to download the font for free if you have no intention of selling the item. If you want to sell the item you are making then you would have to purchase the font for $39.00. Since I have no intention of selling this piece I downloaded the font for free.
I created 3 separate text boxes for "I", "Love", "Lucy" and rotated them at 350 degrees. I then made sure that the 3 text boxes were selected as a "cut" which is something that you select in the "layers" box. After the logo was to my liking, I "selected all" and then selected "attach" in the layer's box.
My inspiration logo:
 Time to recreate...
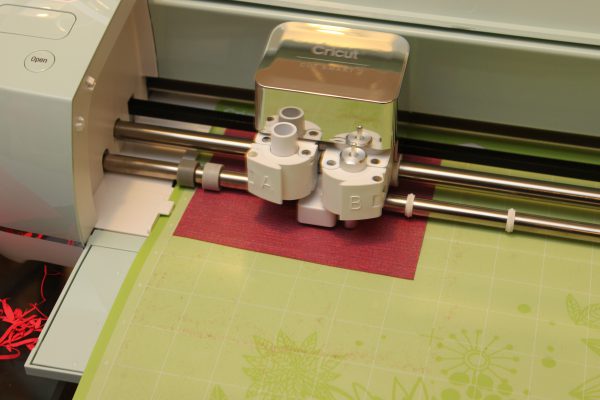
 Next, it was time to start cutting. I placed my 5 x 5 iron on (glitter-side down) on my Cricut mat. On the Cricut, I selected "Custom" and then selected "mirror" image in the Design program before cutting. Once it was selected it gave me an option of what material to chose, I selected "Iron on glitter," I then loaded the mat into the machine and I watched my creation come to life!
 Next, it was time to start "weeding" the negative. Weeding the cursive in a "mirror state" was very intricate, so take your time.
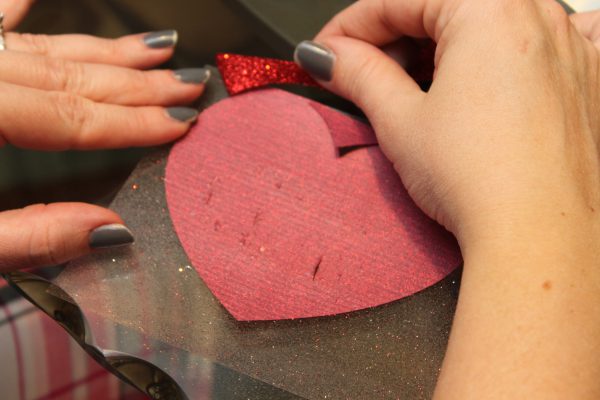 Next it was time to iron on the image. I placed the logo how I wanted it on the onesie. Then, I set my iron to the highest heat setting and I made sure the steam setting was turned off.
 I placed a cloth over the logo, and began to iron on the image. I pressed the iron about 25 seconds (two times on the logo- once on each side.) I then turned over the onesie and did the same thing on the back.
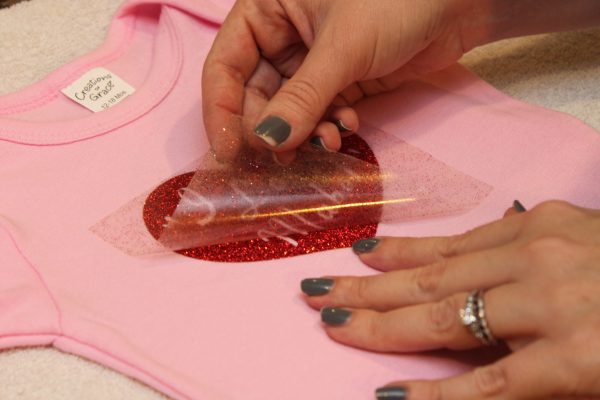
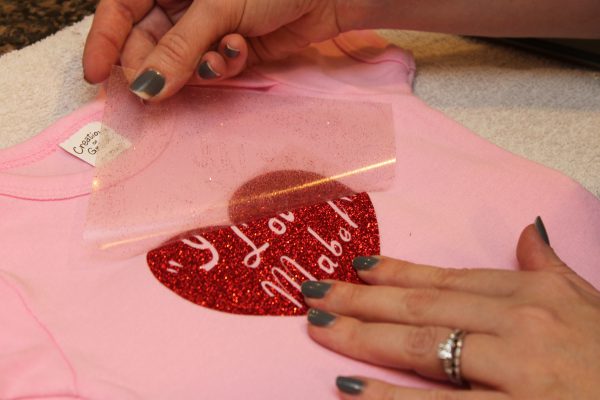
Then I started to peel back the clear liner and all looked well and was sticking well, so it was safe to take off the liner. Note, if your image starts peeling up, lay the liner back down and place the cloth over the onesie and use the iron for another 15-25 seconds or however much longer you need.
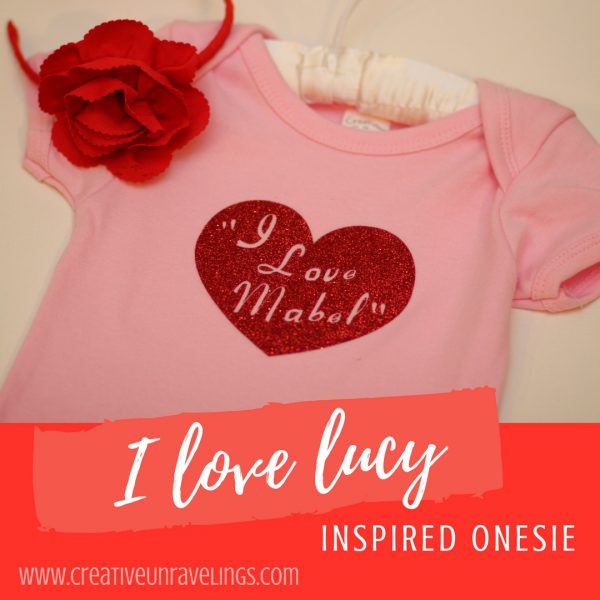
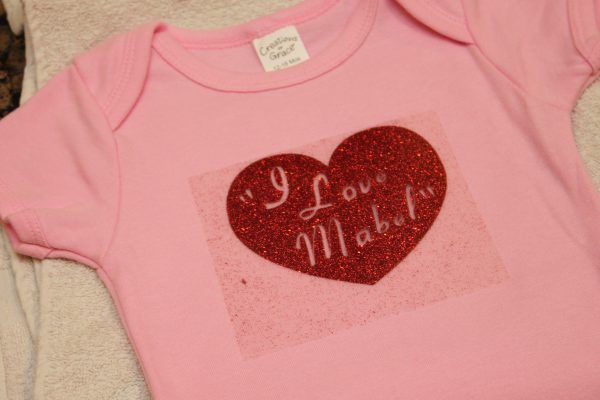
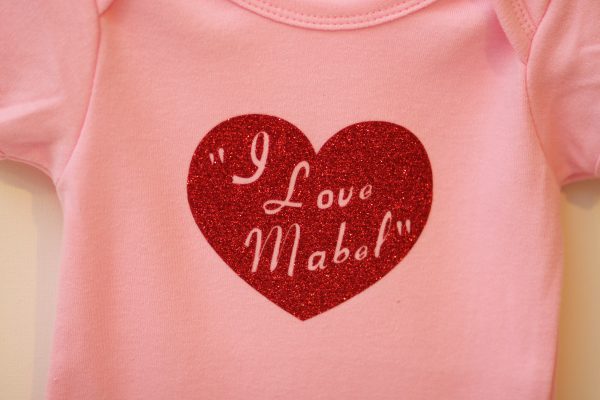
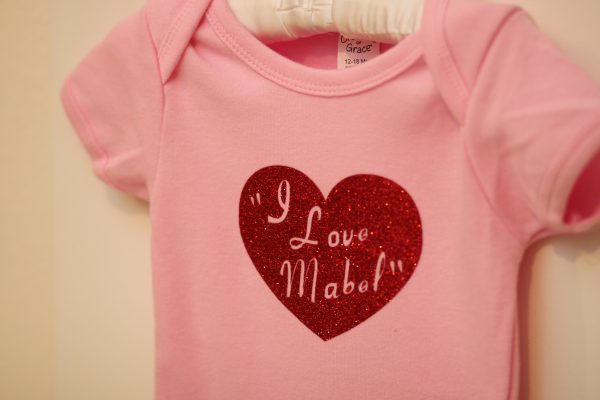
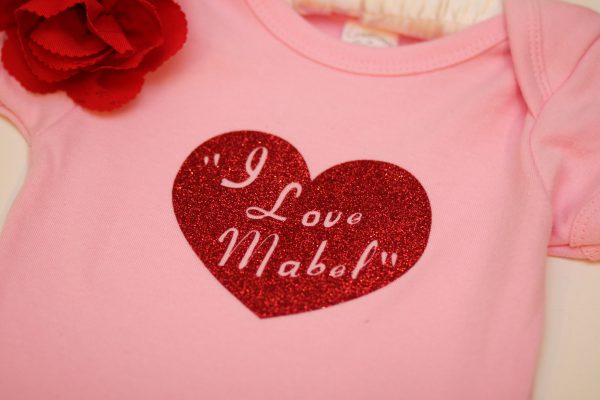
 Here is the finished product! I am SO happy how it turned out! I really think it mimics the "I Love Lucy" logo well.
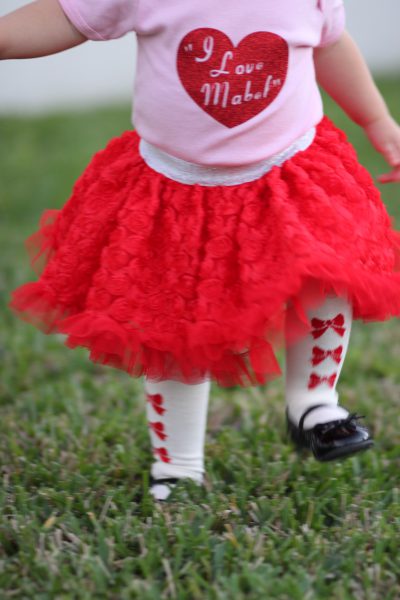
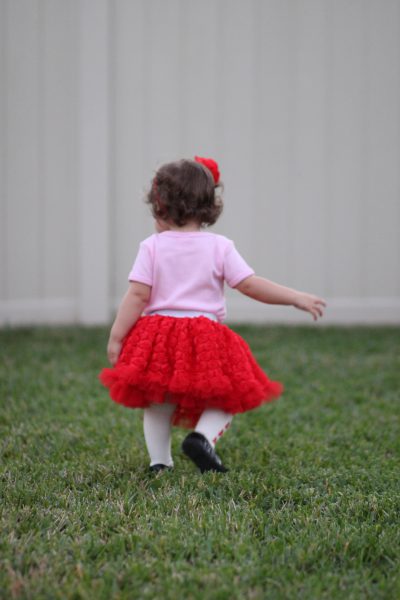
 Here is our sweet little Valentine in her photo shoot that I shot myself. I am always shopping for my little girl. I am always picking up little things here and there and they really help tie things together. Holidays are alot of fun with a little one around. I enjoy every moment. Now with my Cricut, the possibilities are endless. Her outfit really came together!
Comments2
Super Cute! I think your daughter will look adorable in this :)
Thank you! I might have to keep making it as she grows :)