Interior Design
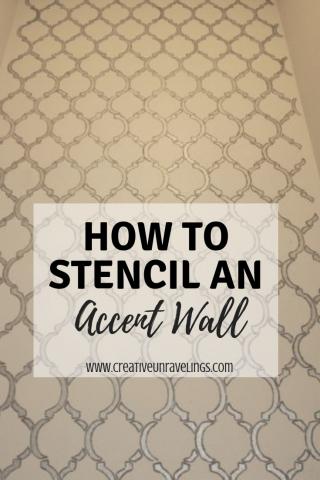
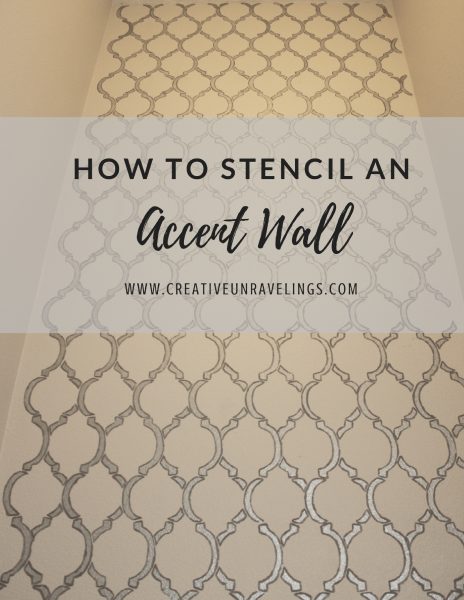 Today I am sharing my stencil project. We have managed to keep our master bathroom powder room pretty bland over the last couple of years. I know that I wanted to do something to spruce it up, it just took me a while to figure out what to do. I thought stenciling would be the way to go. This project took far longer as I anticipated it would. I ran into a few complications along the way which I will get into later.
 Today I am going to talk to you about how we chose the right hardware for our kitchen. The smallest change can make a world of difference. By adding knobs or pulls to your cabinets you can bring a whole new style to your kitchen. We partnered up with Kreg on this project, I am excited to share with you the tool that helped make this project efficient. When we purchased our home and choose our cabinetry we decided not to go with the hardware that was offered by the builder. It was very standard and we didn't want to pay the extra money for something that we were not too fond of. So fast forward to 4 years later, and we are finally putting the finishing touches on our kitchen! We have lots of mini kitchen projects ahead of us, but one step at a time!
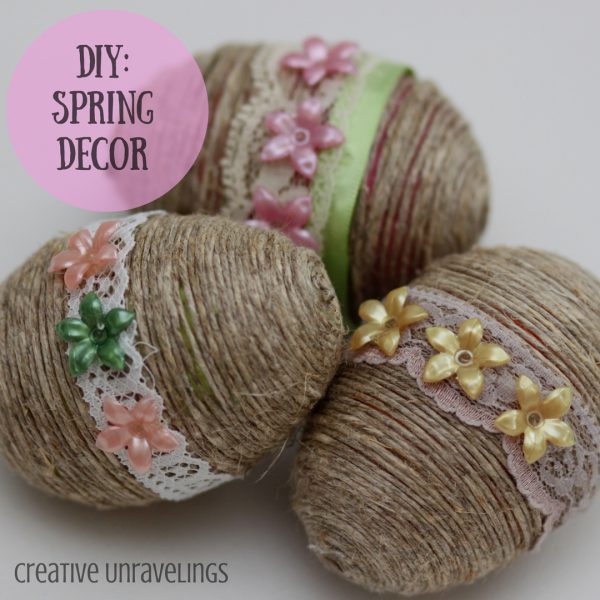 So last year I purchased a ton of plastic Easter eggs from the dollar store. I was "that mom" who put her baby in a basket and placed all the plastic eggs around her to get a cute shot. Surprisingly it was a success and now I have a ton of plastic eggs leftover. There is no point in throwing them away since they will come in handy for upcoming easter egg hunts. I saw a fellow blogger post how to "revamp" these plastic eggs and thought it was a really cute idea. Then I searched pinterest and found that this looks to be a trending craft, so of course I had to try it. I had all the materials for this project at hand, so there was no excuses!
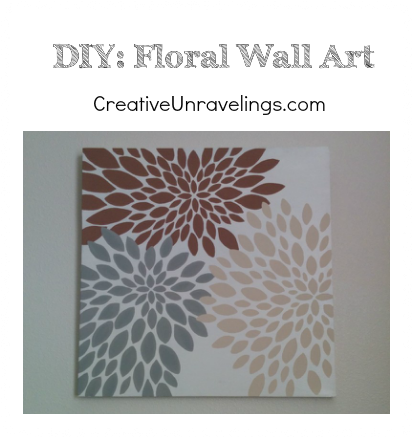
We FINALLY picked a color and finished painting our Master Bathroom. I love it! Its very warm and goes well with the tile as well as with our Master bedroom color scheme.
Total Cost of Project: $33.00 (which includes paint and canvases)
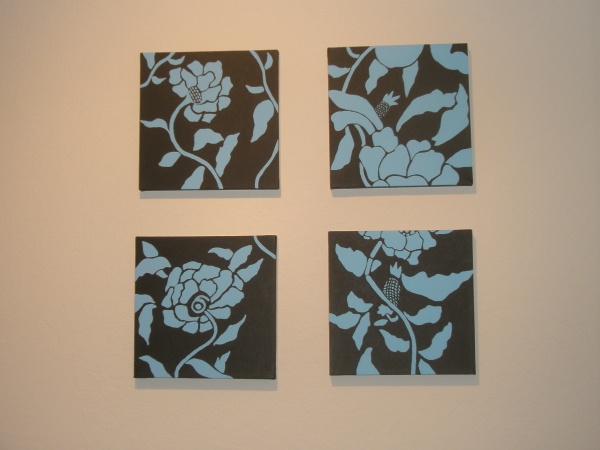
I wanted an abstract art piece for our dining room. In stores the prices were outrageous, I was looking to spend anywhere from $80-$200 for artwork just in our dinning room. I wanted something different and something that "popped out at you." After looking around in multiple stores I decided to sketch out my own ideas. I started off by creating this 4 canvas art piece. I really like the colors at the time, then after months of looking at it on the wall I realized two things, one, I am not into this "electric blue" anymore and two the art piece seems a little small for the wall.
The concept of this piece is really interesting and I learned it back in one of my studio classes in college. I wish I saved my pictures on how I did this but I will do my best to explain how I came up with this:
- I took my picture out of a magazine and I analyzed the picture and found 4 areas that I thought were pretty neat looking.
- I boxed off those 4 areas (with a perfect square since my canvases were perfect squares.
- The idea of boxing the areas off is that you will be transferring each box to one canvas. So really what helped me out was I used one sheet of paper per image and sketched out the image. Now you are able to see the image in a bigger picture.
- I then sketched out each image on the canvas. This is not a free hand painting, if you can do it great! I found that there was just so many little details that I had plan out before painting it.
- Once your images are sketched out you can begin painting!
