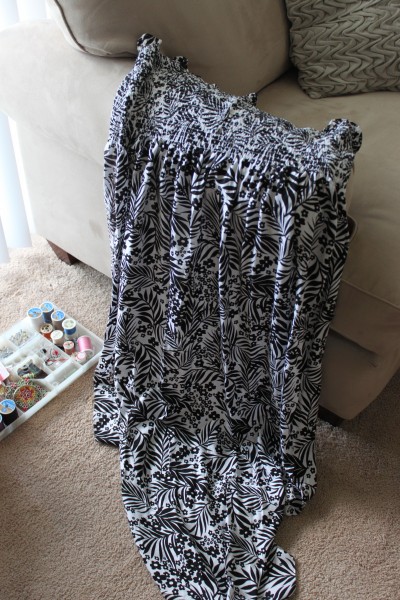
I made my first dress! It was super easy, the material came as is so the elastic top was already sewn together. All I did was sew the hem and side and then I had to add two slits in the dress so that I could actually walk comfortably in it. I'm looking forward to lounging in it when we go on vacation.
DIY
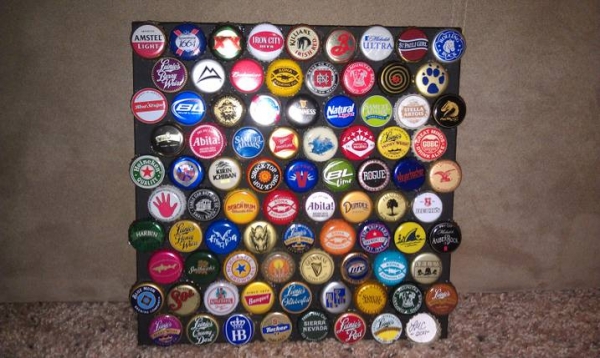
Beer Caps Canvas
Total cost of Project: Under $5.00 (not including beer caps)
If you have a wide variety of beer caps and are not sure what to do with them, why not make it into art? My Husband and I enjoy drinking beer, over the years we have become more or less "beer snobs" we enjoy drinking the crafty beers. After trying to figure out what to do with them, I thought I wonder how they would look on a small canvas. Since my husband loves beer I thought the beer caps art would be an awesome addition to his office.
DIY Wedding decor
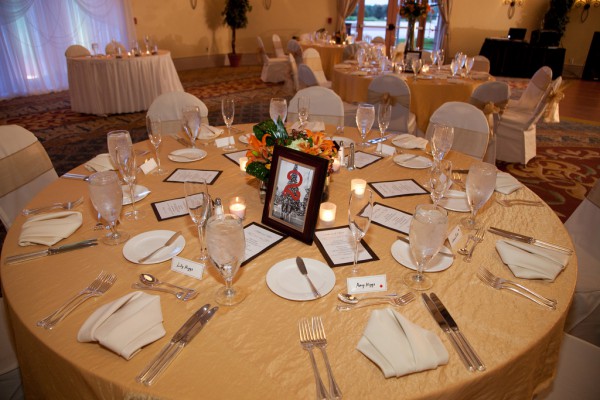
Table Numbers (Pictures in Frames)
This idea was so much fun and a little difficult, trying to pick 11 pictures from 10 years of us being together. I printed all the photos in black and white and then I had my husband use his Photoshop skills on the computer. He added the numbers. We chose orange because that was one of our main colors for the wedding. Then I purchased 11 frames from a local craft store. We had some of our guests take home them as well.
The final product at our wedding:
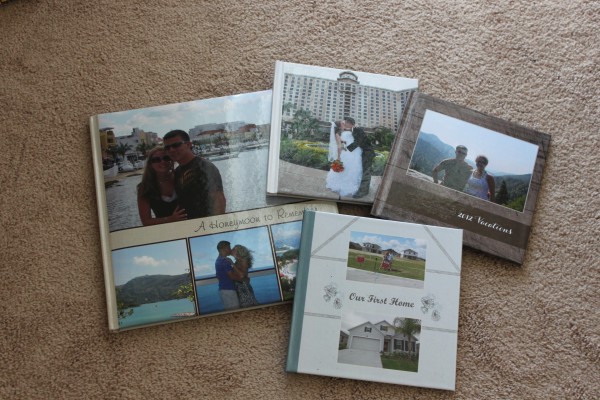
So after years of scrapbooking, I have finally come to terms that I officially hate it. Its SO time consuming and tedious and frankly its boring to me. Couple years ago I was introduced to Shutterfly and Snapfish and I swear by them now. I have used them to create digital photobooks for every occasion.
Family Photo Collage
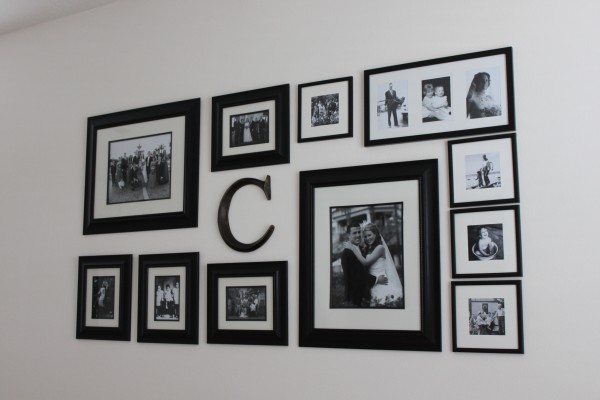 So I really wanted our living room to be unique. When I think of "Living Room" I think back to when I was younger that was the one room in our grandparents house that we were not allowed to play in because all the valuable antiques and nick knacks. The one thing I always loved about it was it had so much history. Every piece in the room had a story and I learned all the stories growing up. It was a happy place, we all would gather in the room for the holidays and other special occasions. My goal was to bring that same feeling into our house, so here they are!
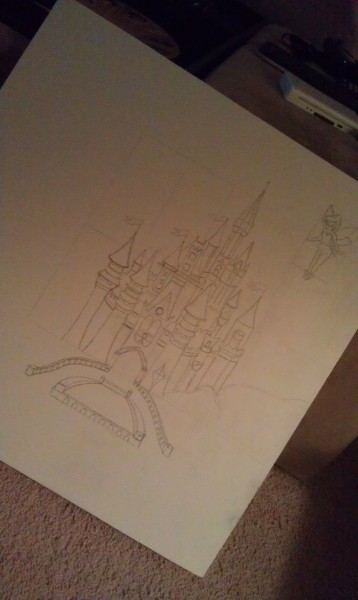
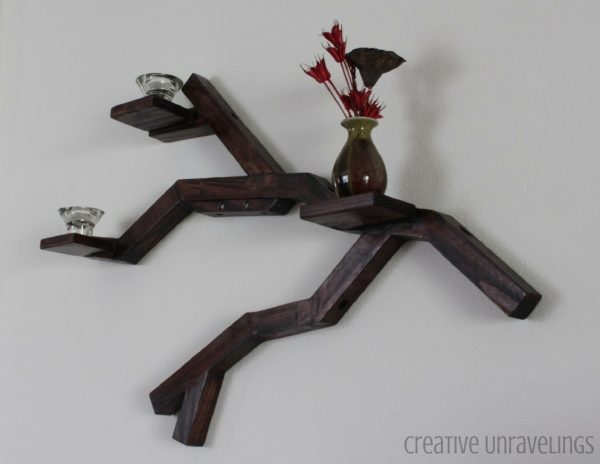 This is currently our big project, we have never really worked with wood crafting. I wanted something other than wall canvas art for our family room, I found this picture online and looked EVERYWHERE to see where I could buy it. It turns out that the place that use to sell it does not sell it anymore...so I was out of luck. I talked to my husband about it and he being the encouraging person that he always is said "Sure you can do it!"
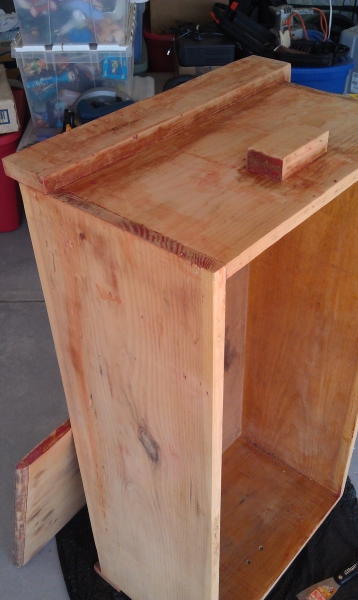
I really need to get in the habit of taking more pictures, I wish I had taken pictures of my husband's old toy chest in the original form.
It was painted brick red and we were looking for it to flow more in the house. We decided that staining it would be the best way to go, so we went with a dark cherry stain. Little did we know what a huge project this would turn out to be.
Here are a few pictures during the process:
This was before it was sanded, we had to use paint removal to get all the red paint off the toy chest. This was a very tedious job that took endless hours! We had to use a toothpick to remove all the red paint in the crevices.
